

Since the PSP Go also does not have a UMD drive, For most people the internal storage of 16gb is not enough.
Adding a micro SD card to your psp Go is a great way to expand storage since the price of the proprietory memory sticks has sky rocketed.
Credit:
- YesItsKira
Materials Needed:
- Phillips Head Screwdriver.
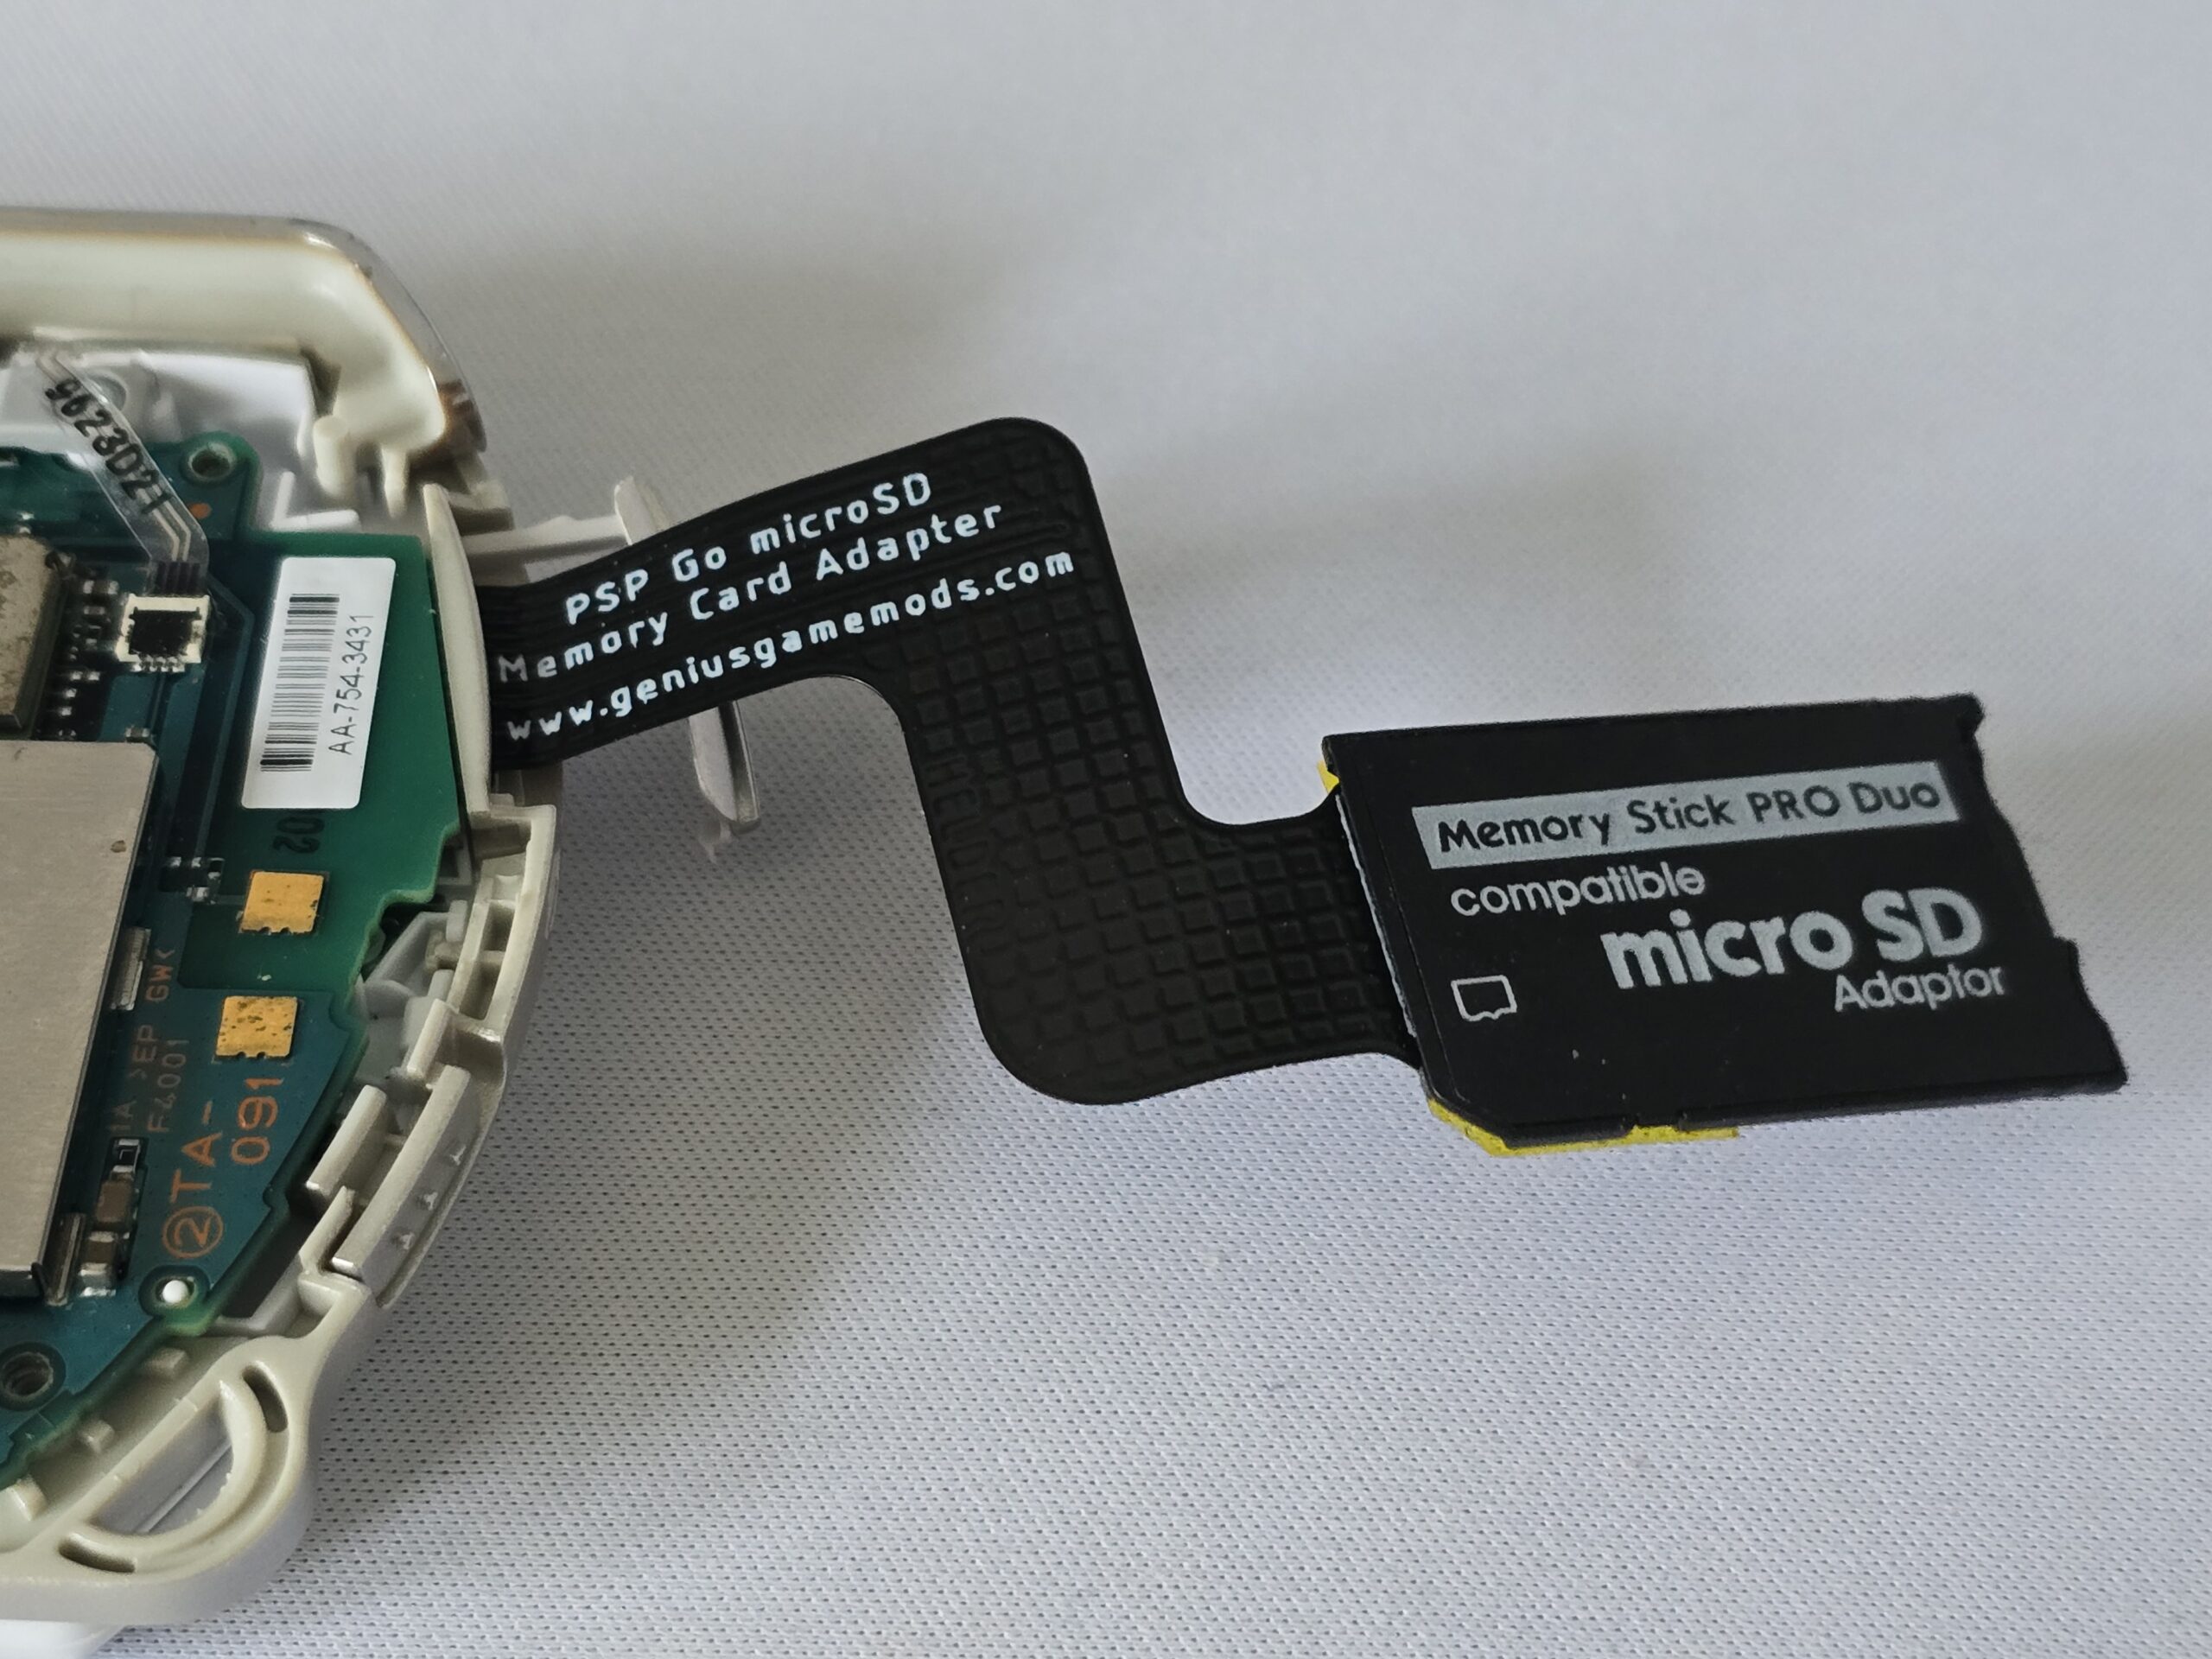
- PSP Go to Micro SD Adapter (Click here)
- Micro SD Card (128gb max).
- Kapton tape.
Instructions:
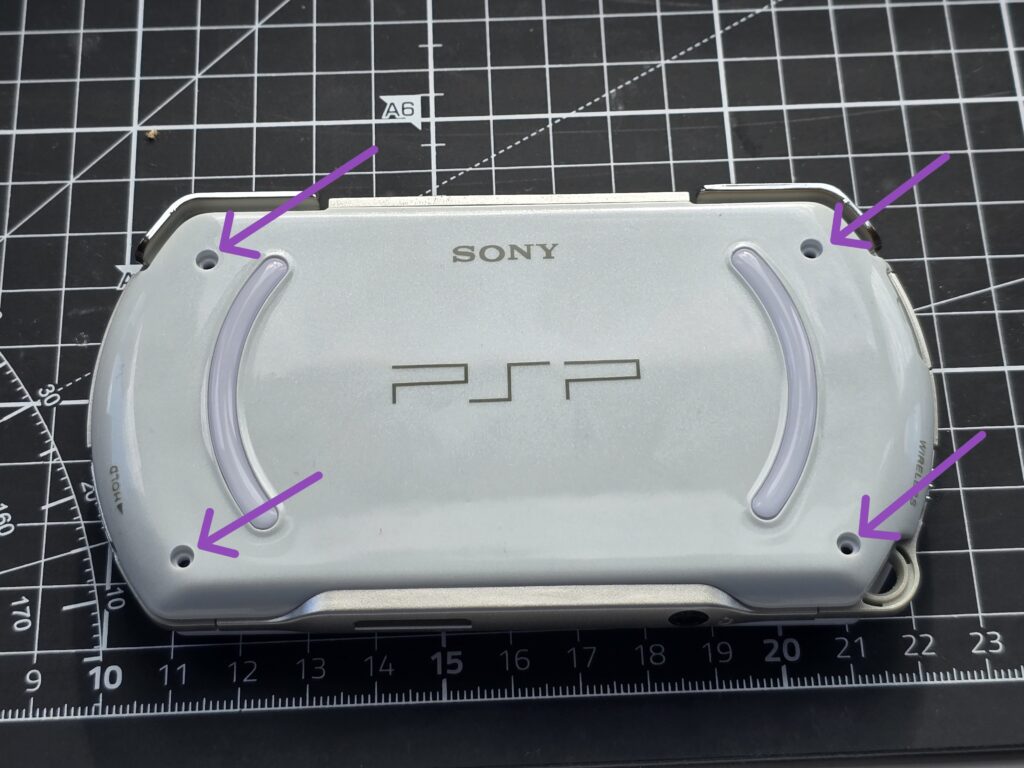
1. Unscrew the four screws at the back of the Go.

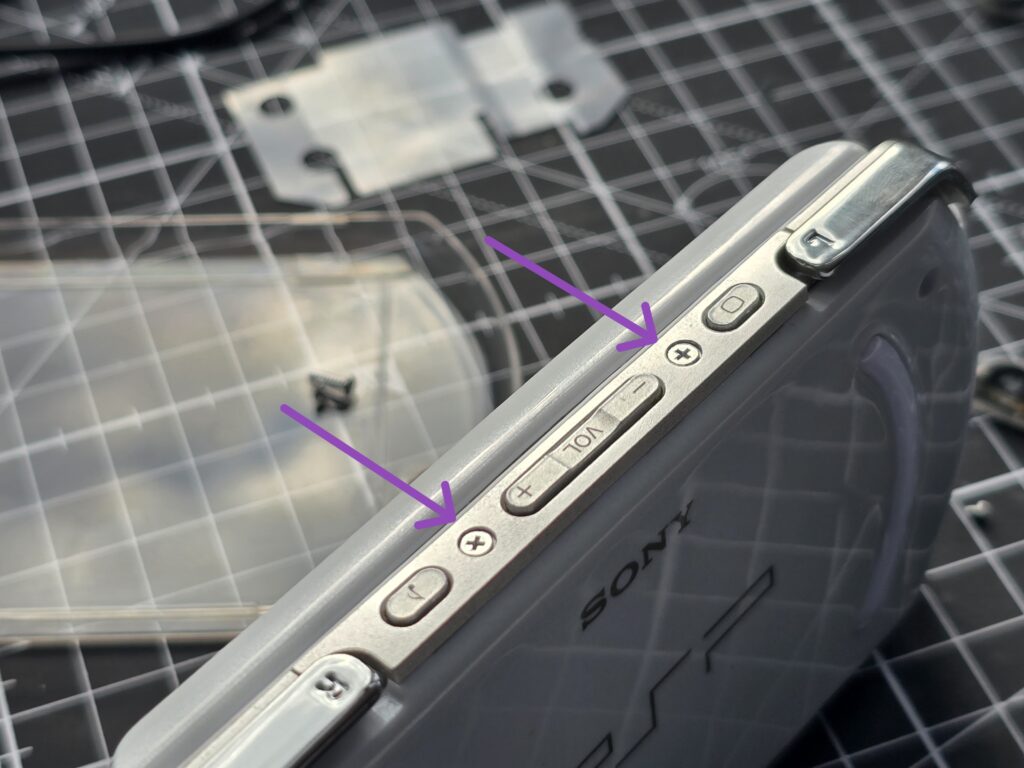
2. Unscrew the two top screws. These are a different size so keep these separate.

3. Pop off the back of the Go.

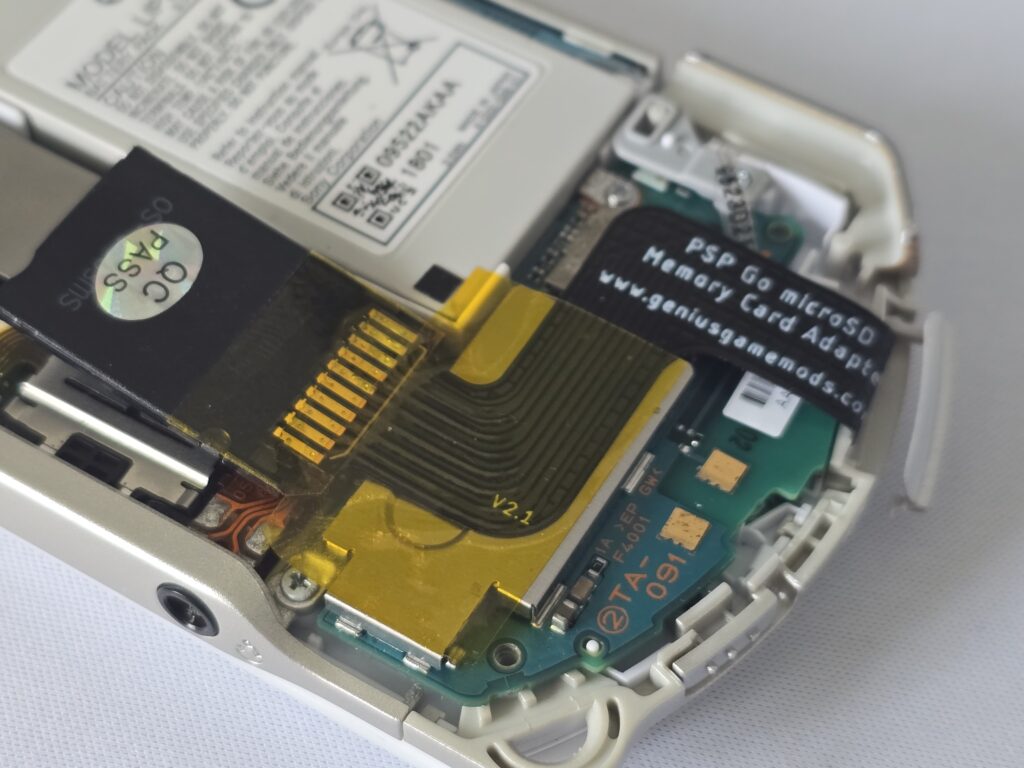
4. Plug the micro SD Card into the adapter and plug the adapter into the Go.


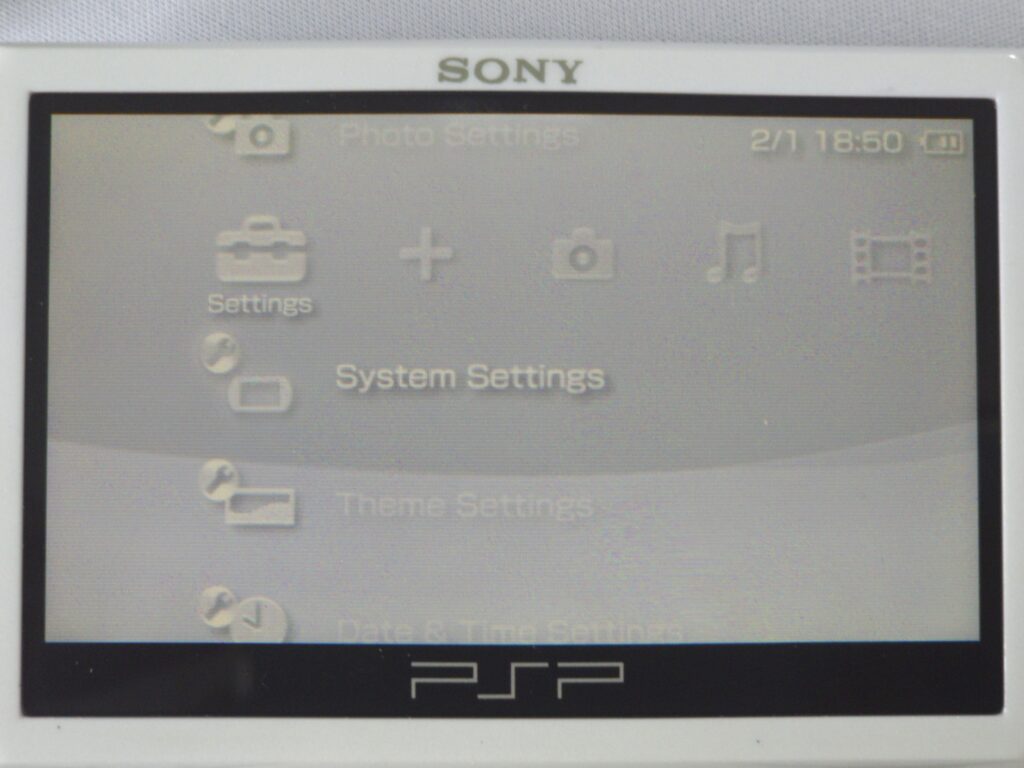
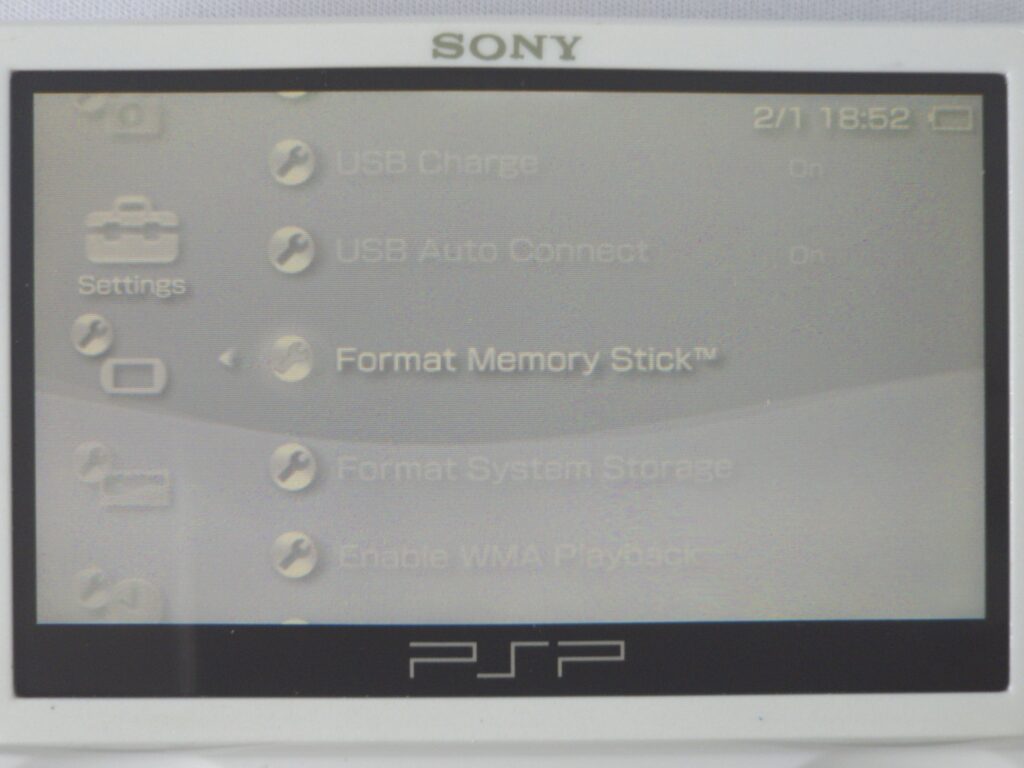
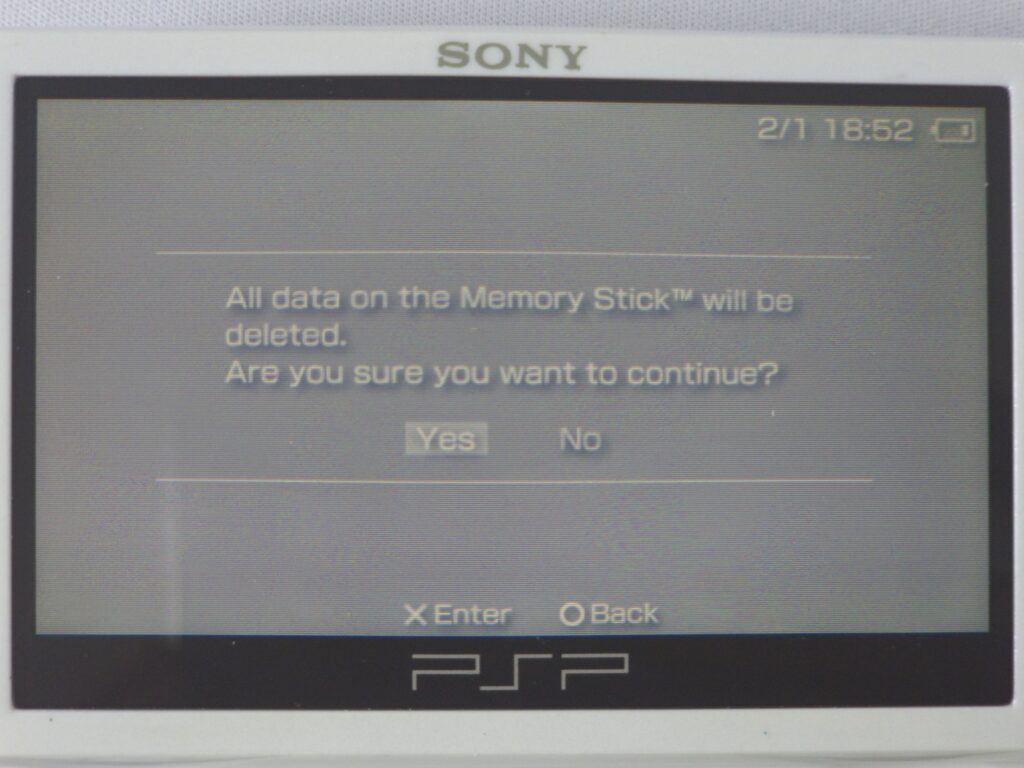
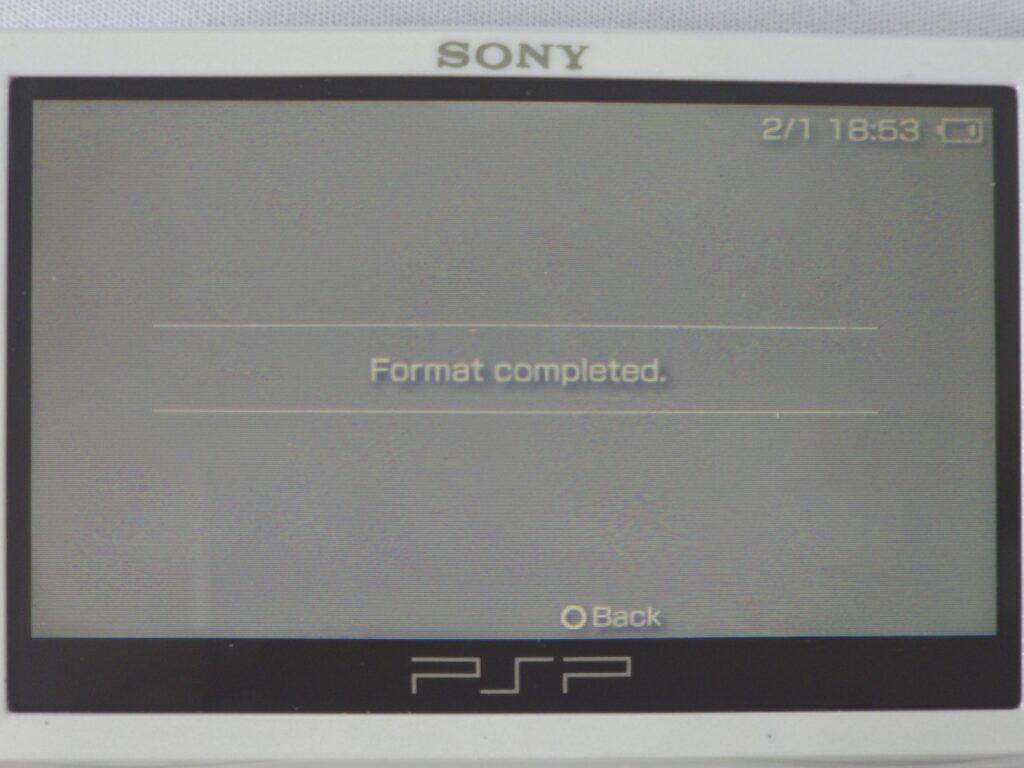
5. Now turn on the Go and head over to Settings -> System Settings -> Format Memory Stick and wait for the process to complete.
6. Now you can tape down the adapter as shown below
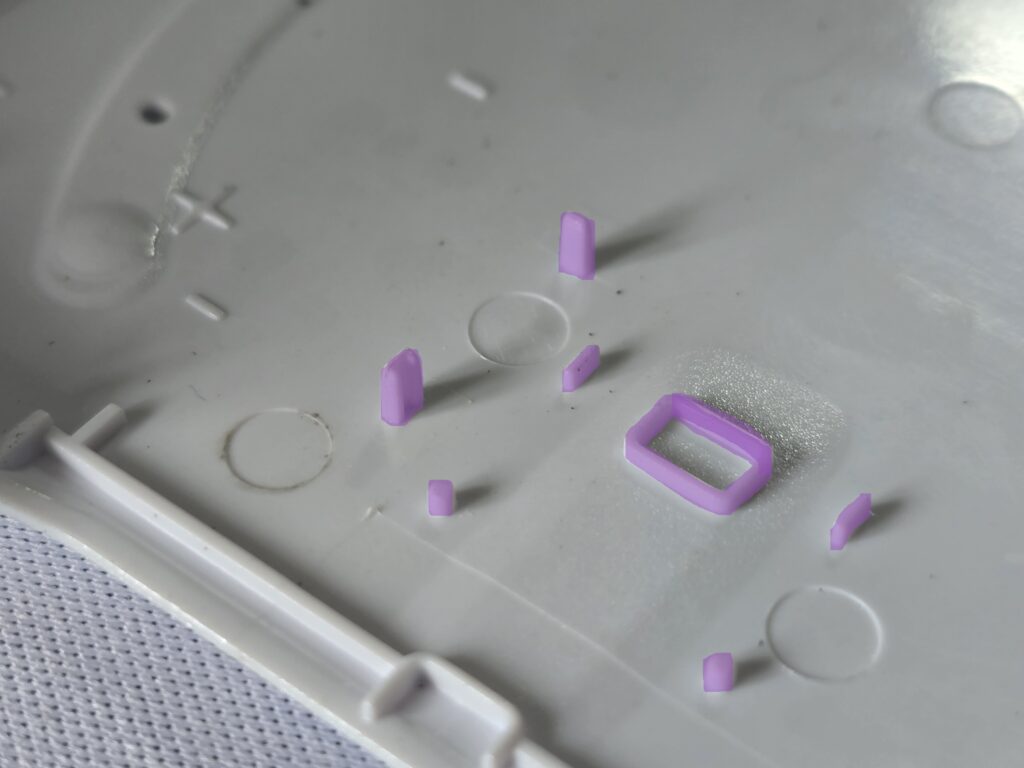
7. There are some small plastic pieces on the back shell we need to remove for the adapter to fit. Snip them off with some flush cutters or an exacto knife.
8. Now you can pop on the back shell and screw in the four shorter screws into the back and two longer screws at the top.
The mod is now complete and you can use the micro SD card as if it was a regular mini SD!