
ROG Ally 2280 upgrade
This is an overview and guide on upgrading to a 2280 drive in the ally. There are now two different ways to fit a 2280 drive in the ally. The first requires you to cut the shell as pictured below, as well as a secondary option that requires you to use a 90* adapter that you'll have to purchase.
Materials needed
- Phillips size 100 driver
- Small wire snips
- Electric/Kapton tape
- Plastic pry tool
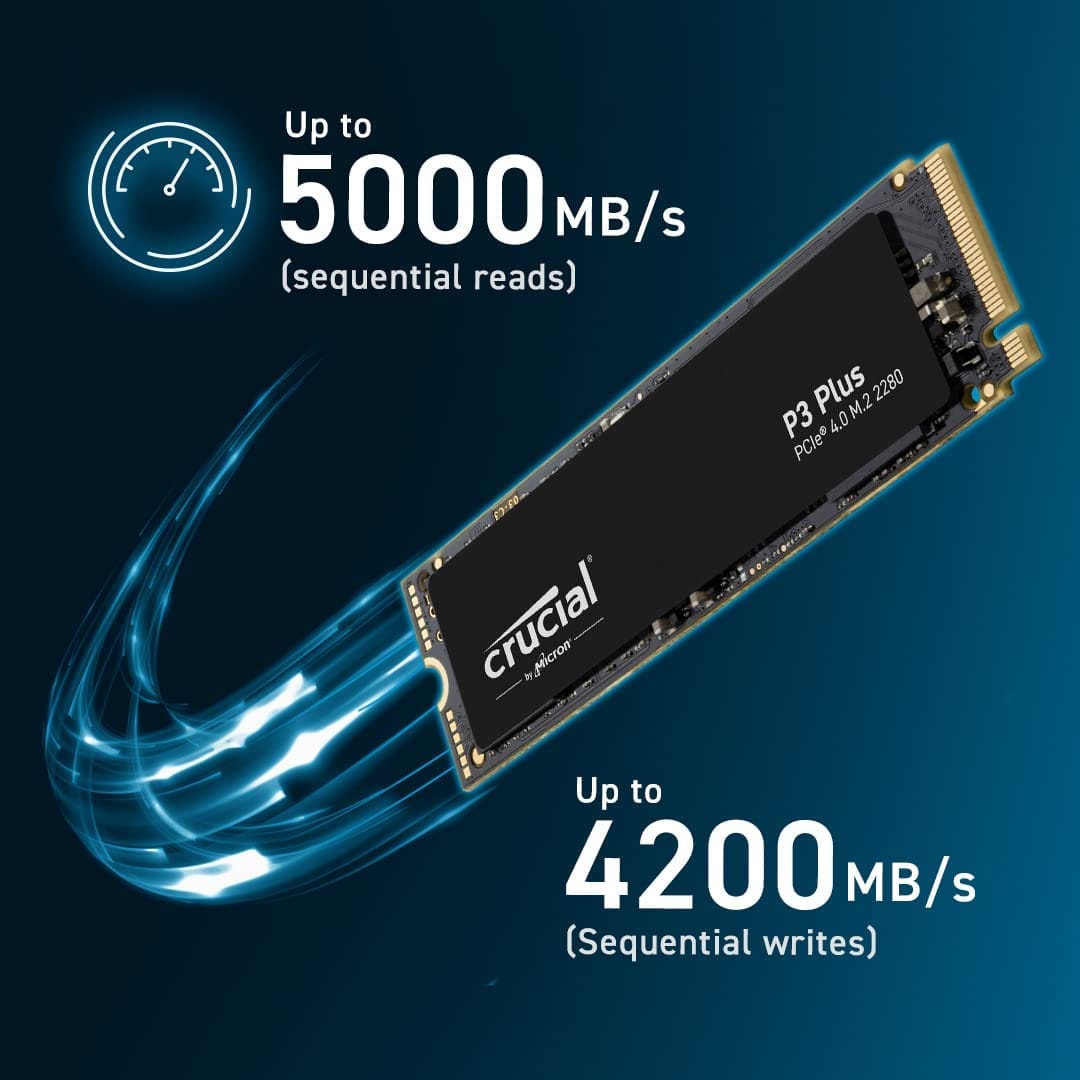
List of Working SSD's
- P3 4tb (non ultra)
- P3 4tb Ultra
SSD's That Do NOT Work
- Teamgroup 4tb
- 990 Pro 4tb
Notes:
- This will likely void your warranty. You can contact customer service for better clarification based on your country, laws, and whats allowed.
- The Red "warranty void" sticker on the battery and heat pipe does not void your warranty provided you do not damage anything inside of the device and restore it to a factory original condition before the RMA
- You will need to use a single-sided NVME, double-sided ones will interfere with the ram.
- Please be aware that there are very affordable 2tb 2230 Nvme's available. We really only recommend this mod if you already have an existing single-sided 2tb 2280 laying around or are wanting 4tb of storage. The Crucial P3 4tb is currently one of the best choices. If you are buying a nvme for this mod it should be no smaller than 4tb
- You can find a 2tb 2230 nvme HERE for $129 USD
- Be extremely careful when removing the back panel screws, battery, and SSD screws as they can strip!
- BY FOLLOWING THIS GUIDE YOU TAKE RESPONSIBILITY FOR YOUR OWN ACTIONS
Instructions
- Remove back panel
- Unplug the battery cable
- Unscrew the battery screws and remove the battery.
- Move wifi antenna based on this picture
- Snip plastic from the shell in these locations
- Wrap NVME with 1 layer of electrical tape so the backside cant short against the board.
- Slide in 2280 NVME in place.
- Reinstall the battery and screw it back down.
- Plug the battery back in.
- Close the shell all the way (so the light sensor isn't tripped)
- Screw the case back together.
- Plug in the OEM charger, press and hold the power button, and release it once the screen is on.
- The Ally will not power on after the back cover has been opened unless you plug in the OEM charger.
- Once on the Republic Of Gamers screen you must wait around 180 seconds for it to boot.