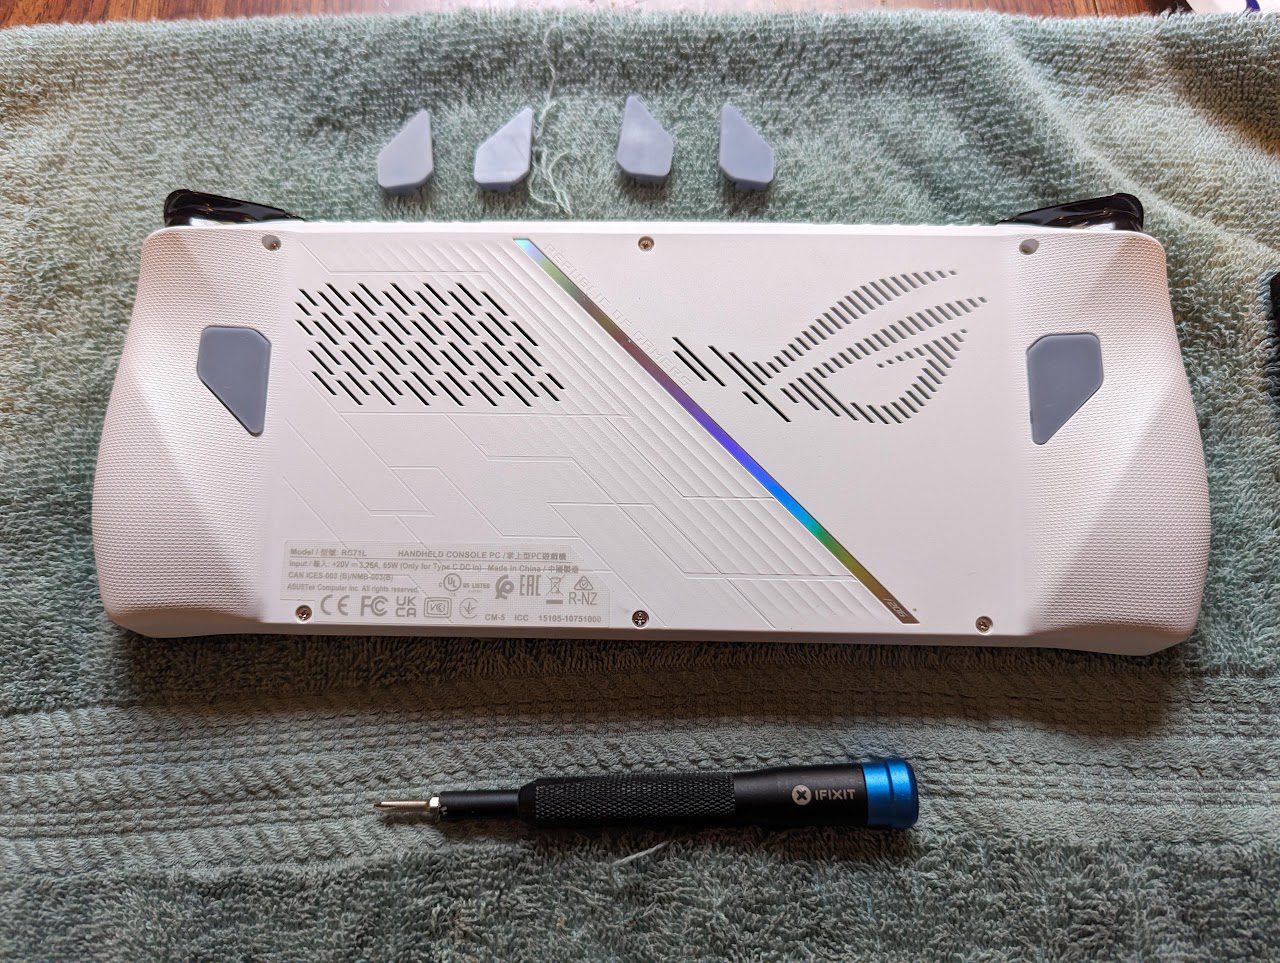
This is a quick overview and tutorial on how to install low-profile and or mod paddles in your ally. This will replace the larger OEM back paddles with slimmer lower-profile ones. I printed resin parts for Calini during the design phase and it prints amazingly with an FMD or SLA printer but is overall a finicky part because of its small size.
Materials needed:
- FDM or SLA printer
- Phillips size 100 driver
- Plastic pry tool
- OEM Charger
- Download the STL Files HERE
Notes:
- Designed by Calini.
- This shouldn’t void your warranty. You can contact customer service for better clarification based on your country, laws, and what’s allowed.
- The Red “warranty void” sticker on the battery and heat pipe does not void your warranty provided you do not damage anything inside of the device and restore it to a factory original condition before the RMA
- You will need to self-tap the screws into the printed part, FDM might require heat, SLA will require you to do this before you cure the part.
- Be extremely careful when removing the back panel screws and paddle screws as they can strip!
Print Instructions:
For FDM printers:
- Rotate the part flat against the build plate.
- 20% infill should work fine for most people.
- Print slowly with part cooling enabled.
- Heat up the screw and use it to tap the threads into the part.
For SLA Printers:
- Rotate the part so the flat side is facing the screen.
- Suction/remove excess resin from the screw hole.
- Tap the screw before curing the part.
- For best finish avoid touching the flat surface before curing.
Instructions:
- Remove back panel
(Picture from above with a screwdriver screwing in one of the back panel screws) - Remove paddle screws
(Picture from above of back panel with a screwdriver on the paddle screw) - Swap the paddle, re-place the spring in the groove
(Picture close up of factory paddle and printed on side by side, picture of spring in back panel) - Screw the new paddle in.

- Close the shell all the way
(Picture from the bottom showing the seam with a slight gap) - Screw the case back together.
(Picture from above with a screwdriver screwing in one of the back panel screws) - Plug in the OEM charger, press and hold the power button, and release it once the screen is on.
(Picture from above with OEM charger plugged in) - The Ally will not power on after the back cover has been opened unless you plug in the OEM charger.
(Close-up of charger port with OEM charger plugged in showing the Orange light on) - Once on the Republic Of Gamers screen you must wait around 180 seconds for it to boot.
(Picture from above with ROG on the screen)
Here are the first prototype low-profile back buttons.
https://www.printables.com/model/508952-rog-ally-minimal-back-buttons


