
90* 2280 Mod
This is an overview and guide on upgrading to a 2280 drive in the ally. There are now two different ways to fit a 2280 drive in the ally. The first requires you to cut the shell, as well as a secondary option that requires you to use a 90* adapter that you'll have to purchase as featured below
Credit:
- YesItsKira - Lead Designer, Pictures (Donate Here)
- LowKeyLoki - Tester
Materials needed
- FDM or SLA printer
- Phillips size 100 driver
- Plastic pry tool
- OEM Charger
- Download the STL files (https://www.thingiverse.com/thing:6649988)
Notes:
- This likely won't void your warranty. You can contact customer service for better clarification based on your country, laws, and whats allowed.
- The Red "warranty void" sticker on the battery and heat pipe does not void your warranty provided you do not damage anything inside of the device and restore it to a factory original condition before the RMA
- Be extremely careful when removing the back panel screws, battery, and SSD screws as they can strip!
- BY FOLLOWING THIS GUIDE YOU TAKE RESPONSIBILITY FOR YOUR OWN ACTIONS
Instructions
- Remove back panel
- Unplug the battery cable
- Unscrew the battery screws and remove the battery.
- Remove existing 2230 NVME drive
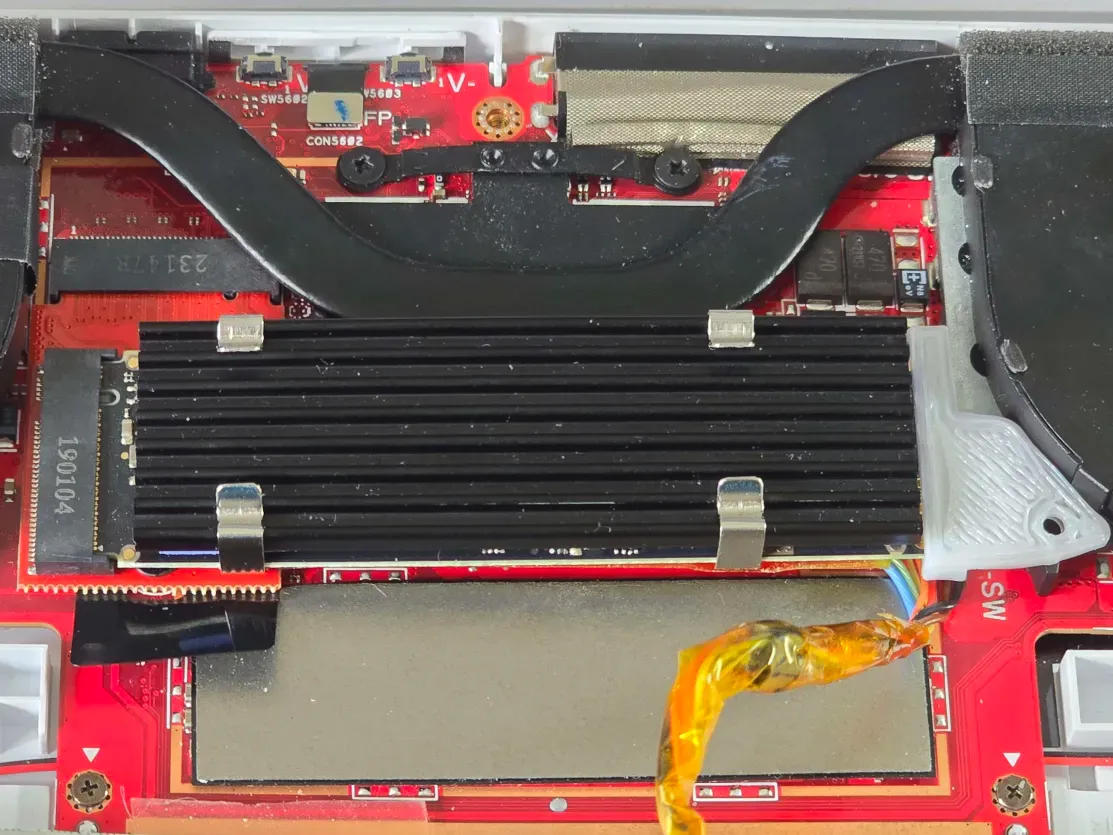
- Install 90* adapter and screw it into place
- Install 3D printed brace to 2280 drive
- Slide 2280 drive into the 90* adapter and screw it into the fan
- Plug the battery back in.
- Close the shell all the way (so the light sensor isn't tripped)
- Screw the case back together.
- Plug in the OEM charger, press and hold the power button, and release it once the screen is on.
- The Ally will not power on after the back cover has been opened unless you plug in the OEM charger.
- Once on the Republic Of Gamers screen you must wait around 180 seconds for it to boot.