
Steam Deck Tactile button upgrade
This is a guide and general overview of how to install and upgrade your Steam Deck or Steam Deck OLED buttons
Credit:
- Ripplingsnake: Pictures, instructions, and testing
Materials needed
- Precision Screwdriver Set
- Plastic pry tool
- eXtremeRate Face Clicky Kit for Steam Deck OLED
- eXtremeRate Face Clicky Kit for Steam Deck LCD
Notes:
- BY FOLLOWING THIS GUIDE YOU TAKE RESPONSIBILITY FOR YOUR OWN ACTIONS
- This guide is under construction, please keep this in mind as you read through it.
Instructions:
You can follow this awesome iFixit guide on how to disassemble the device down, we only need to remove the daughter boards.
Remove the back panel and unplug the battery
- Remove all 8 back panel screws.
- Remove the micro SD card.
- Unclip and remove the back panel.
- Remove 2 screws from the metal heat shield.
- Remove wire tape.
- Remove the shielding.
- Pull the battery connector to the right and unplug the battery.
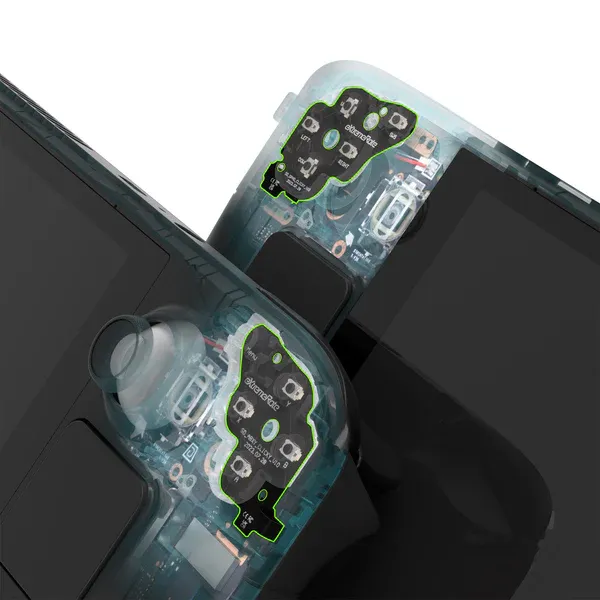
Removing daughter boards
Installing new clicky daughter boards
Plugging in the battery and reinstalling the back panel
- Reinstall metal shielding.
- Place wire and tape back down.
- Screw in the 2 screws that were removed earlier.
- Put the back panel back in, and make sure the clips snap-in.
- Screw all 8 screws back into the shell.