

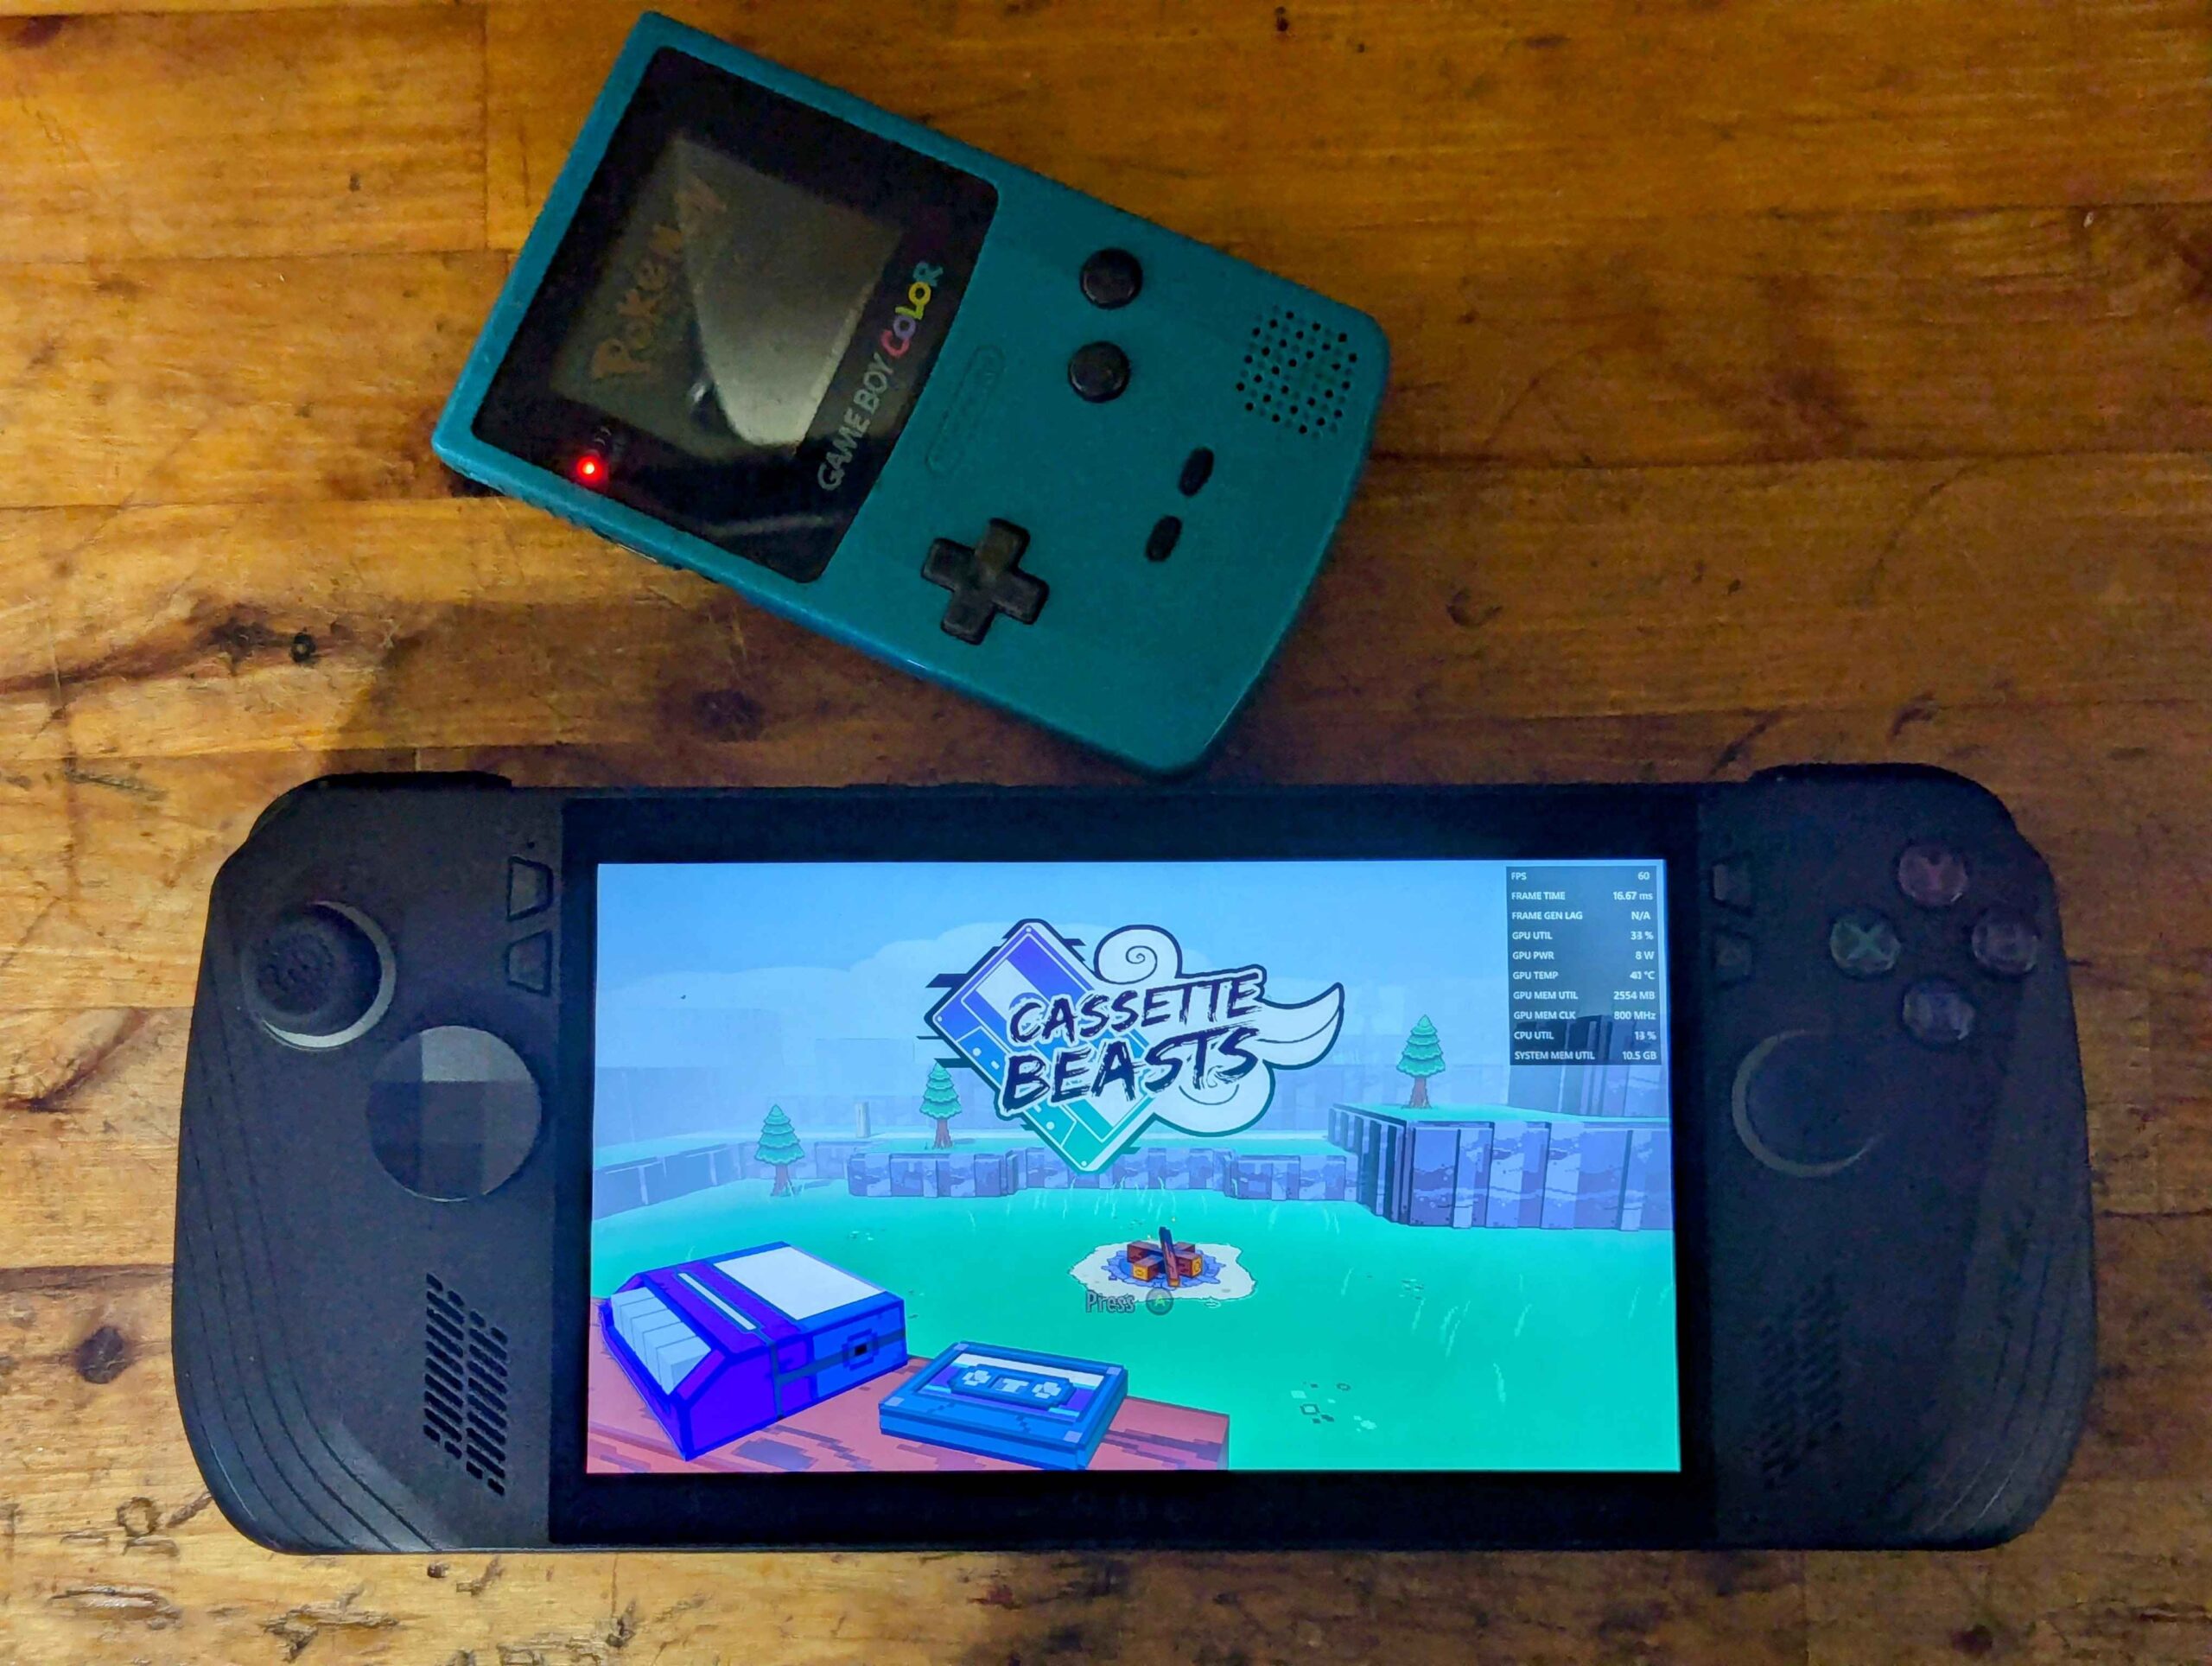
This is a dpad mod to allow use of the magnetic dpads from the Xbox Elite 2 controller and the Extreme Rates kit.
CREDIT:
- Tekgnome – Inventor/Project Lead, Tester,
- YesItsKira – Lead Designer, Tester (Donate Here)
MATERIALS NEEDED:
- FDM or SLA printer
- Phillips size 100 driver
- Plastic pry tool
- OEM Charger
- Download the STL files (Here)
- Superglue
- An ExtremeRate Xbox Elite kit (Here) or you’ll need Magnets with dimensions 6mm x 3mm x 1-3mm and a Xbox Elite swappable Dpad.
NOTES:
- Be extremely careful when removing the back panel screws, paddle, and trigger screws as they can strip!
INSTRUCTIONS:
Making the new dpad
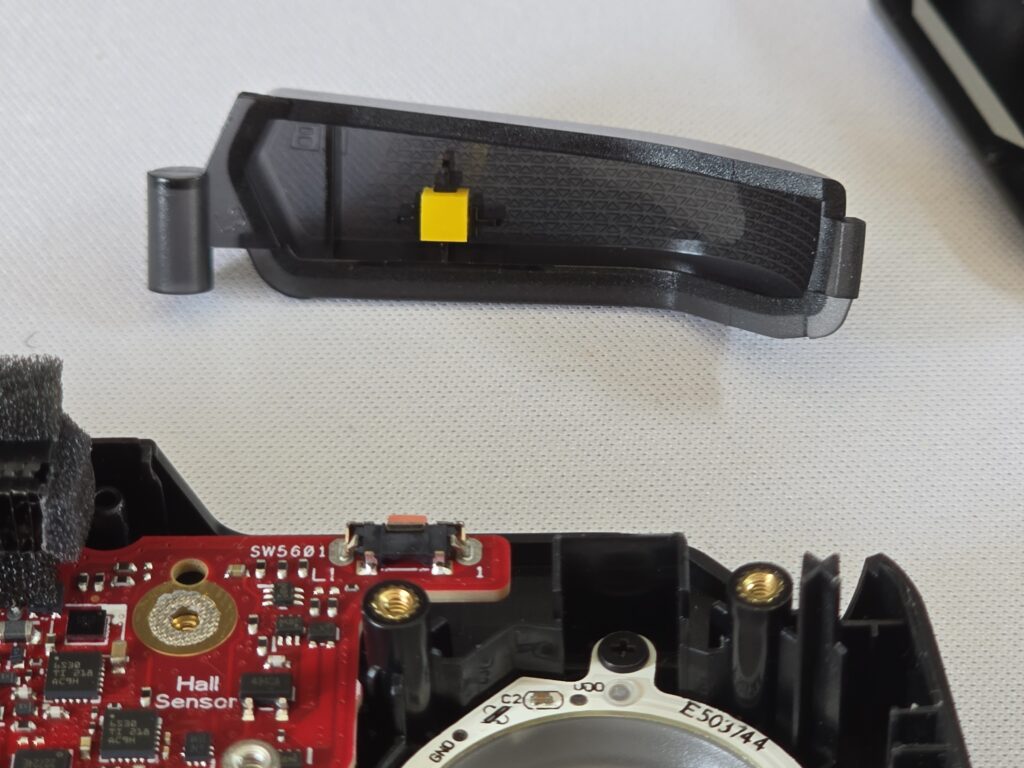
1. Glue the magnets into the holes in the bottom of the printed Dpad.
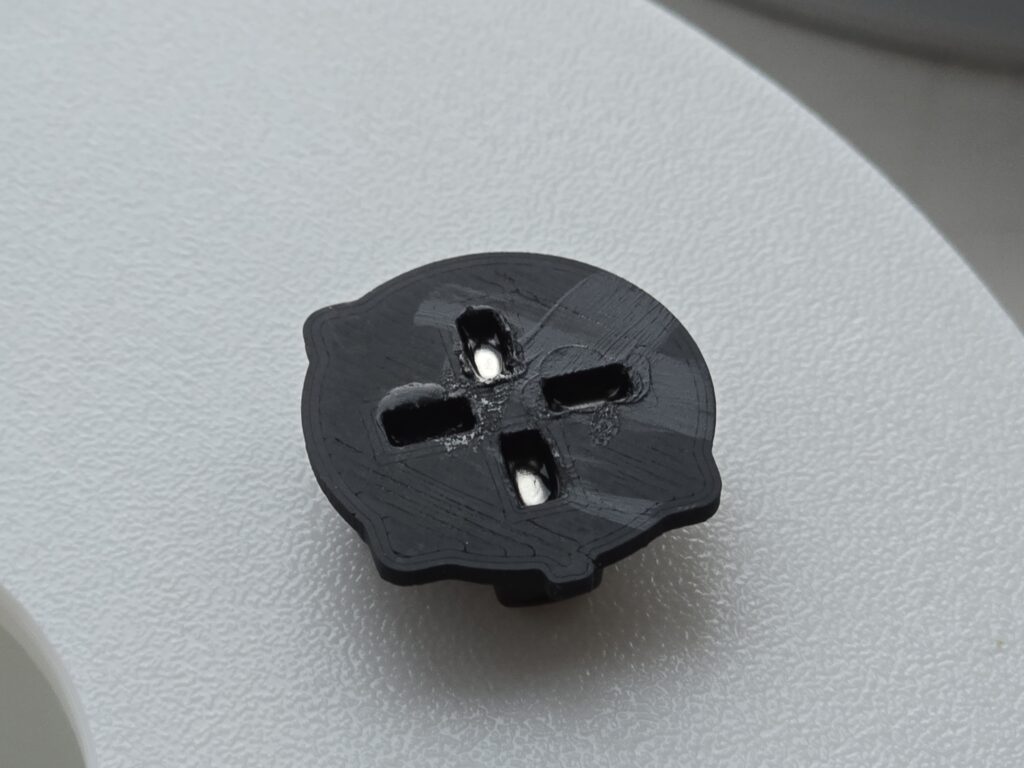
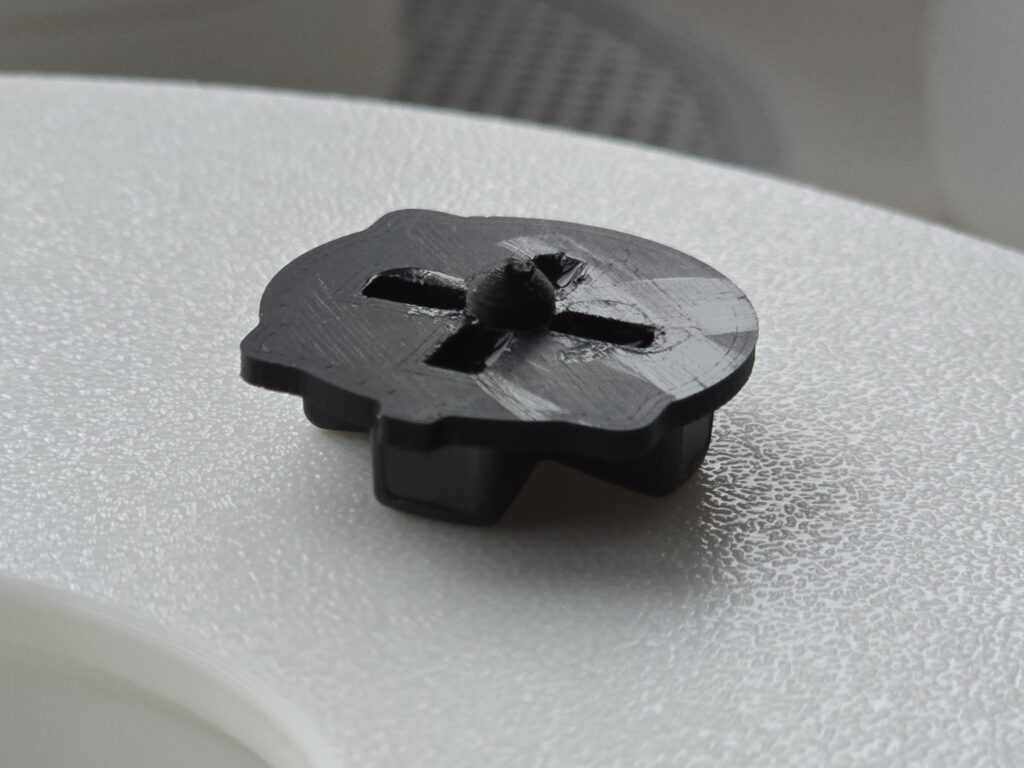
2. Glue the pivot onto the centre of the Dpad.
Removing the Ally X Dpad
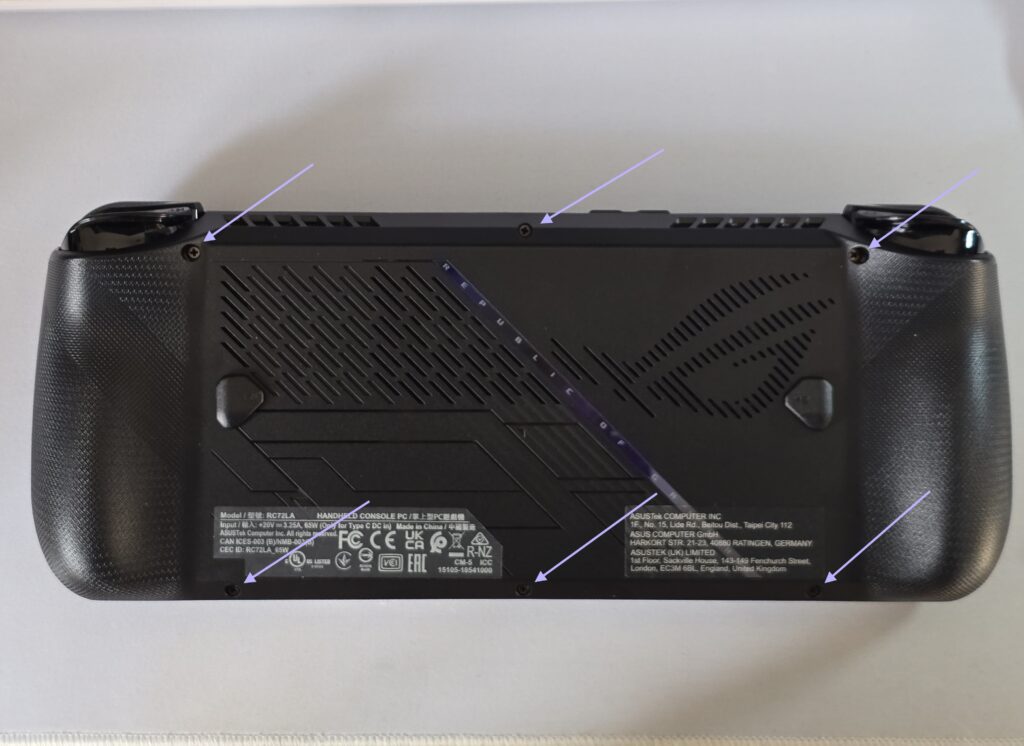
3. Remove the 6 screws 0n the back of the Ally X. The bottom middle one is a captive screw and will not come out all the way.
4. Using a plastic pry tool or even a guitar pick or credit card, run it along the seam to pop the clips and separate the two halves, Take care as there is a ribbon cable attaching the backplate to the Ally X.
5. Gentley remove the tape and unlatch the ribbon so that the backplate can be placed to the side.
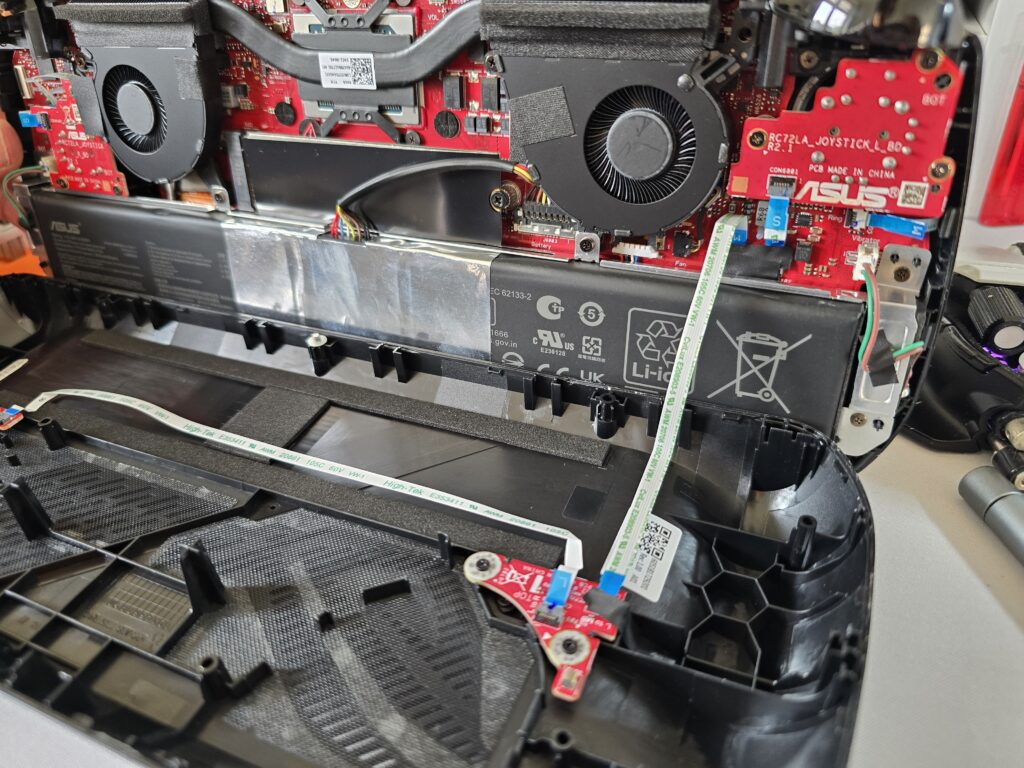
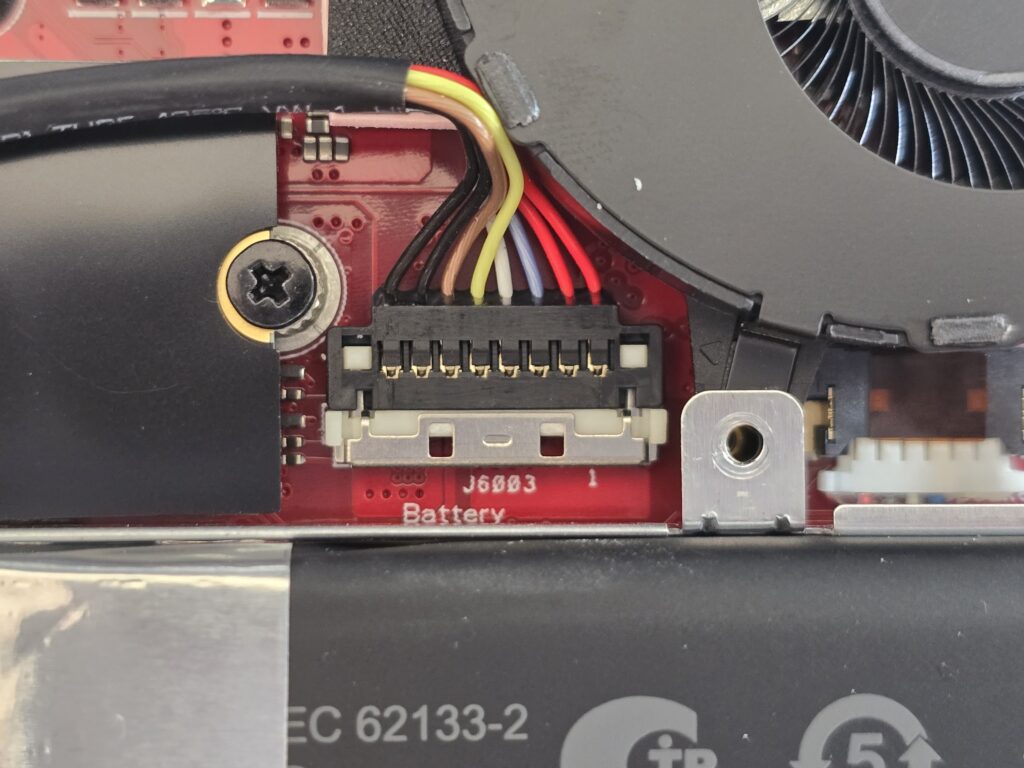
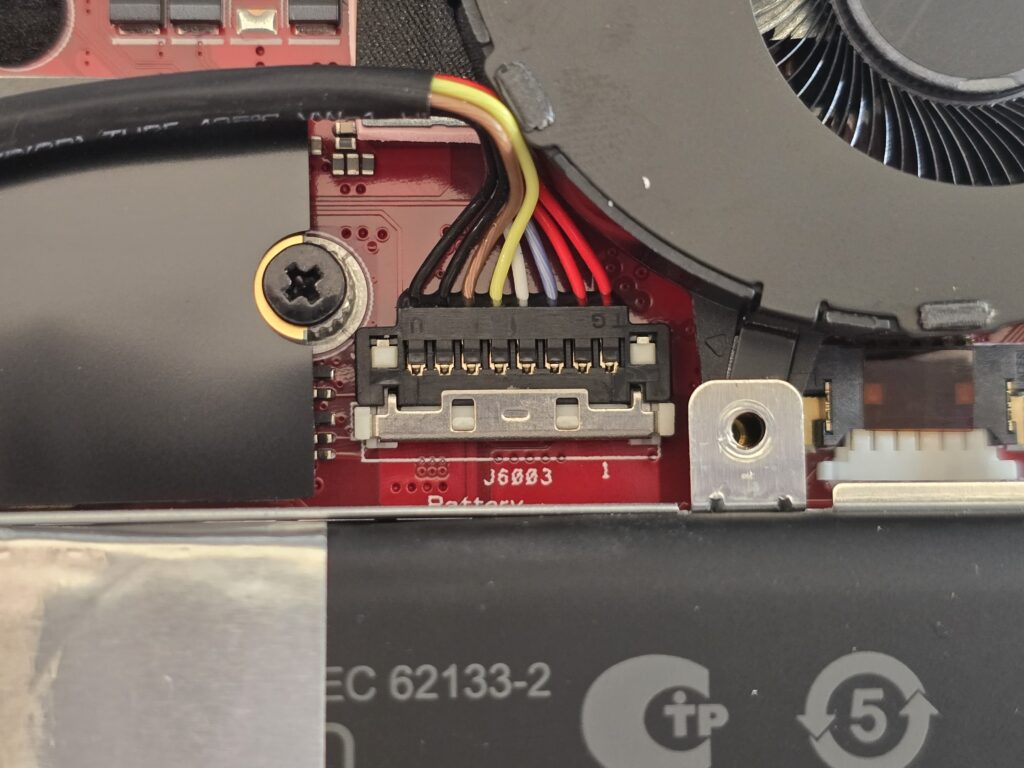
6. Push the metal tab on the battery connector down and lift the connector upwards to unlpug the battery.
7. Remove the 4 screws holding in the battery and remove it.
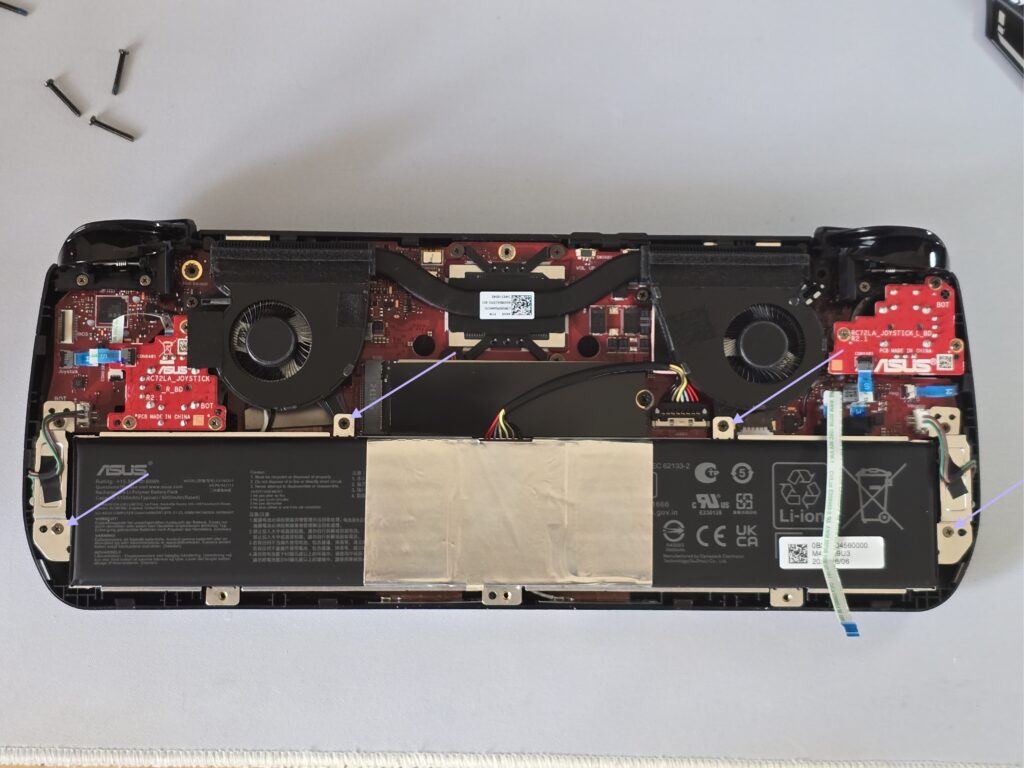
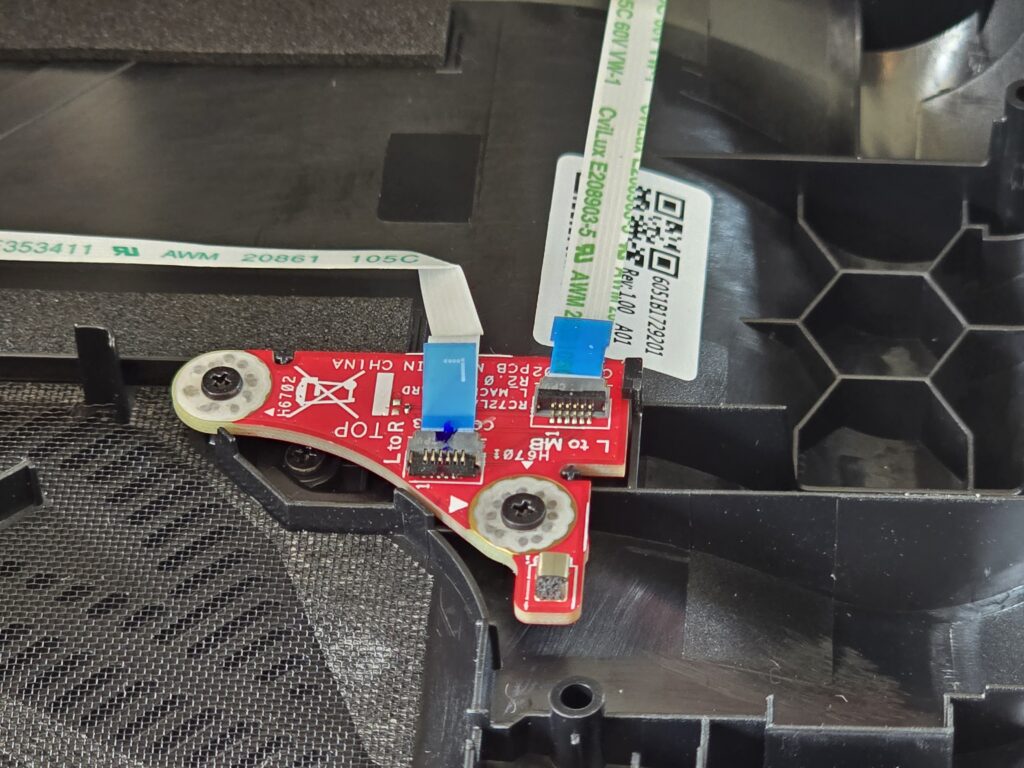
8. Unlatch and remove the ribbon cables on the joystick daughter boards and remove the three screws on each so that you can take the joystick boards out.
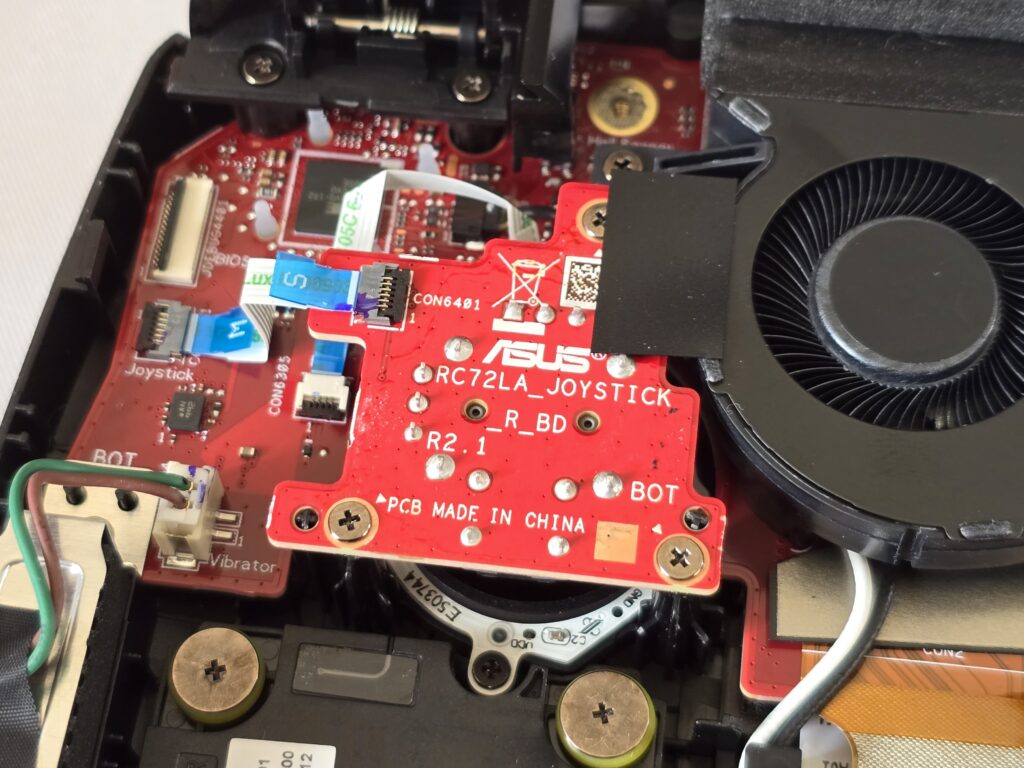

9. Unlatch and unplug the led ring ribbons.
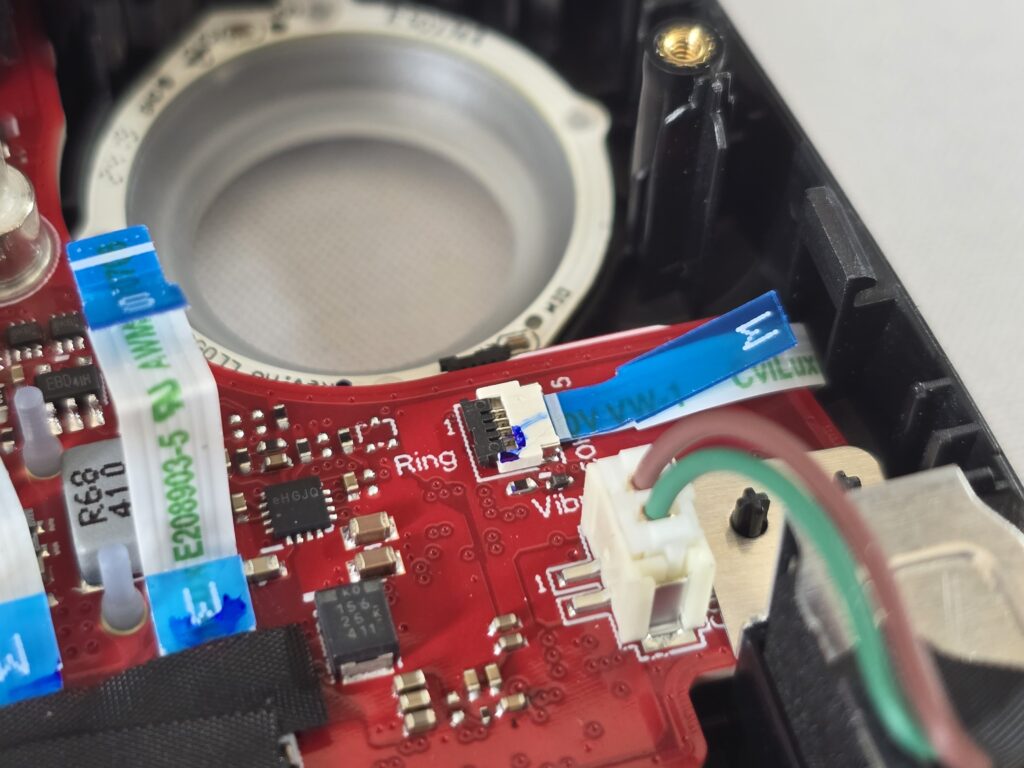
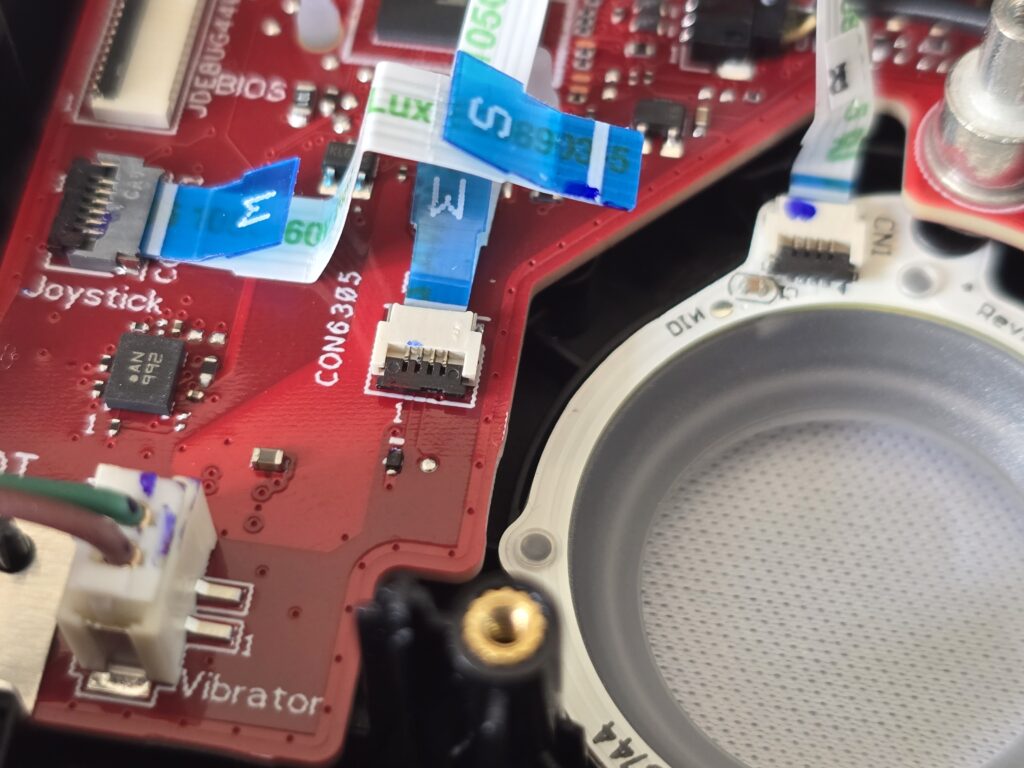
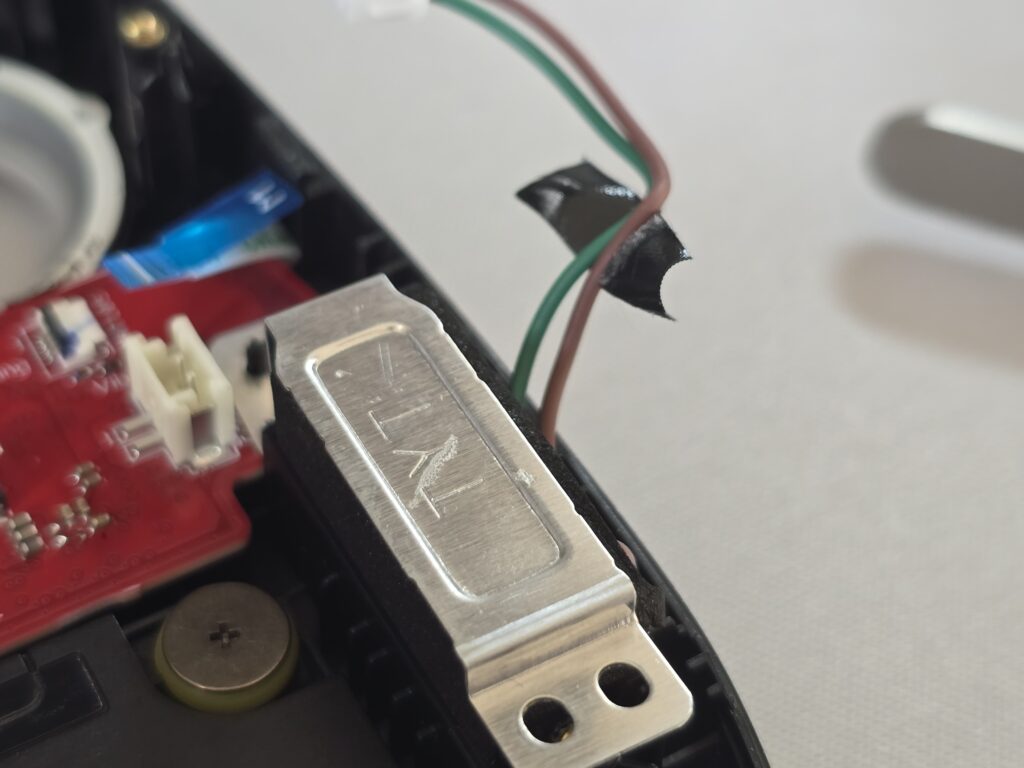
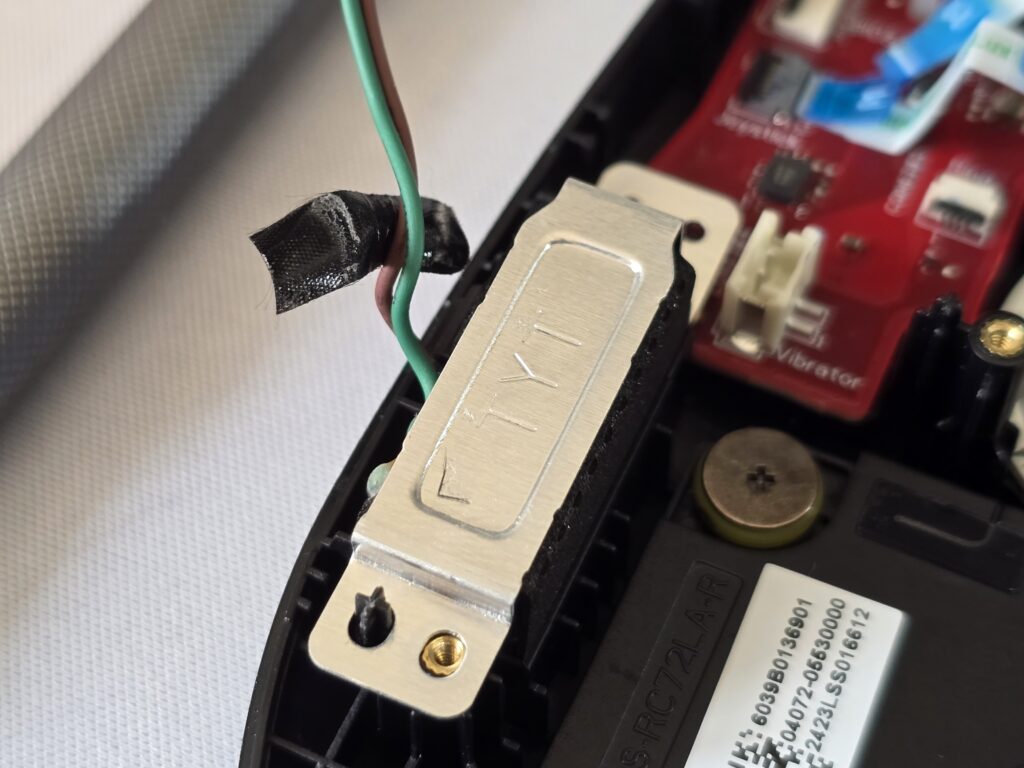
10. Unscrew one screw for the vibration motor holders and remove them. The actual motors can stay in the Ally X.
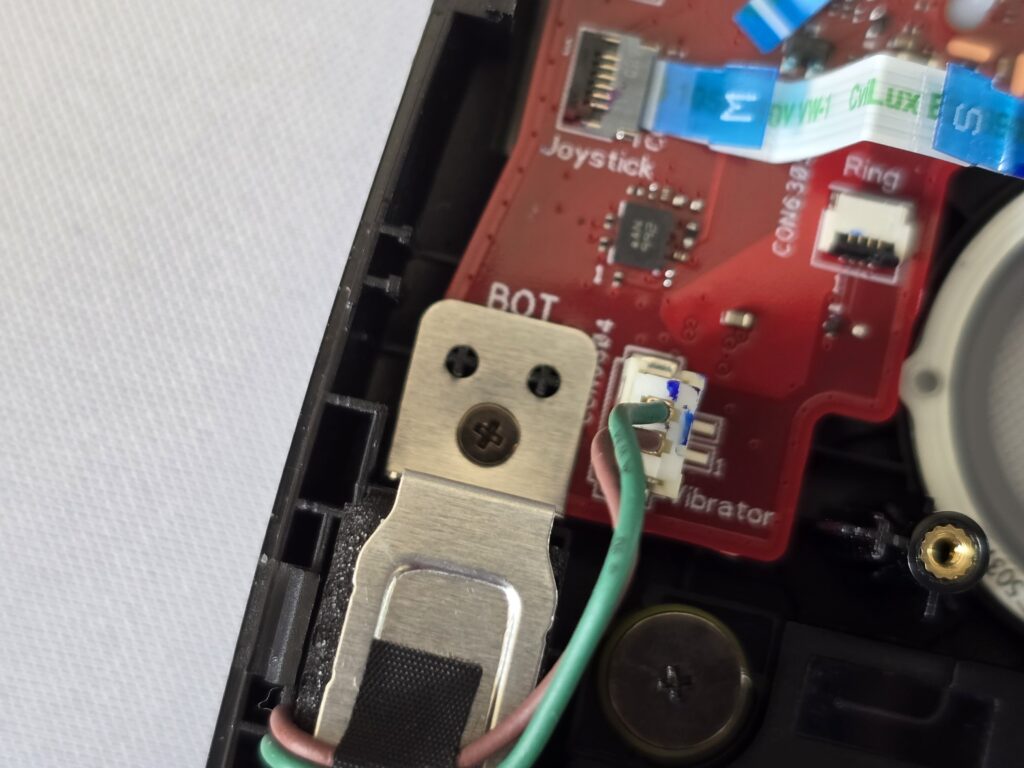
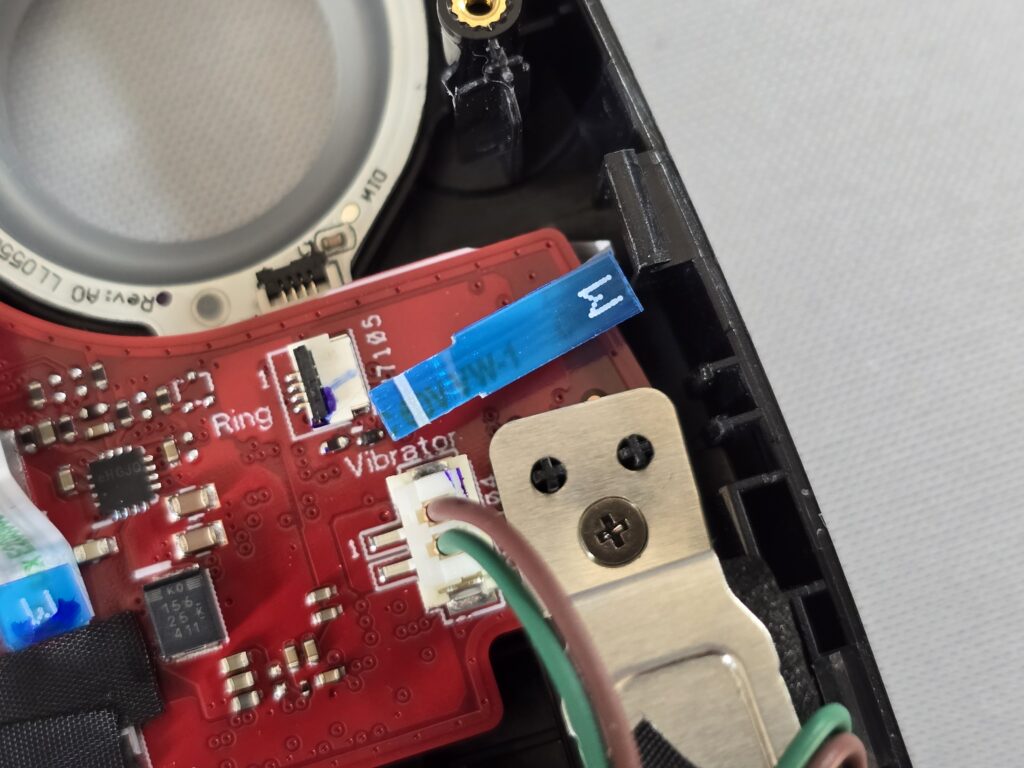
11. Carefully remove the tape on the vibration motor wires and unplug the connector on the board.
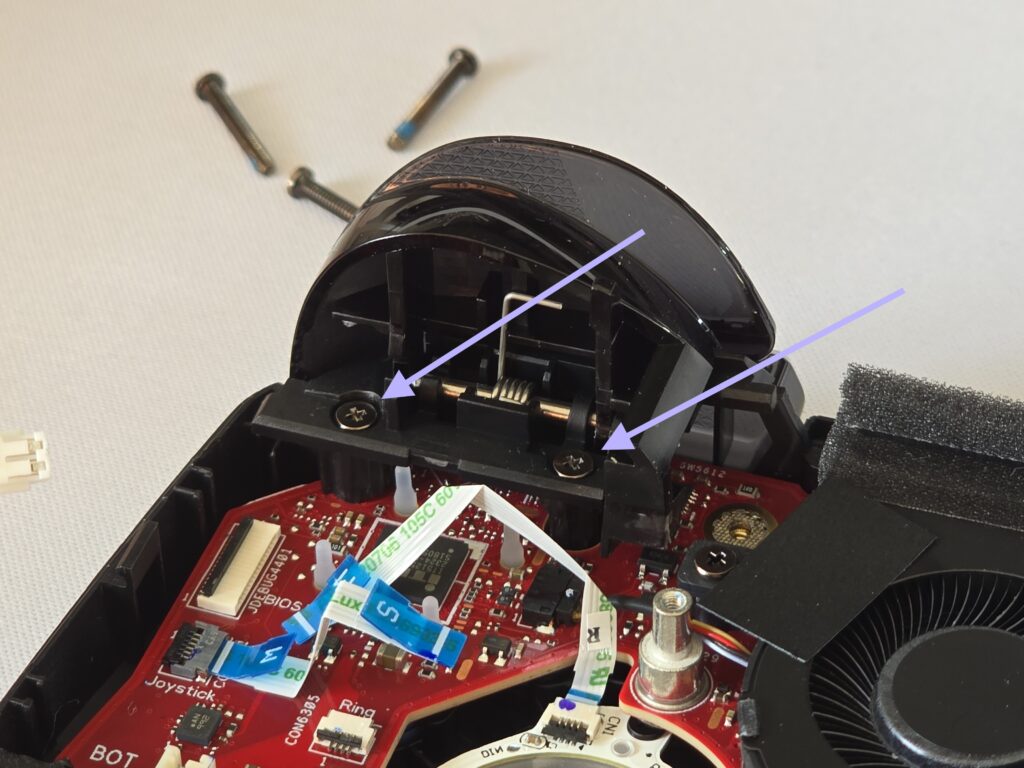
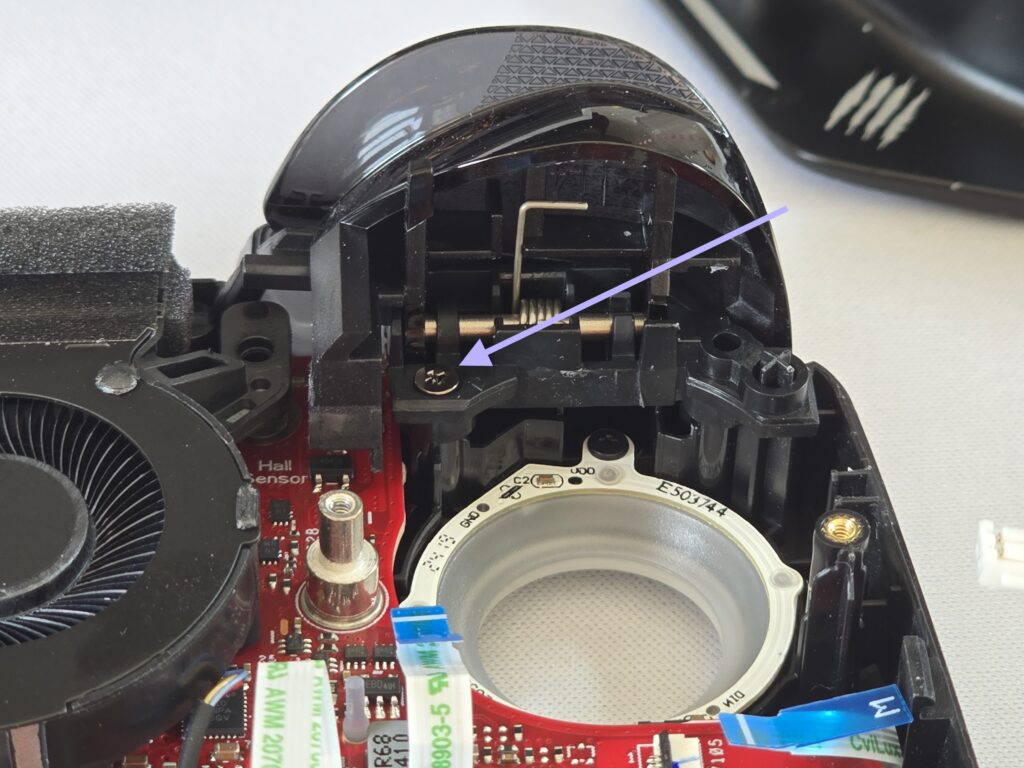
12. Remove the three screws that are holding in the triggers and set them aside.
13. Unplug the speaker plug from the motherboard.
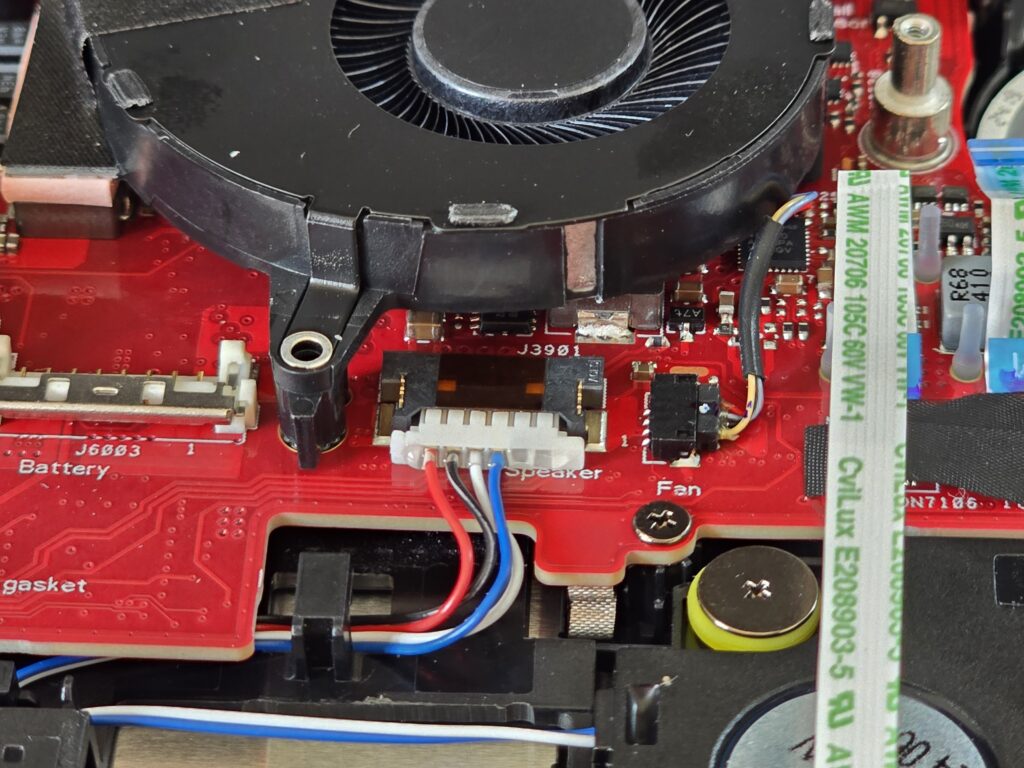
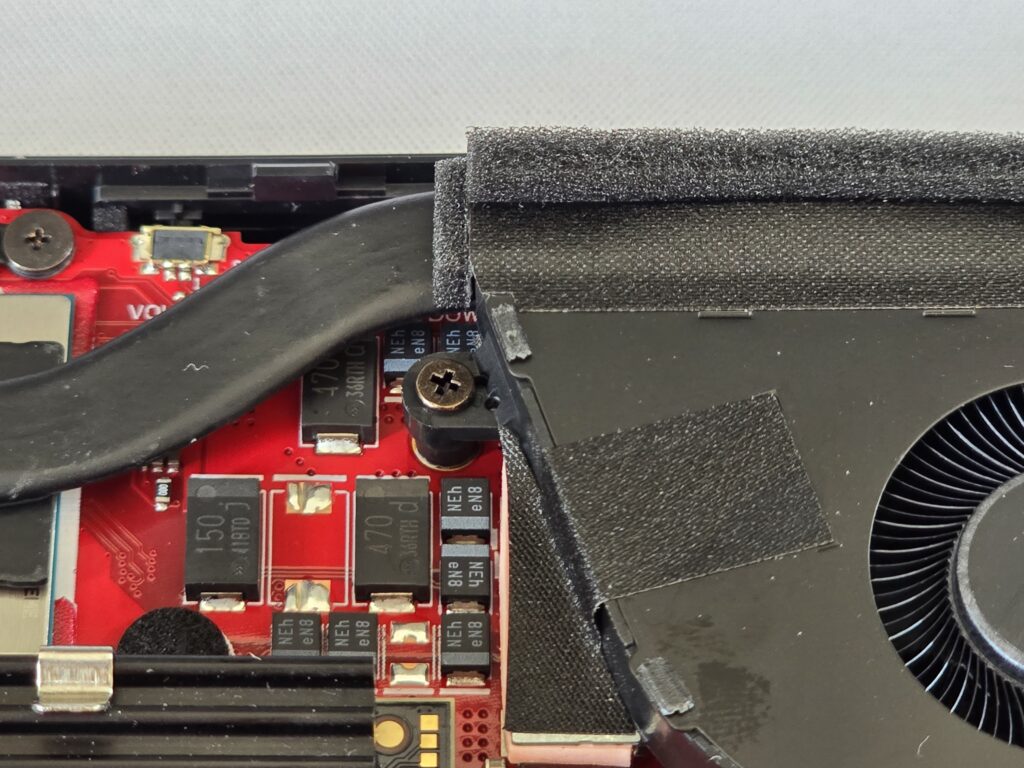
14. Unscrew the screw holding in the left fan and pull it upwards to unstick it from the tape.
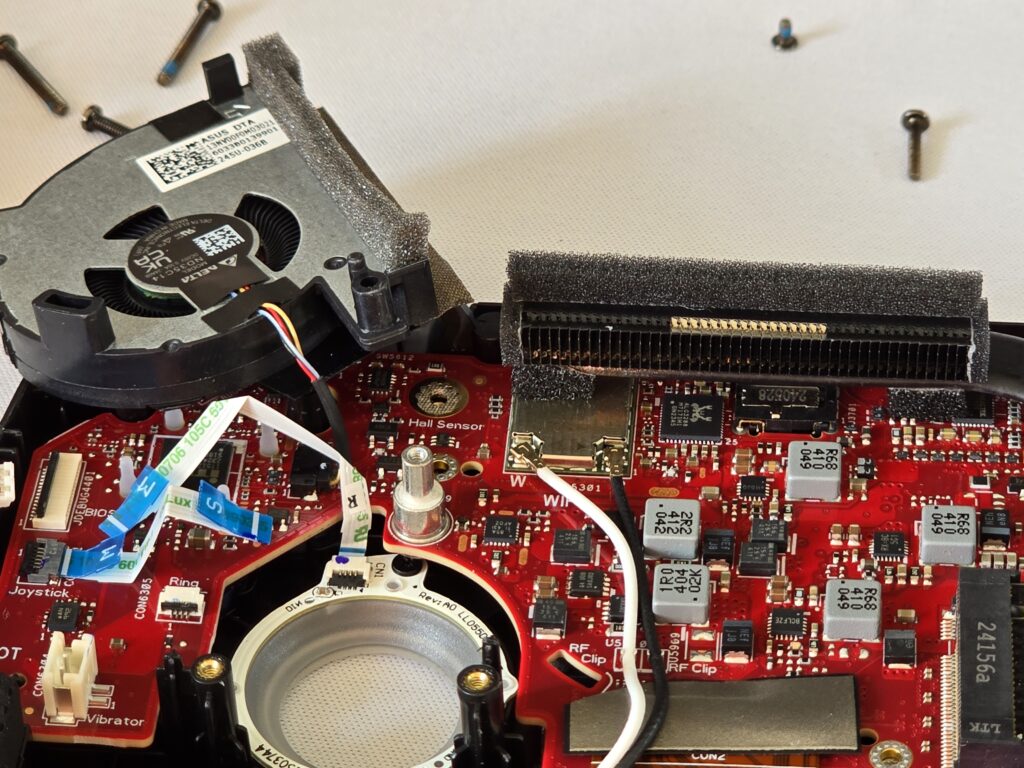
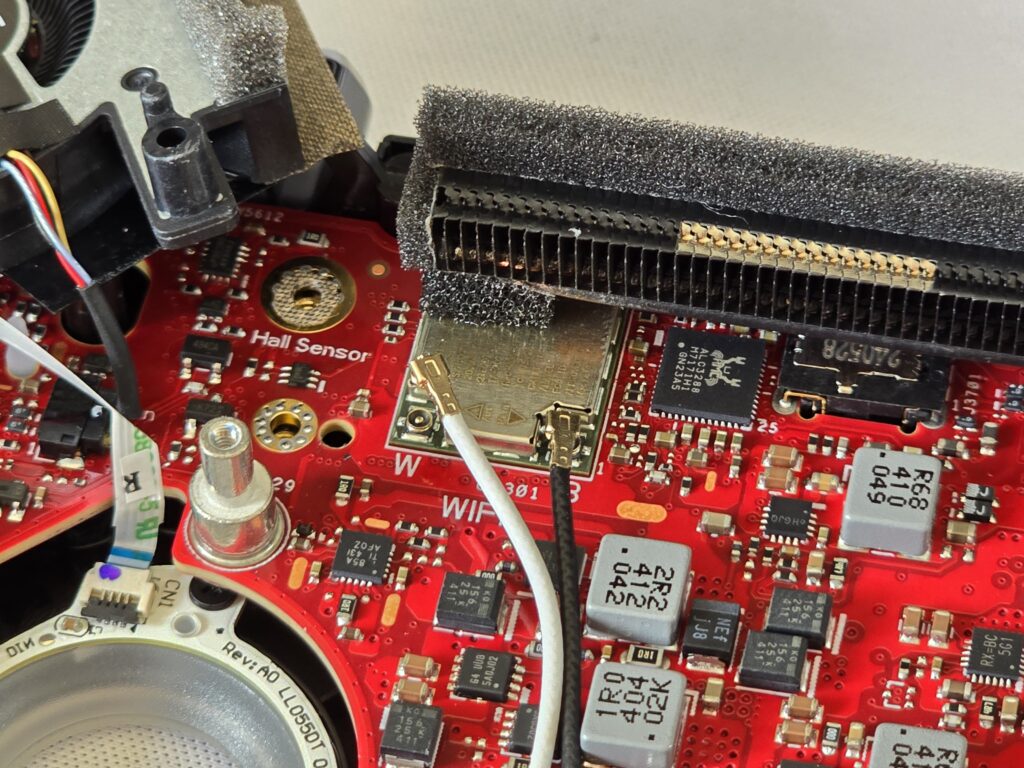
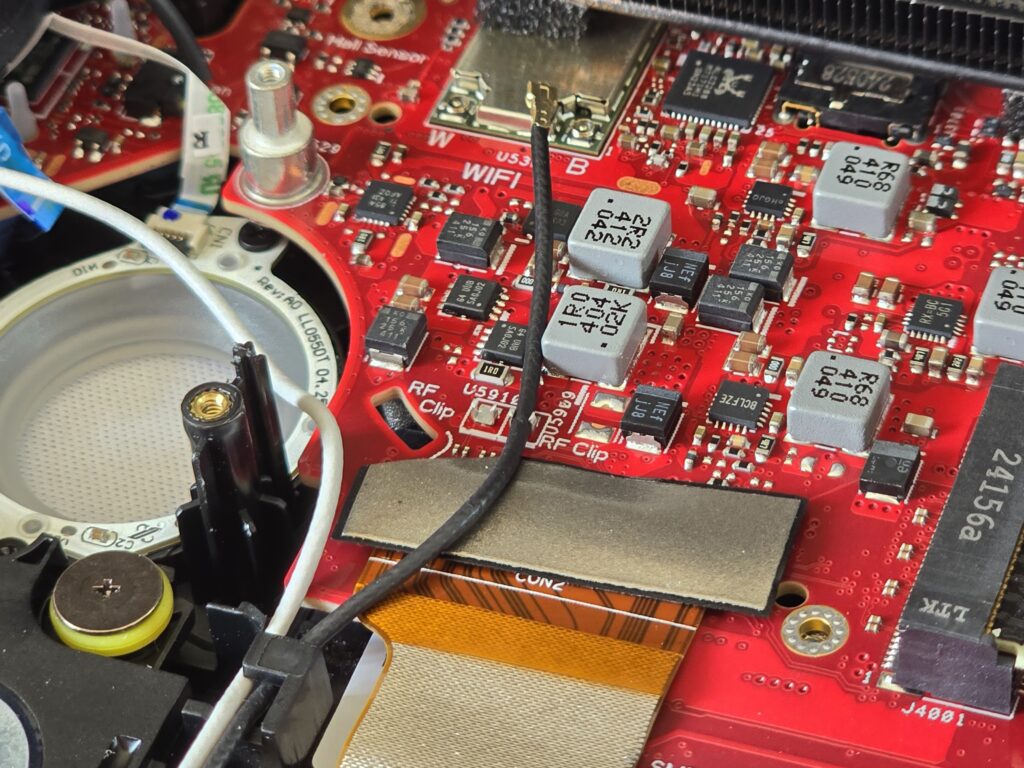
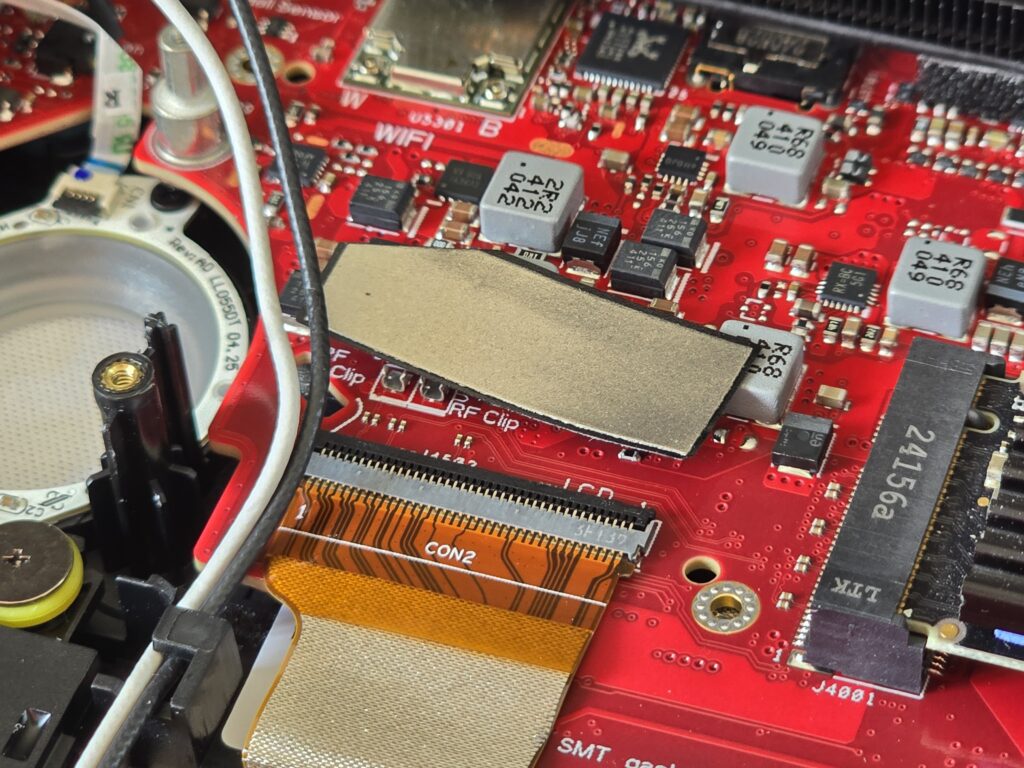
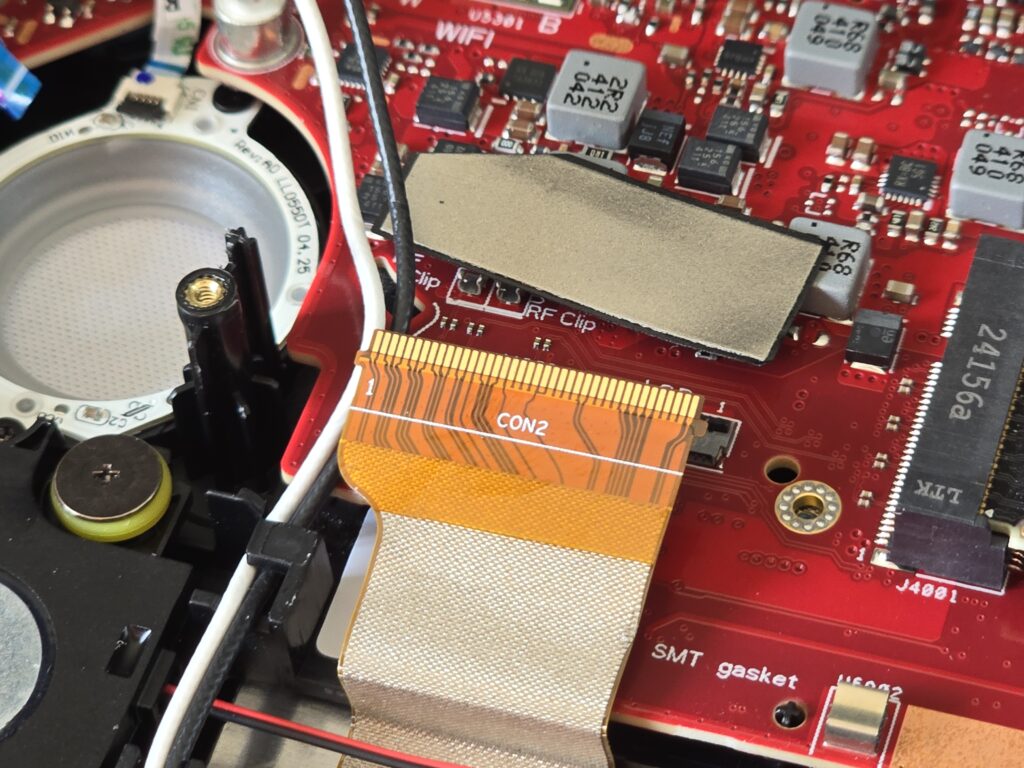
15. Unplug the two antenna wires on the wifi card and pop the wires out of the holders on the board. These are fragile connectors so be very careful!
16. Unplug the power button connector. It lifts directly up.
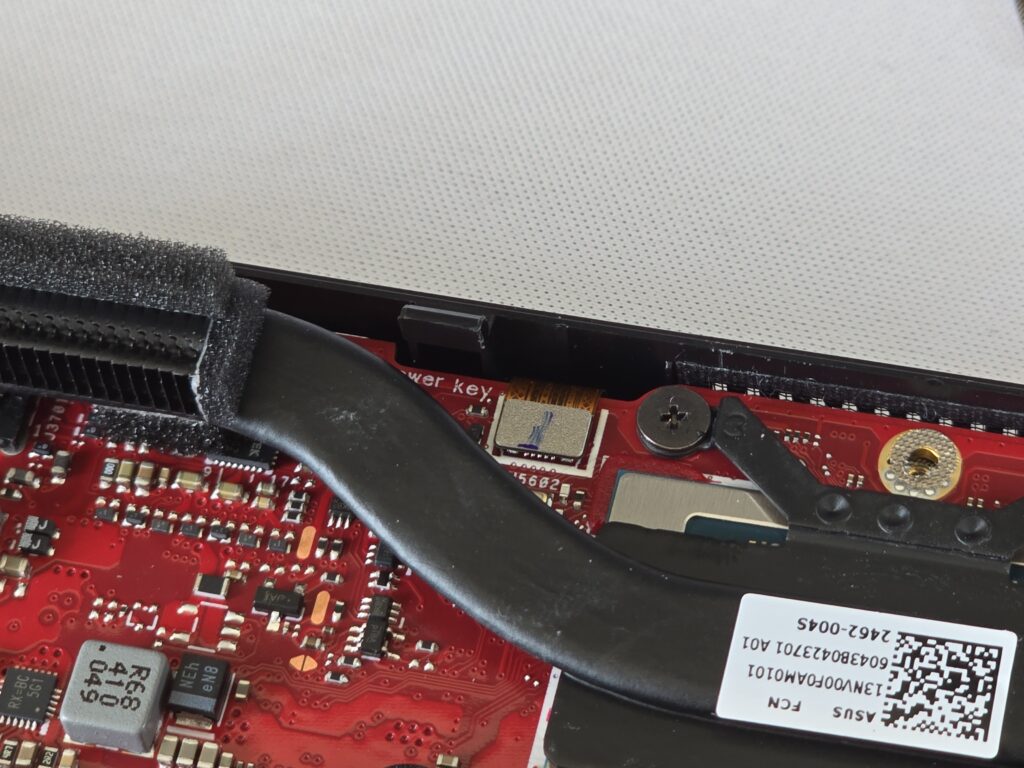
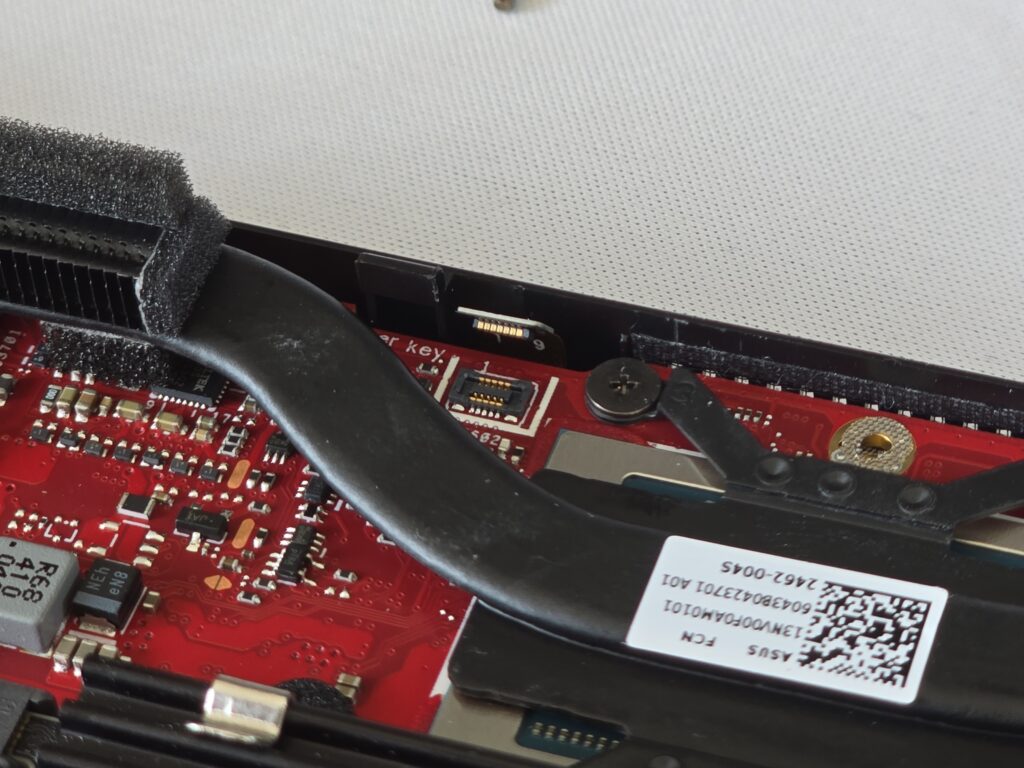
17. Remove the shielding take and unlatch and unplug the screen ribbon.

18. Remove the bumpers.
19. At this point you can either tilt the motherboard out from the bottom or remove the motherboard entirely.
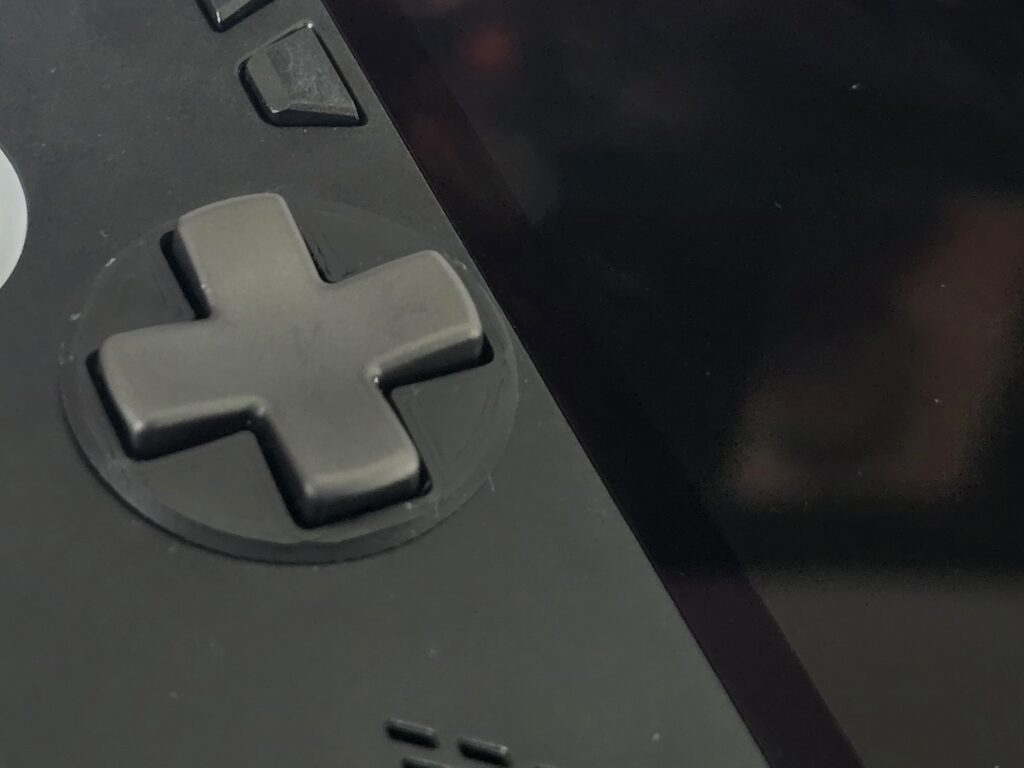
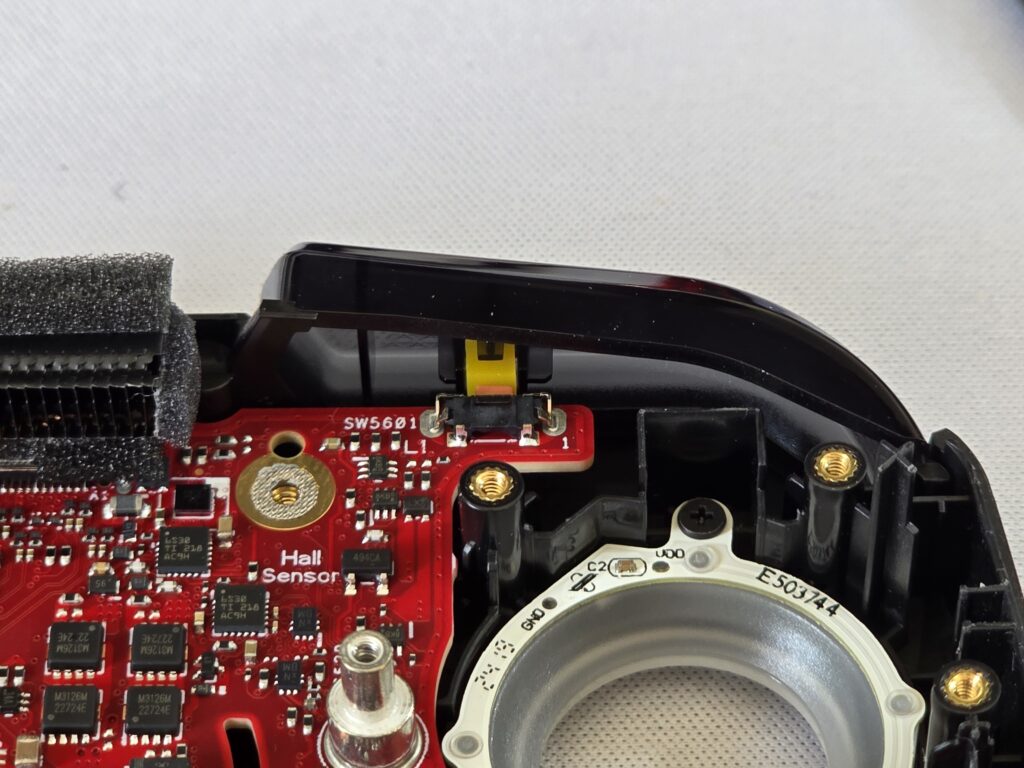
20. Swap out the stock Dpad for the magnetic modded one we made earlier.
21. Follow the steps in reverse to put your Ally X back together.
22. Now that the Ally X is back together, we can install the ring around the dpad. If friction does not hold it in, a small amount of double sided tape can help hold it in place.
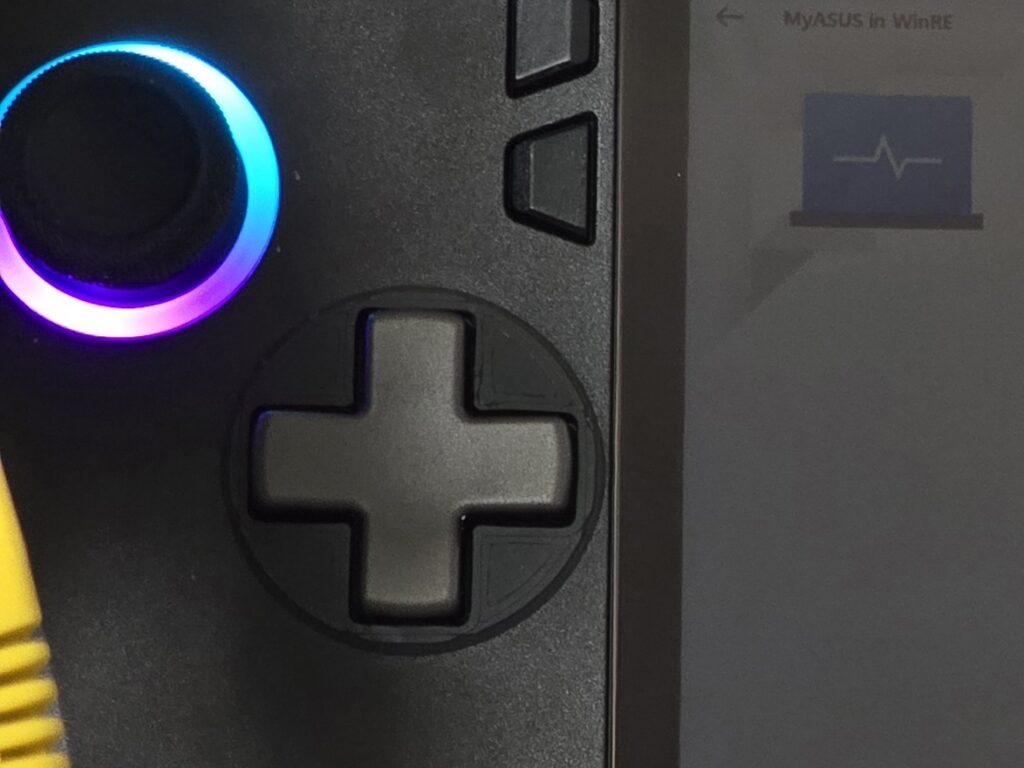
24. Your dpad is now ready to use!