
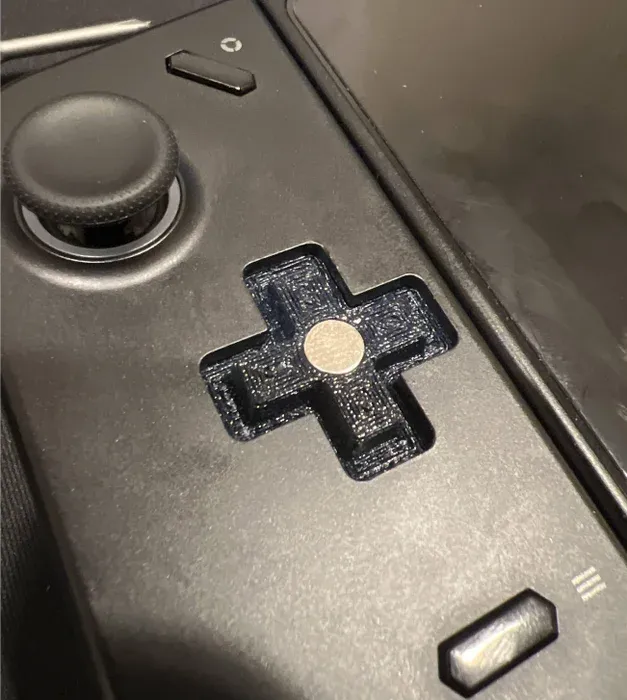
LEGION GO Magnetic Swappable D-PAD
How to install a magnetic swappable d-pad on your legion go
This is a guide and general overview of how to install and upgrade your Legion Go D pad. Credit: whisperit Materials needed Precision Screwdriver Set Plastic pry tool Download and Print D-Pad replacement 6mm X 2mm rare earth magnet X-Box elite metal D-Pad Hat (HERE) Notes: BY FOLLOWING THIS GUIDE YOU TAKE RESPONSIBILITY FOR YOUR OWN ACTIONS The LEGO doesn’t use threaded inserts. The screws are screwed into plastic, and made of cheap metal. Use firm pressure, and go slow. The Main Board Ribbon cable is TINY. When you remove the PCB, unfold it like you were opening the cover of a book. You can leave it attached or flip the clasp on the PCB to remove it. Instructions:
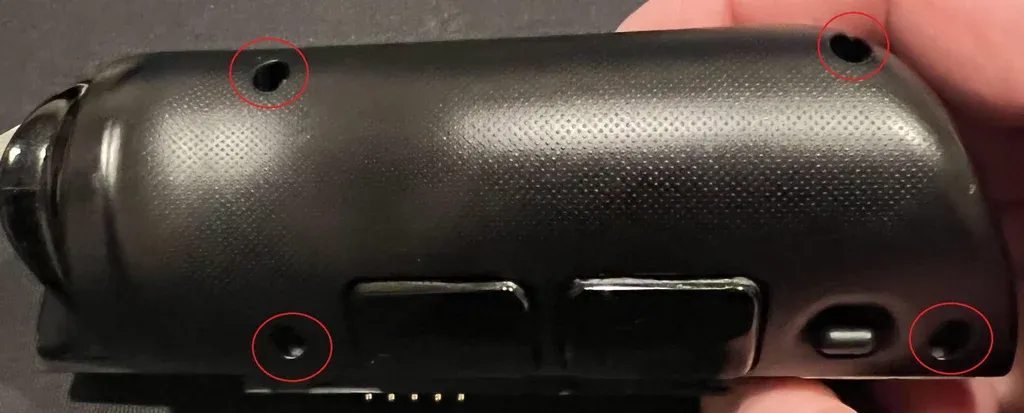
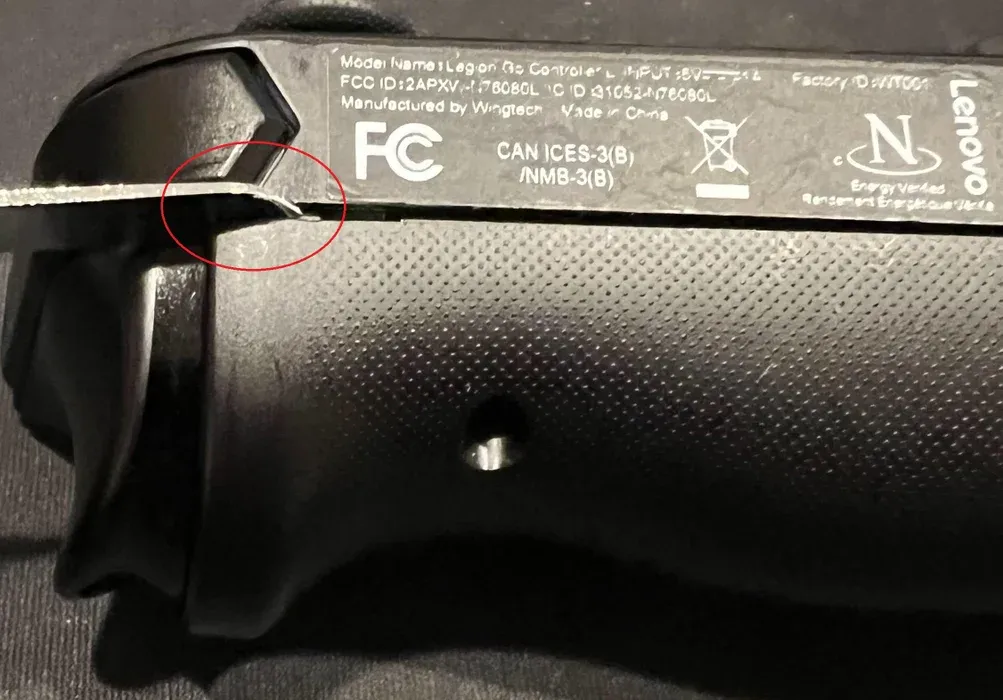
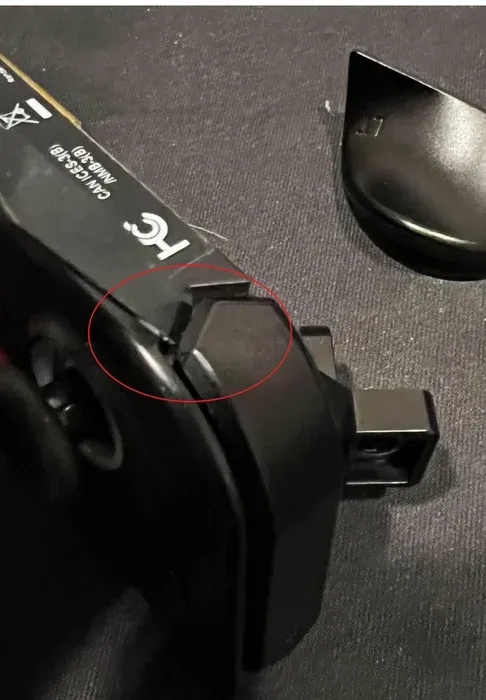

Remove the back panel and unplug the battery Remove all 4 screws from the back. These are screwed into plastic, and made of cheap metal. Use firm pressure, and go slow. Seperate the two halfs of the shell, use a pry tool. Refer to the picture above for an easy spot for entry. Remove all 4 screws and a rumble pack connector. Again into plastic, be judicious. R2 will come loose. Refer to the picture, pry and pull the right shoulder button off.
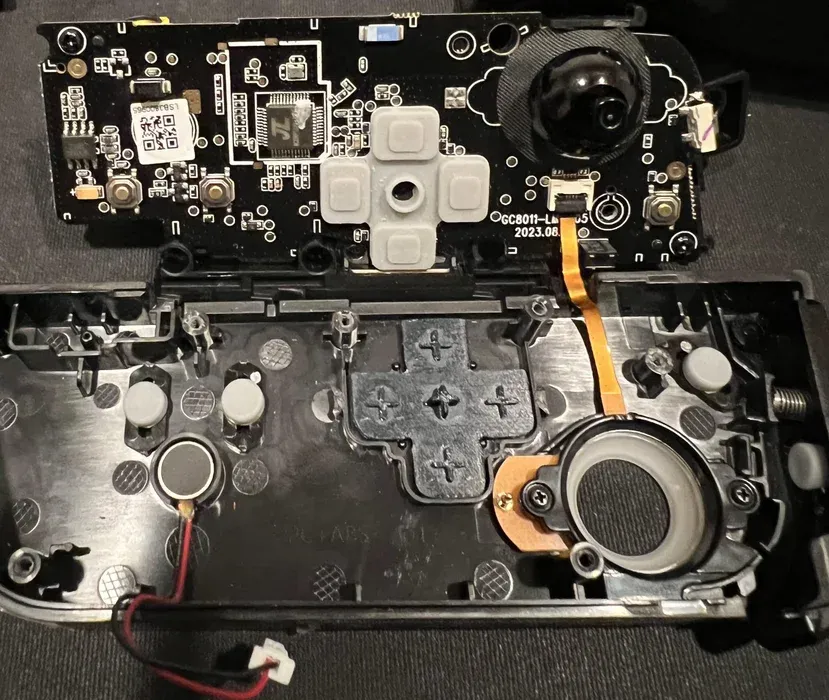
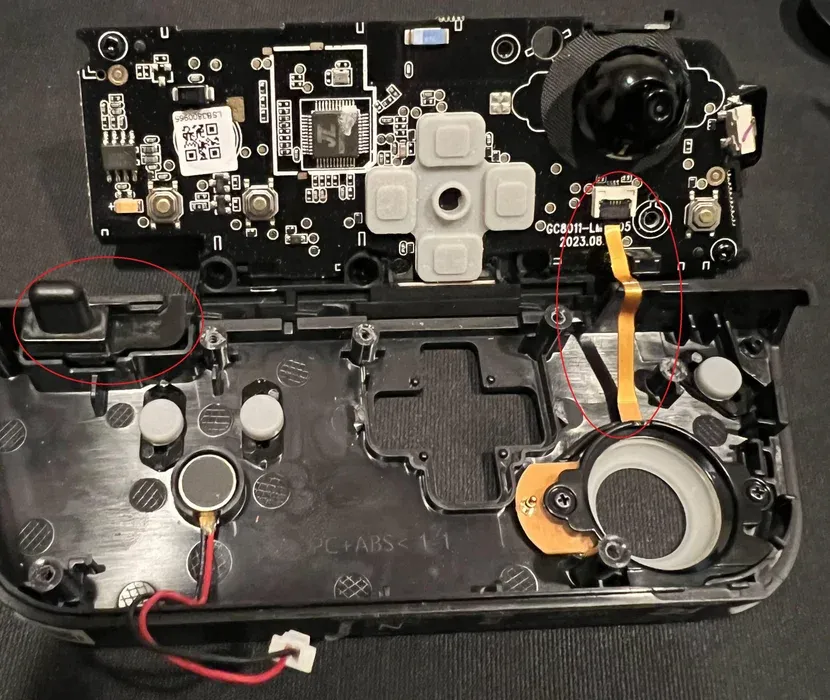
Remove PCB. CAUTION: Ribbon cable is TINY. When you remove the PCB, unfold it like you were opening the cover of a book. You can leave it attached or flip the clasp on the PCB to remove it. If you remove it, it will be painful to get it in and closed. Remove the controller release button. Drop your 3D Printed D-Pad replacement. Loosely install the right shoulder button. Reassemble in reverse order. Repeat for the other side.