

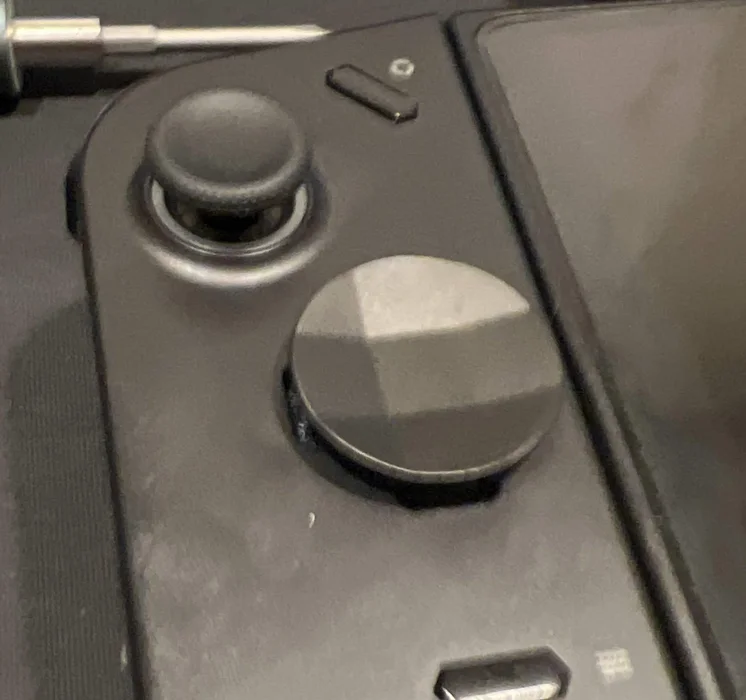
This is a guide and general overview of how to install and upgrade your Legion Go D pad.
Credit:
- whisperit
Materials needed
- Precision Screwdriver Set
- Plastic pry tool
- Download and Print D-Pad replacement
- 6mm X 2mm rare earth magnet
- X-Box elite metal D-Pad Hat (HERE)
Notes:
- BY FOLLOWING THIS GUIDE YOU TAKE RESPONSIBILITY FOR YOUR OWN ACTIONS
- The LEGO doesn’t use threaded inserts. The screws are screwed into plastic, and made of cheap metal. Use firm pressure, and go slow.
- The Main Board Ribbon cable is TINY. When you remove the PCB, unfold it like you were opening the cover of a book. You can leave it attached or flip the clasp on the PCB to remove it.
Instructions:
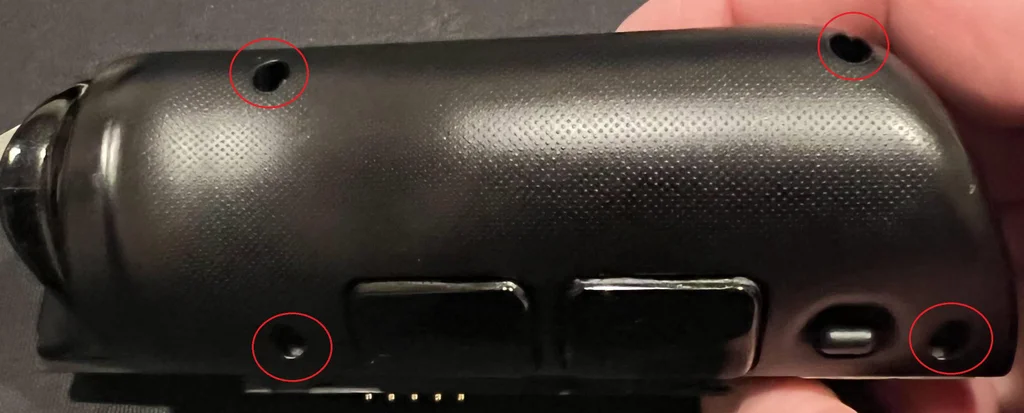
Remove the back panel and unplug the battery
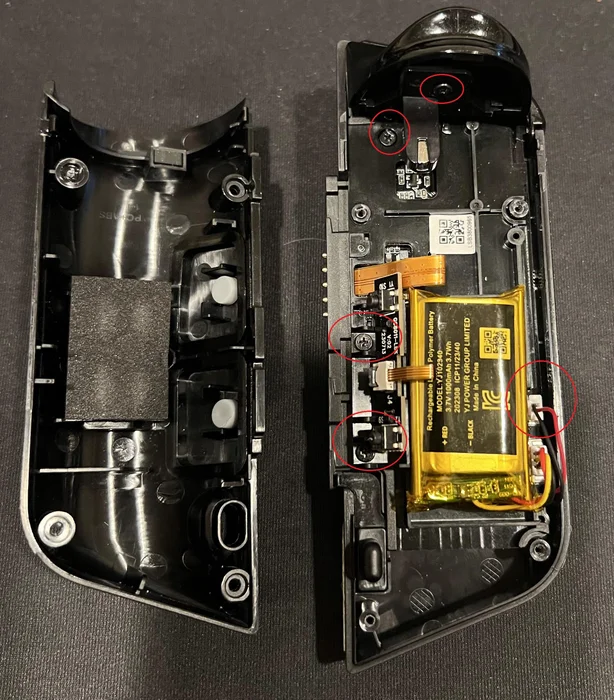
- Remove all 4 screws from the back. These are screwed into plastic, and made of cheap metal. Use firm pressure, and go slow.
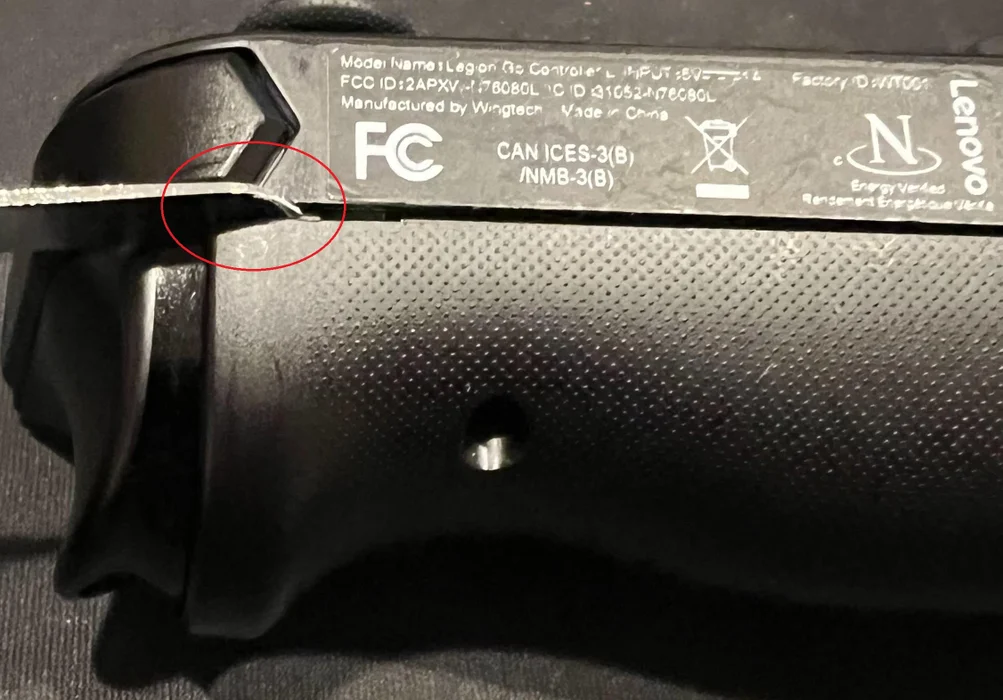
- Seperate the two halfs of the shell, use a pry tool. Refer to the picture above for an easy spot for entry.
- Remove all 4 screws and a rumble pack connector. Again into plastic, be judicious. R2 will come loose.
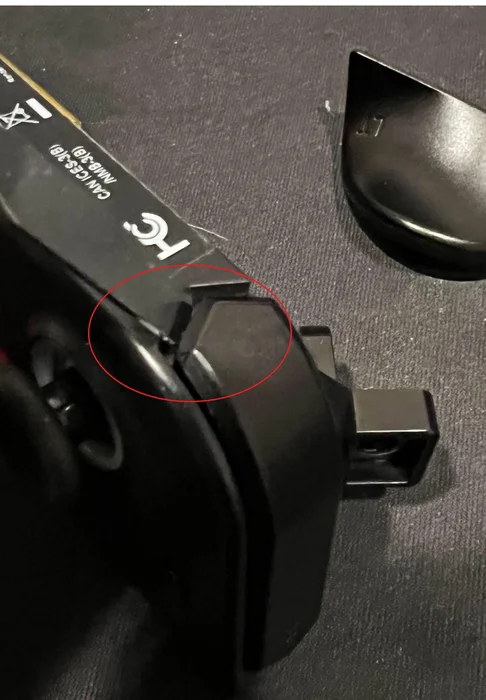
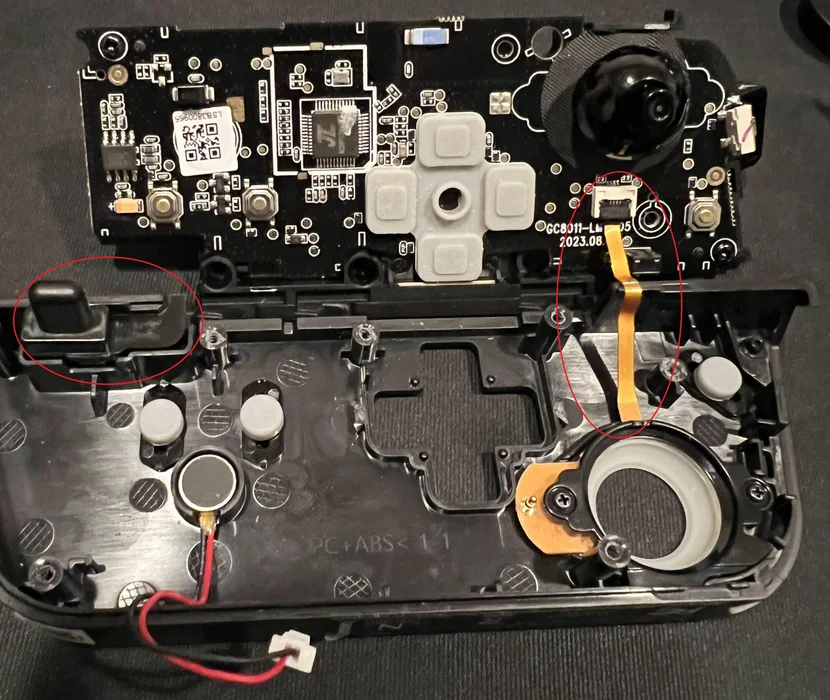
- Refer to the picture, pry and pull the right shoulder button off.
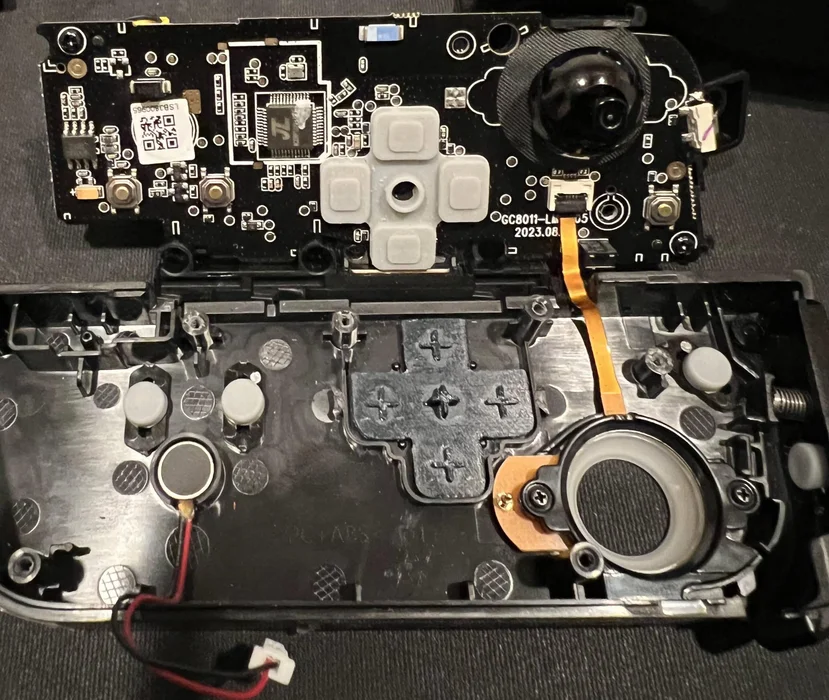
- Remove PCB. CAUTION: Ribbon cable is TINY. When you remove the PCB, unfold it like you were opening the cover of a book. You can leave it attached or flip the clasp on the PCB to remove it. If you remove it, it will be painful to get it in and closed.
- Remove the controller release button.
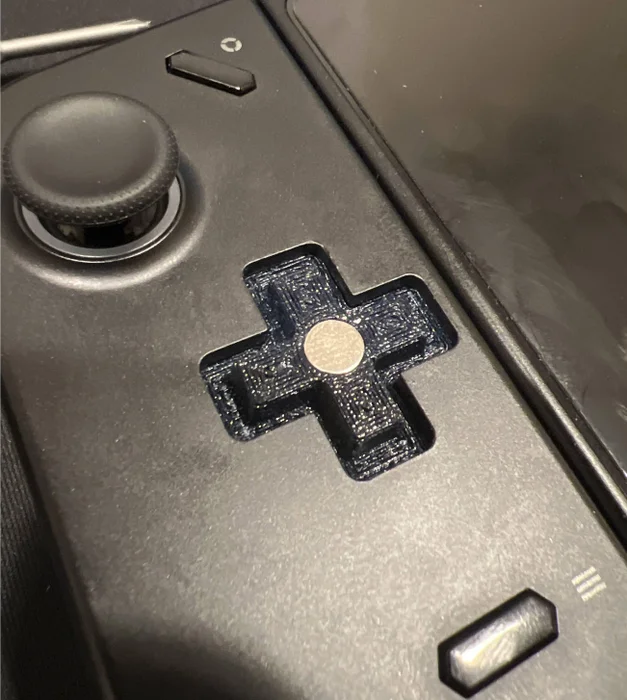
- Drop your 3D Printed D-Pad replacement.
- Loosely install the right shoulder button.
- Reassemble in reverse order.
- Repeat for the other side.