

By following these steps, you can build a budget-friendly eGPU dock using the ADT-Link UT3G board to enhance the performance of your ROG Ally X, enabling it to handle more demanding tasks and games with improved graphics capabilities.
Components Needed
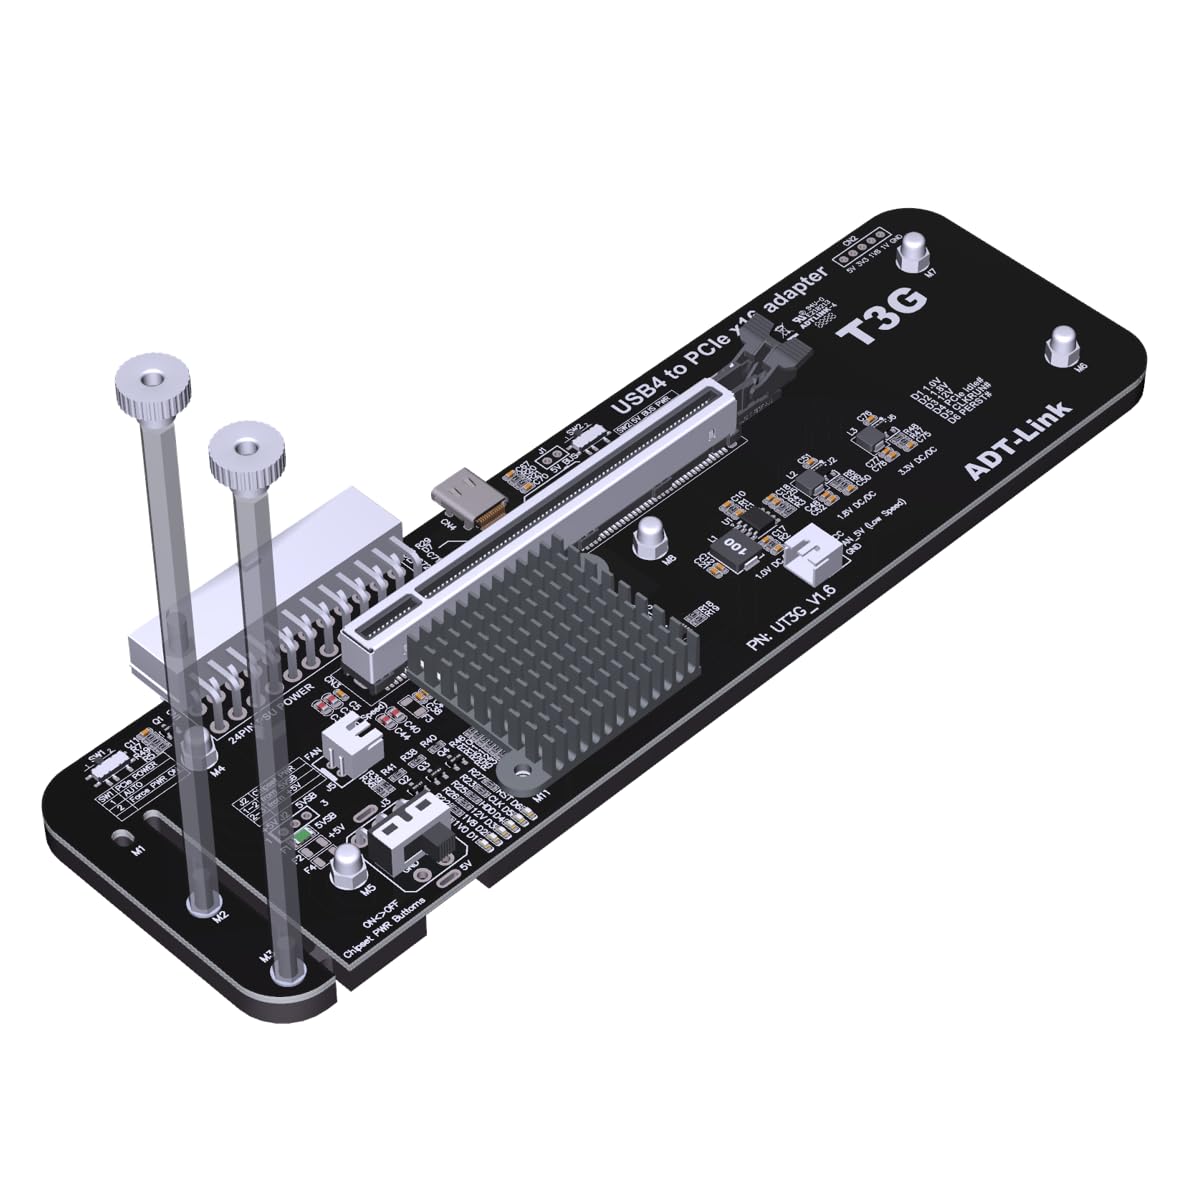
- ADT-Link UT3G Board: A specific eGPU interface board that connects your graphics card to the ROG Ally X.
($142) ADT-Link UT3G AliExpress purchase link
($169) ADT-Link UT3G Amazon purchase link
($116) TH3P4G3 AliExpress purchase link
($122) TH3P4G3 Amazon purchase link - Graphics Card: A compatible graphics card that fits within the power and size limitations of your setup.
– ($439) RTX 4060 Ti
– ($389) RTX 3070 Ti - Power Supply: Ensure the power supply is adequate for your chosen graphics card.
($109) Seasonic 750w
($71) SilverStone 300w
($34) Apevia 500w - Cables and Adapters: Quality Thunderbolt 4 or USB-C 40GB cables, and any necessary power cables for the graphics card.
- Optional Enclosure: If printing an enclosure, ensure it is designed to fit the ADT-Link UT3G board, the graphics card, and provides proper ventilation.
Steps to Build
- Select Compatible Components: Ensure your GPU and Power Supply are matched for each other. You should aim for at least a 33% overhead, i.e a 200w GPU needs a minimum of 266w. This will ensure a longer lifespan of the PSU and quieter operations.
- Assemble the eGPU Setup:
- Connect the graphics card to the ADT-Link UT3G board.
- Secure the card to the board using screws if necessary.
- Optionally, place the board and GPU into the printed enclosure, ensuring it fits well and allows for adequate ventilation.
- Connect Power Supply:
- Connect the power cables from the power supply to the graphics card.
- Ensure all power connections are secure to prevent power loss or damage.
- Install Drivers and Software:
- Connect the ADT-Link UT3G board to the ROG Ally X using the Thunderbolt 4 or USB-C cable.
- Power on the setup.
- Install any required drivers for the eGPU and the graphics card. You might need to download specific drivers from the graphics card manufacturer’s website.
- Configure System Settings:
- Once the eGPU is connected and recognized, configure your system settings to use the external GPU.
- You may need to adjust display settings to ensure the ROG Ally X is using the eGPU for rendering.
- Test the Setup:
- Run benchmark tests to ensure the eGPU is functioning correctly and providing the expected performance boost.
- Check for any overheating issues and ensure the thermal management is adequate.
Tips for Optimal Performance
- Cooling: Ensure good airflow around the eGPU setup. Consider additional cooling options if needed.
- Cable Quality: Use high-quality Thunderbolt 3 or USB-C cables to ensure stable data transfer rates.
- Software Updates: Keep your system and drivers updated for optimal performance and compatibility.
- Troubleshooting: If you encounter issues, refer to the HandHeldModz Discord server for eGPU setups for troubleshooting tips and advice.