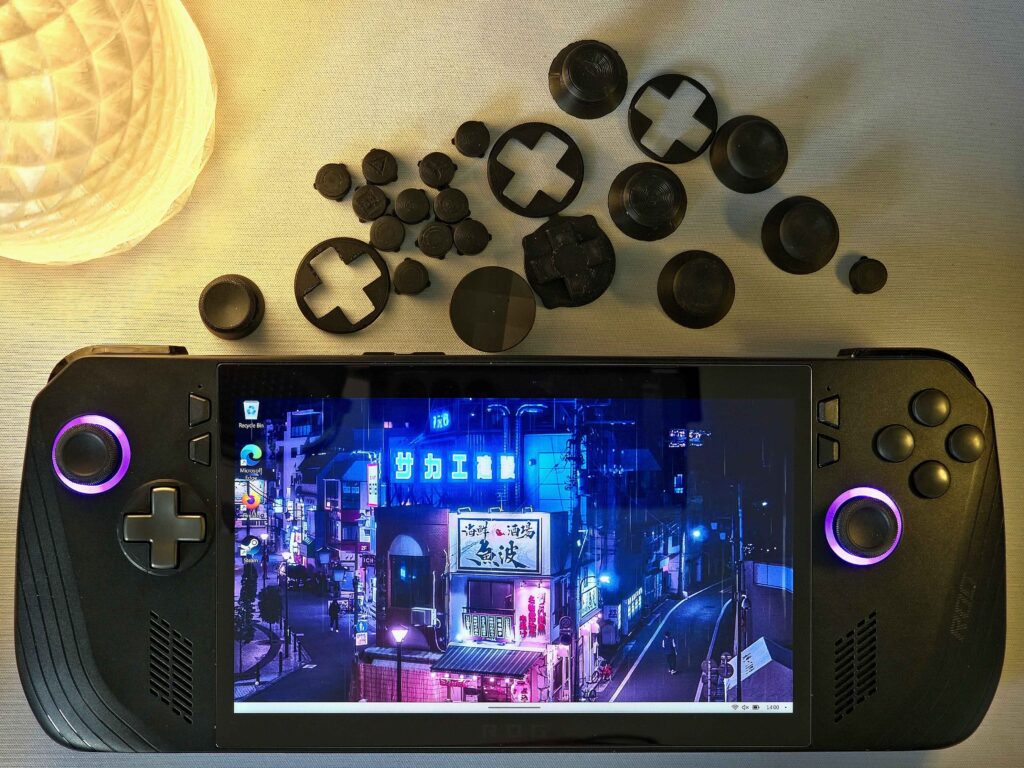
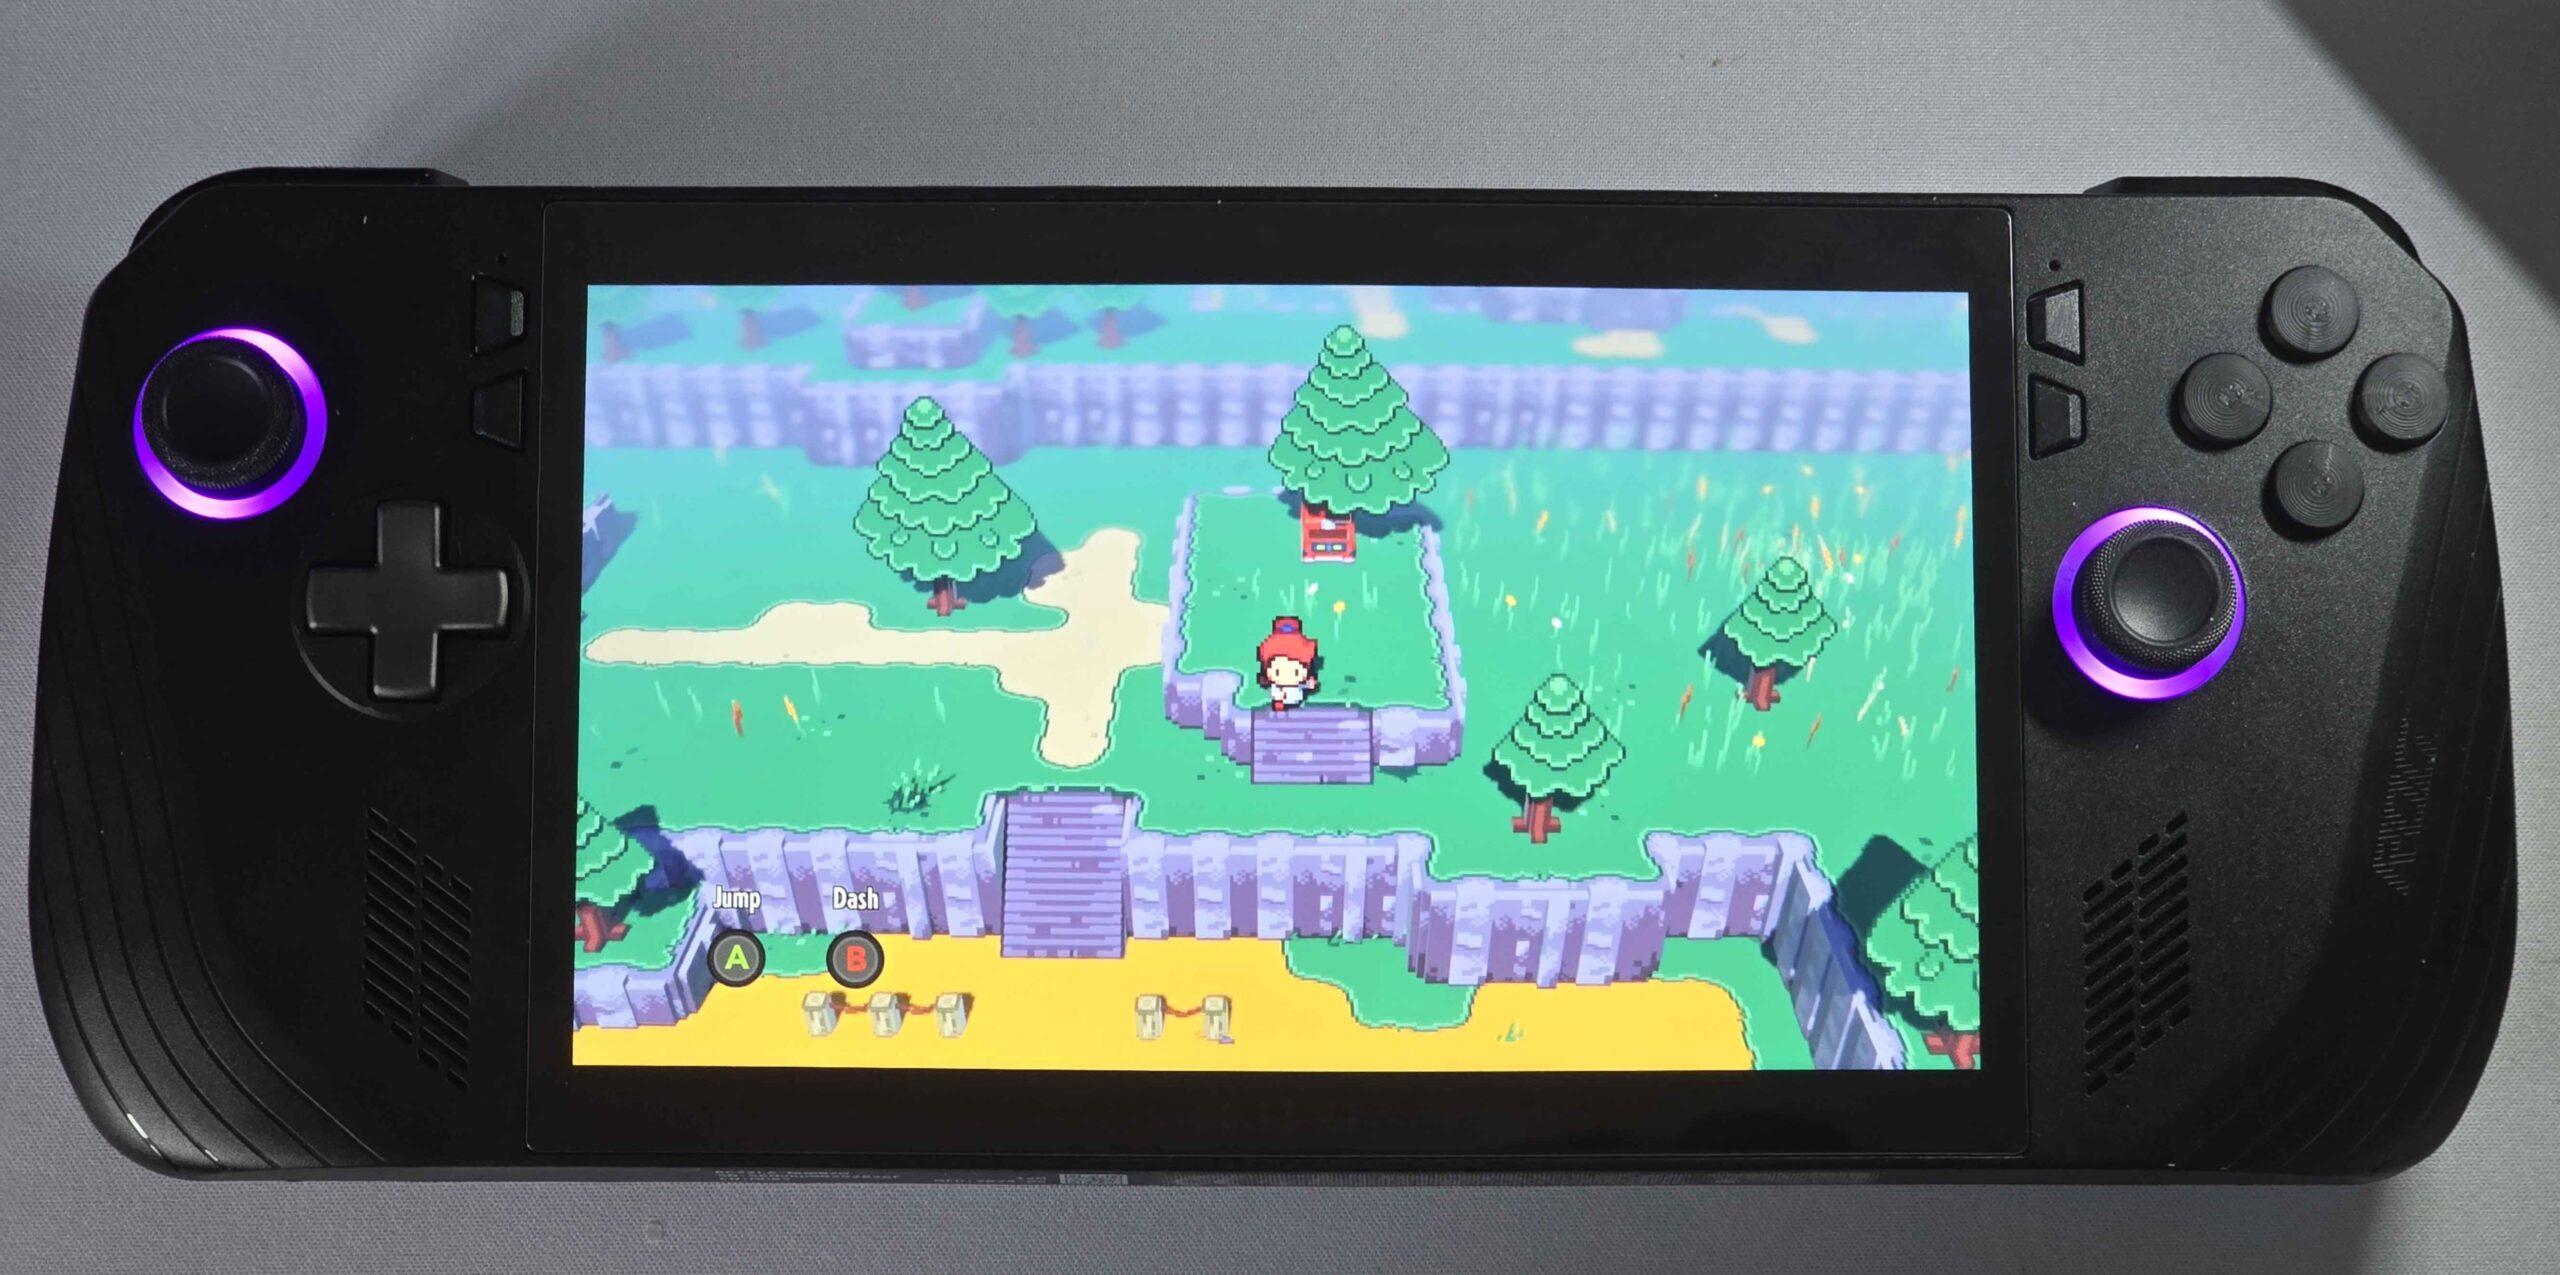
This is a tutorial on how to replace your ABXY buttons on the Ally X for 3d printed ones or any others.
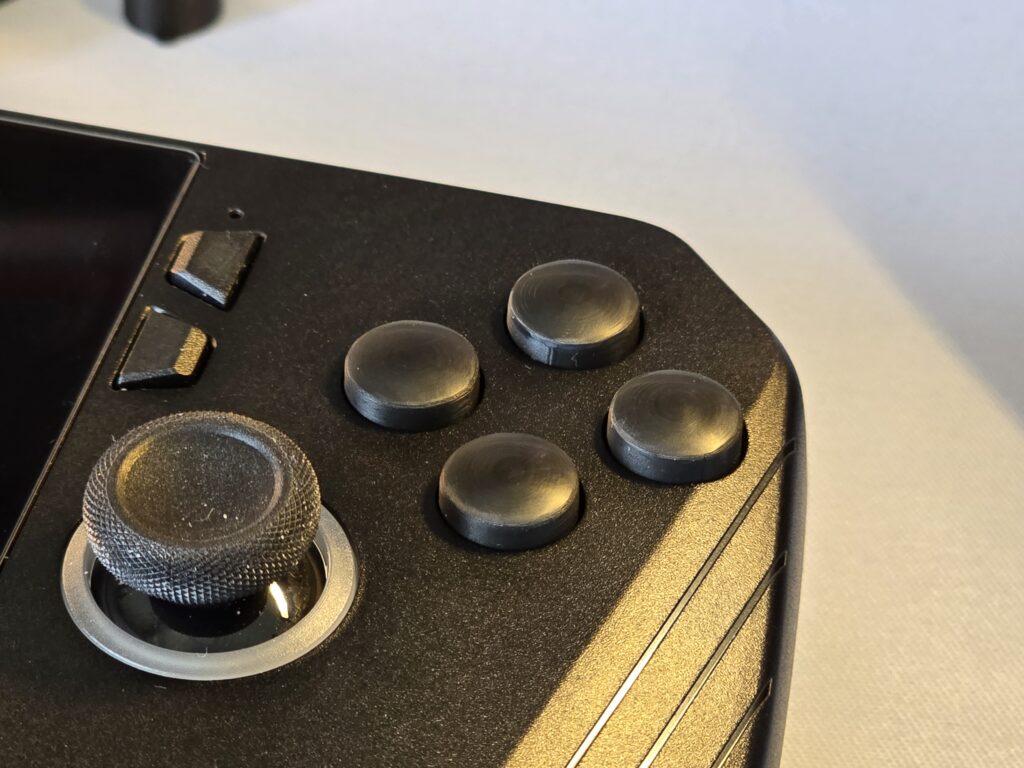
CREDIT:
- YesItsKira – Lead Designer, Tester (Donate Here)
MATERIALS NEEDED:
- FDM or SLA printer
- Phillips size 100 driver
- Plastic pry tool
- Download the STL files (Here)
NOTES:
- Be extremely careful when removing the back panel screws, paddle, and trigger screws as they can strip!
- Once your Ally is back together, plug in the OEM charger as it will not turn on otherwise.
Print and Prep Buttons:
There are multiple printable options on the link above.
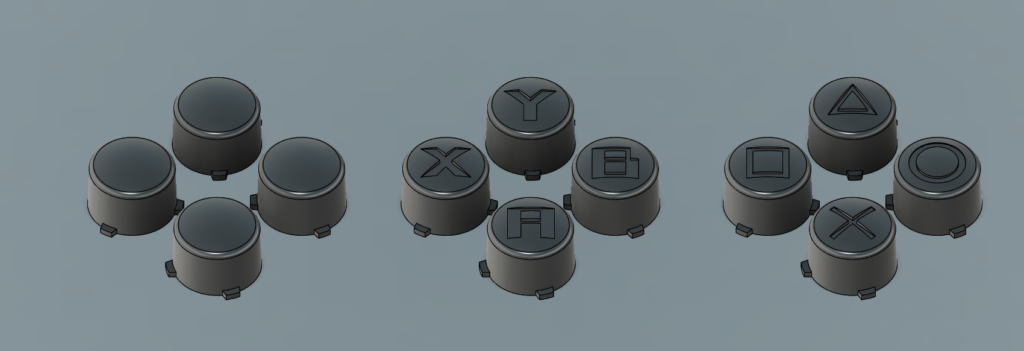
Once you have picked the version you want, you need to print them in either resin or FDM.
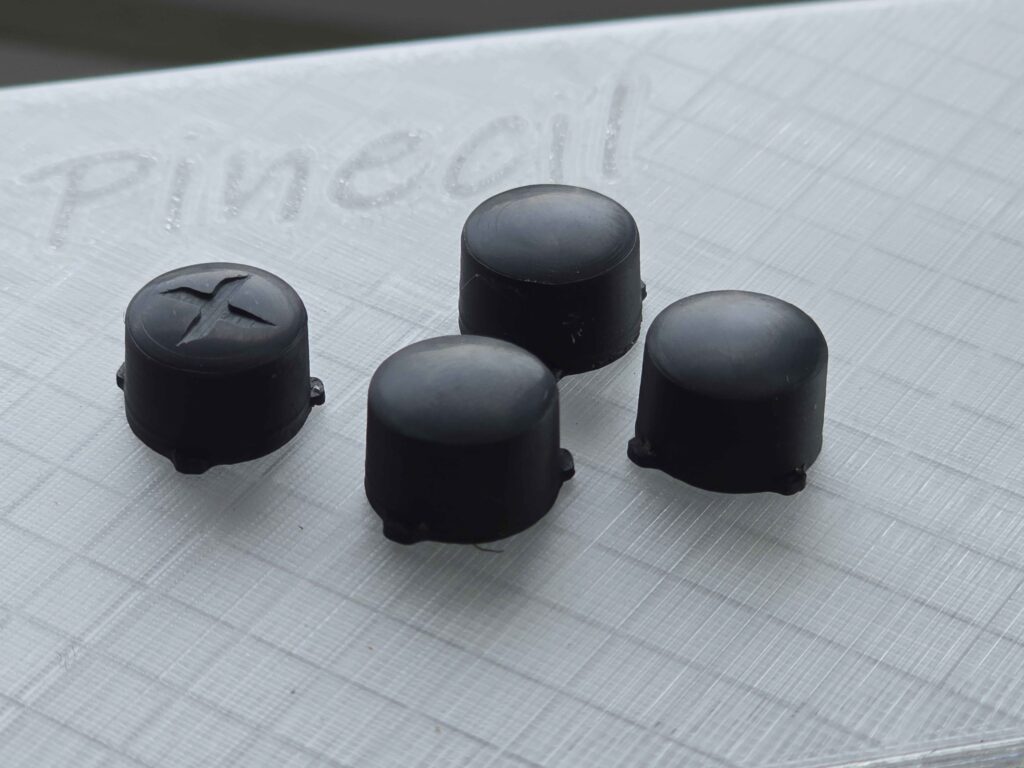
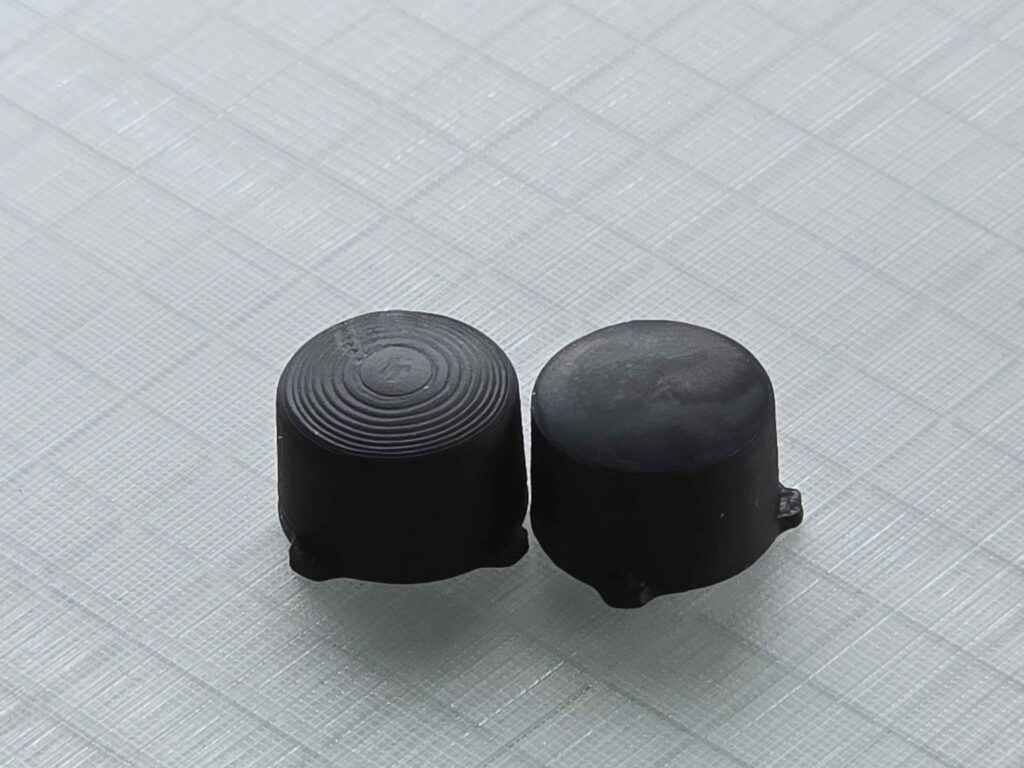
Resin will give the best results but FDM at 0.08mm layer height can work too.
Once you have the prints, its a good idea to sand them. Wet sanding from 1000 grit to 2000 grit to 3000 grit will make the prints smooth and flatten the layer lines.
INSTRUCTIONS:
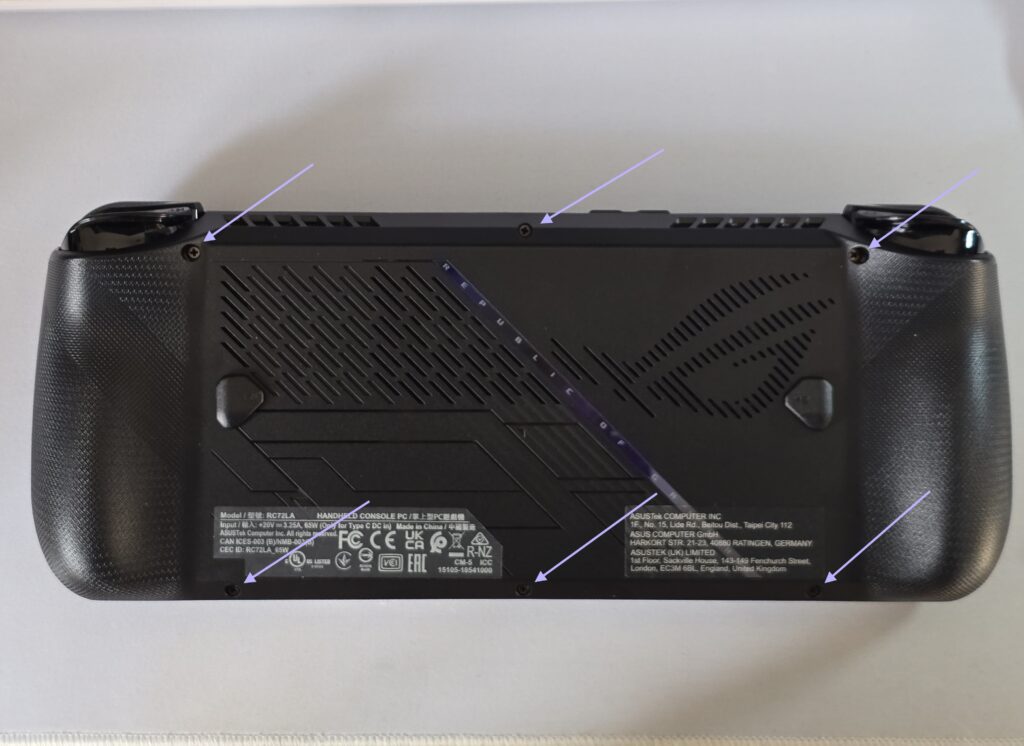
1. Remove the 6 screws 0n the back of the Ally X. The bottom middle one is a captive screw and will not come out all the way.
2. Using a plastic pry tool or even a guitar pick or credit card, run it along the seam to pop the clips and separate the two halves, Take care as there is a ribbon cable attaching the backplate to the Ally X.
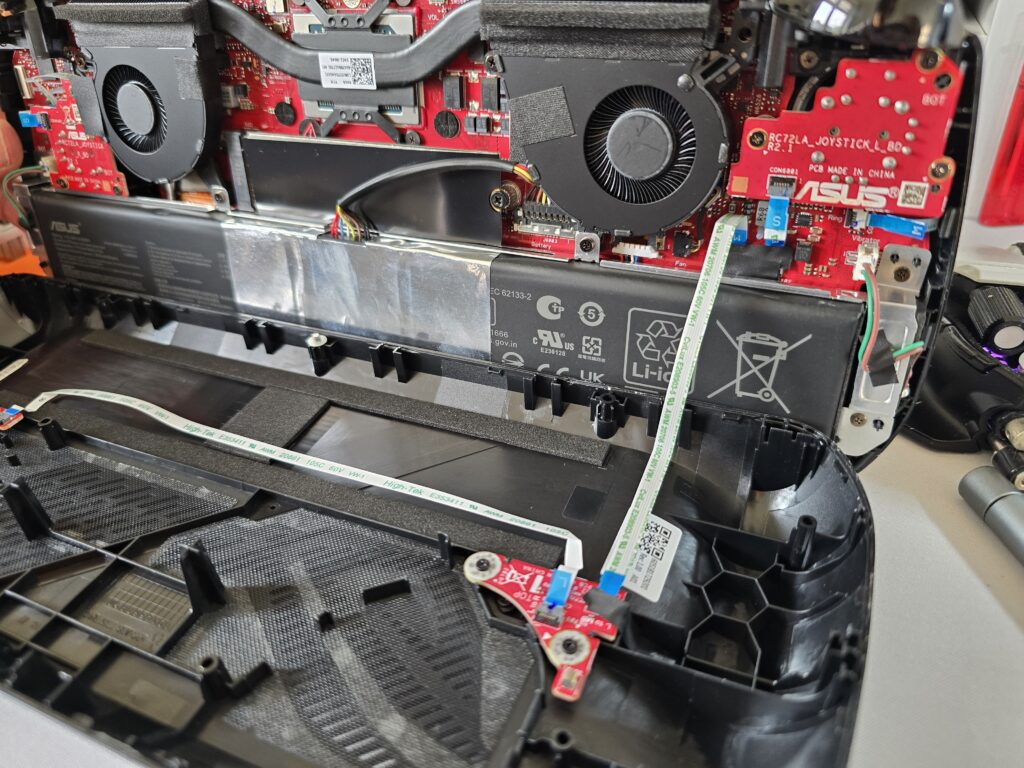
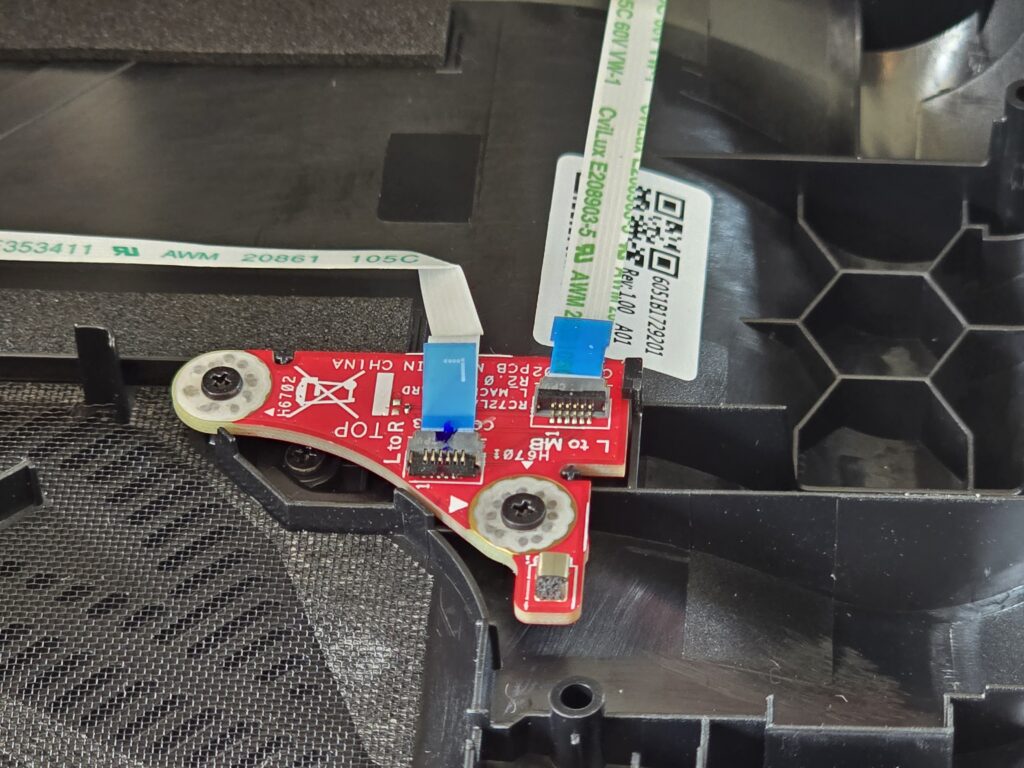
3. Gentley remove the tape and unlatch the ribbon so that the backplate can be placed to the side.
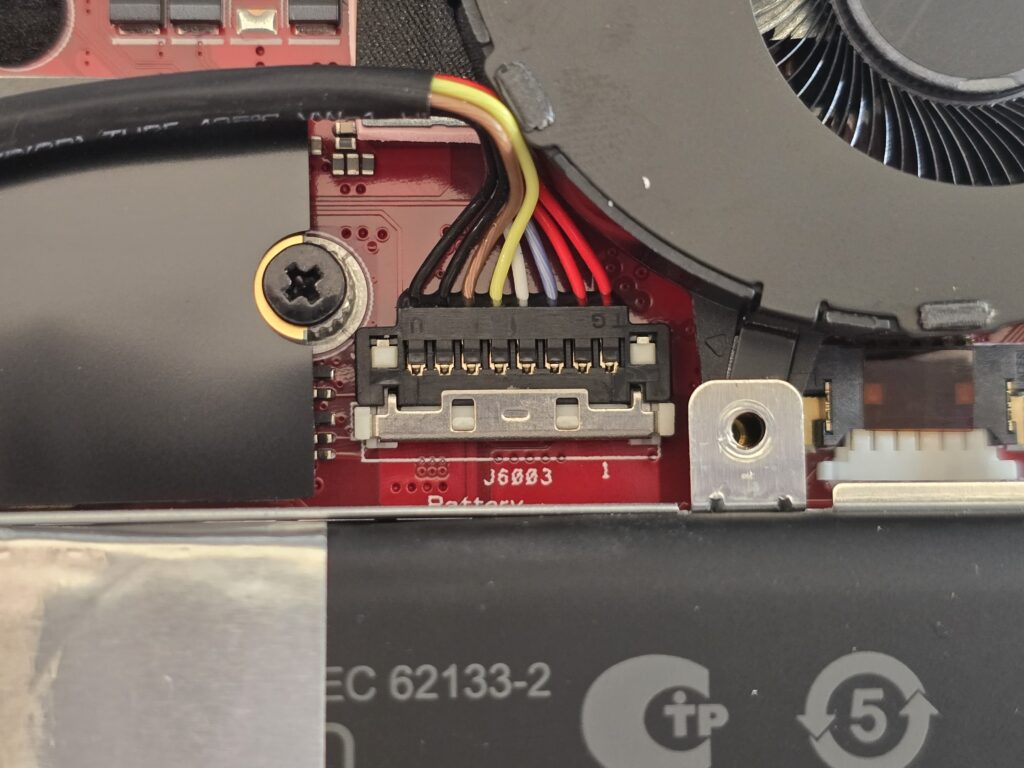
4. Push the metal tab on the battery connector down and lift the connector upwards to unlpug the battery.
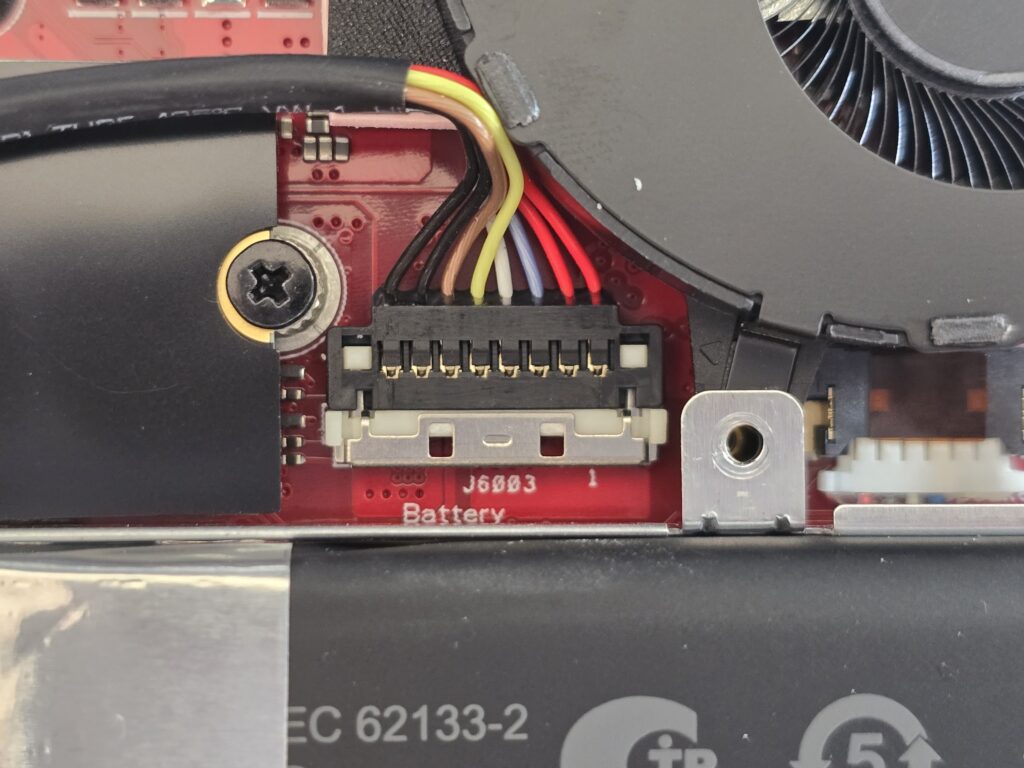
5. Remove the 4 screws holding in the battery and remove it.
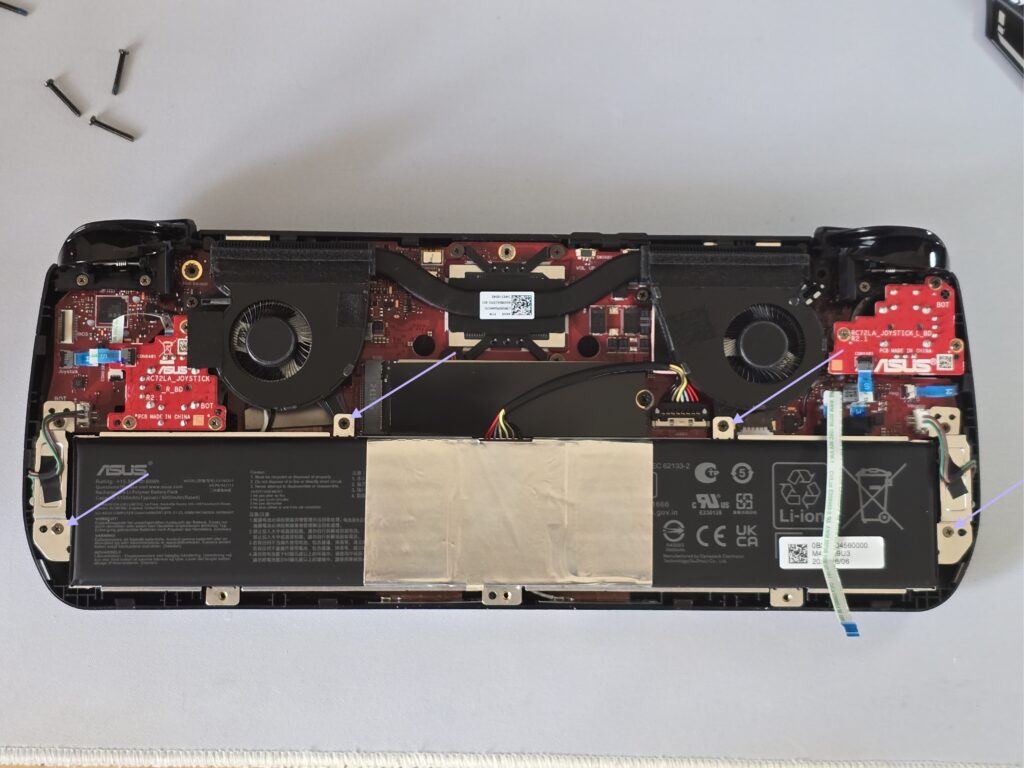
6. Unlatch and remove the ribbon cables on the joystick daughter boards and remove the three screws on each so that you can take the joystick boards out.
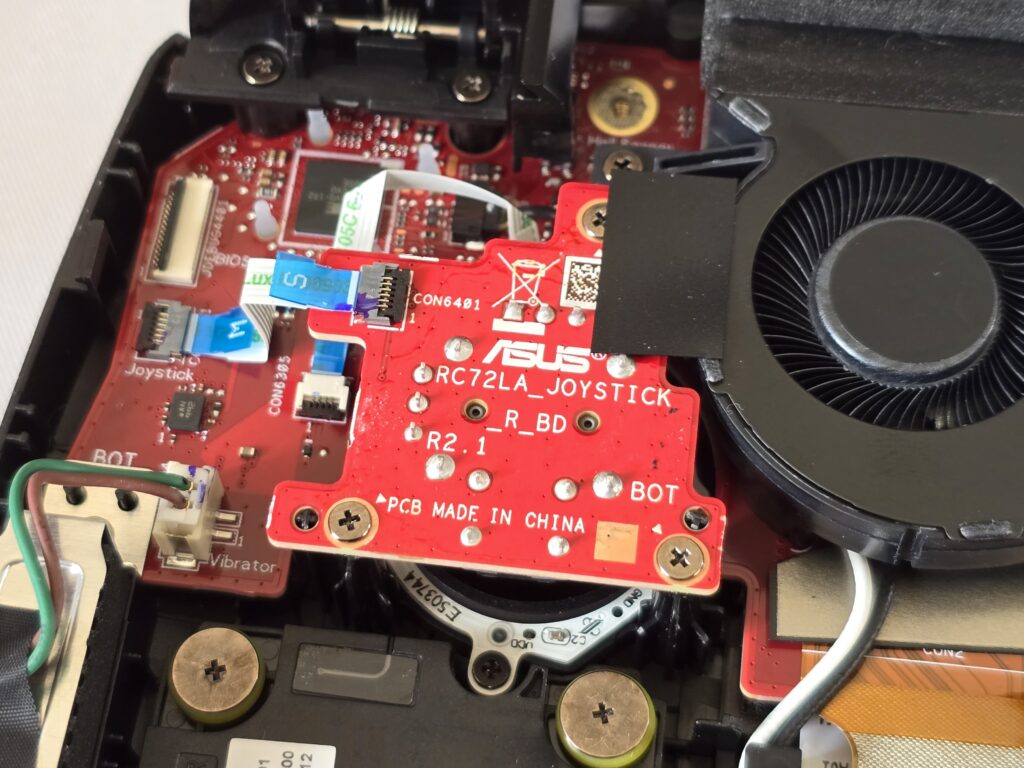
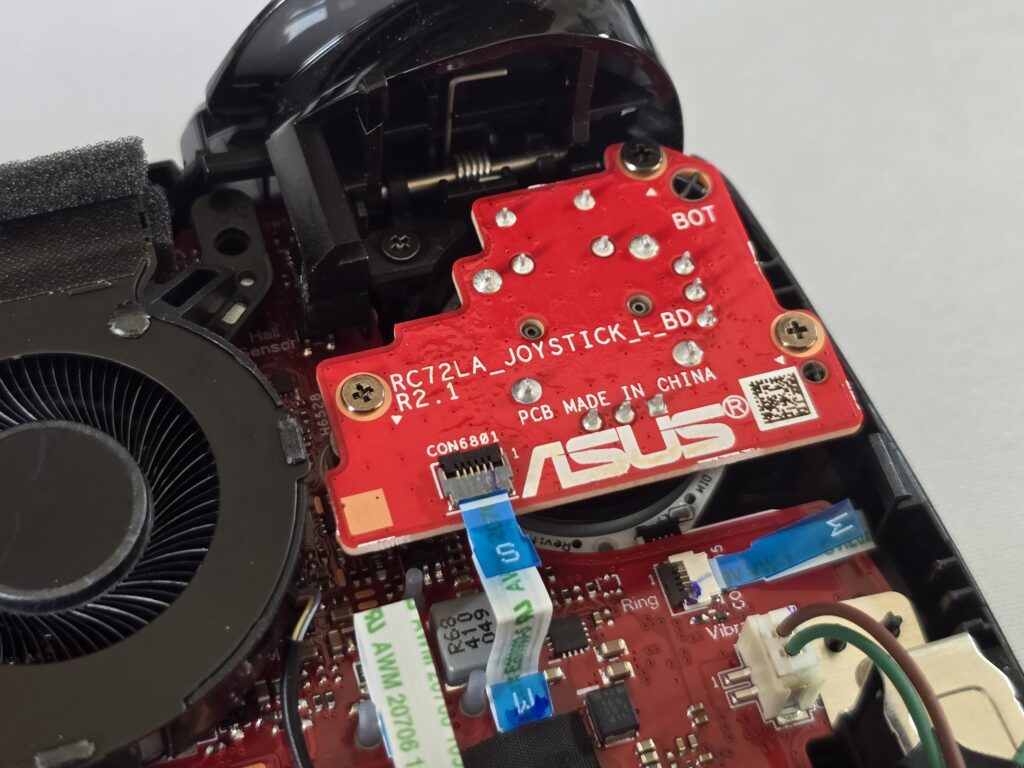
7. Unlatch and unplug the led ring ribbons.
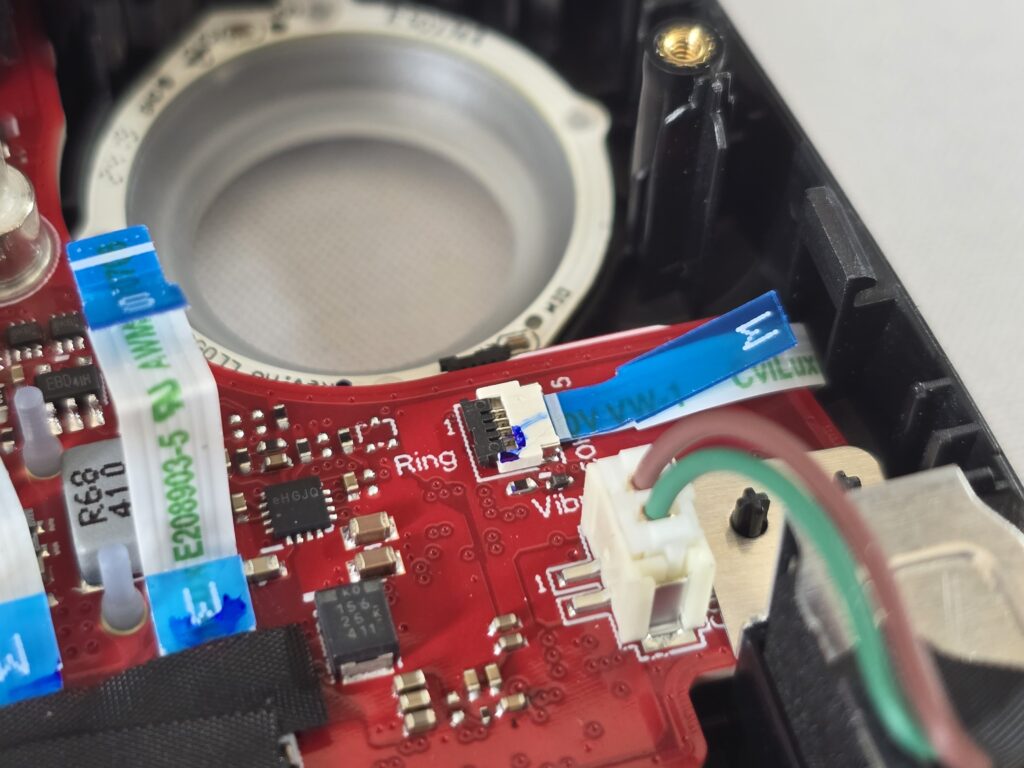
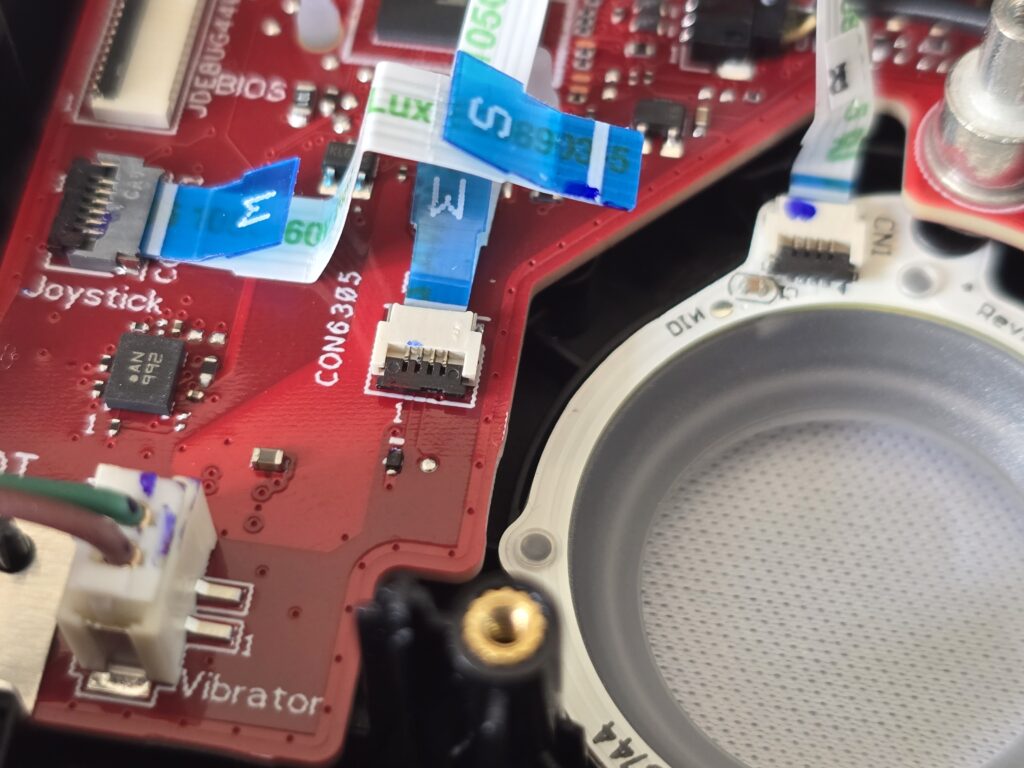
8. Unscrew one screw for the vibration motor holders and remove them. The actual motors can stay in the Ally X.
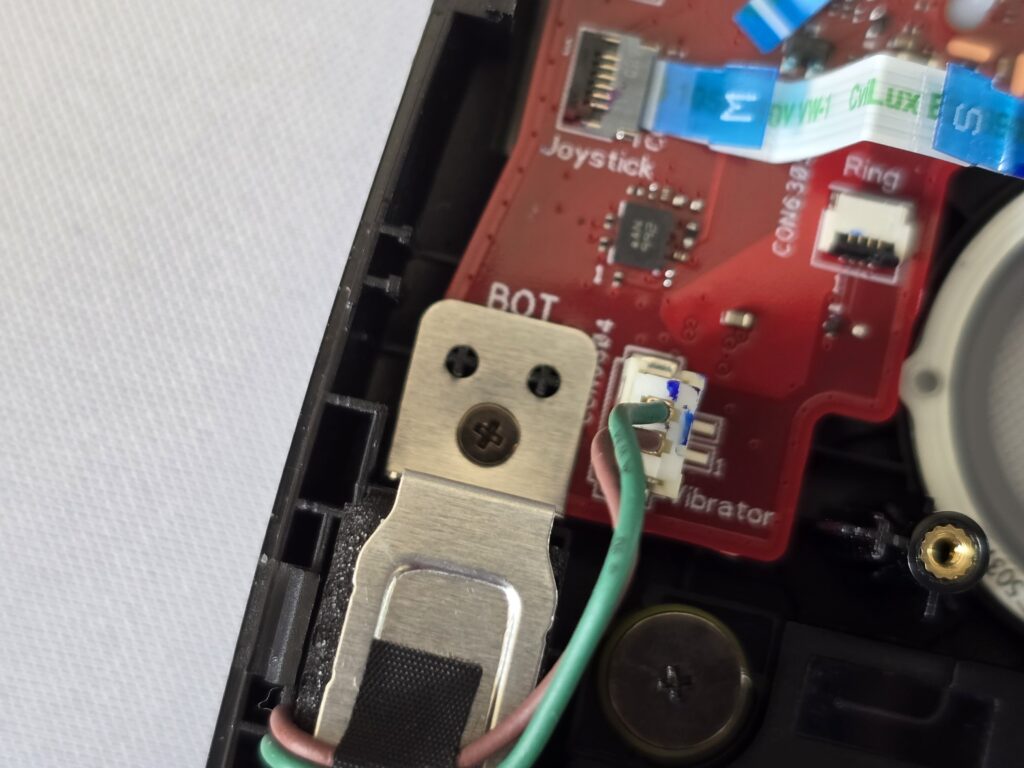
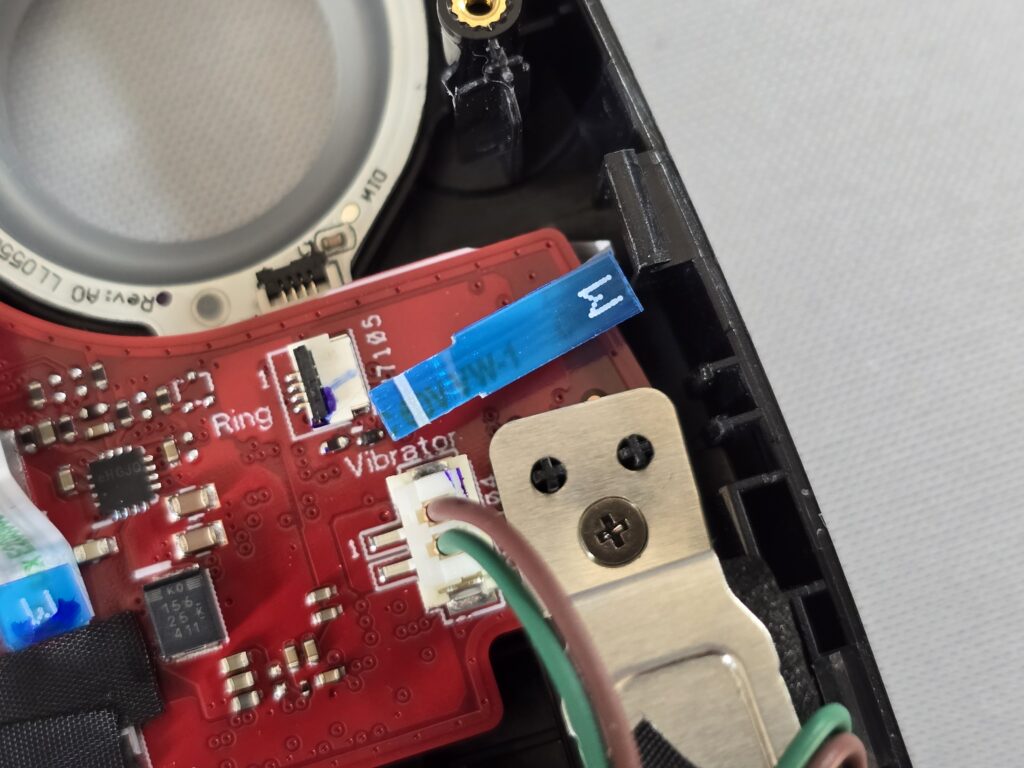
9. Carefully remove the tape on the vibration motor wires and unplug the connector on the board.
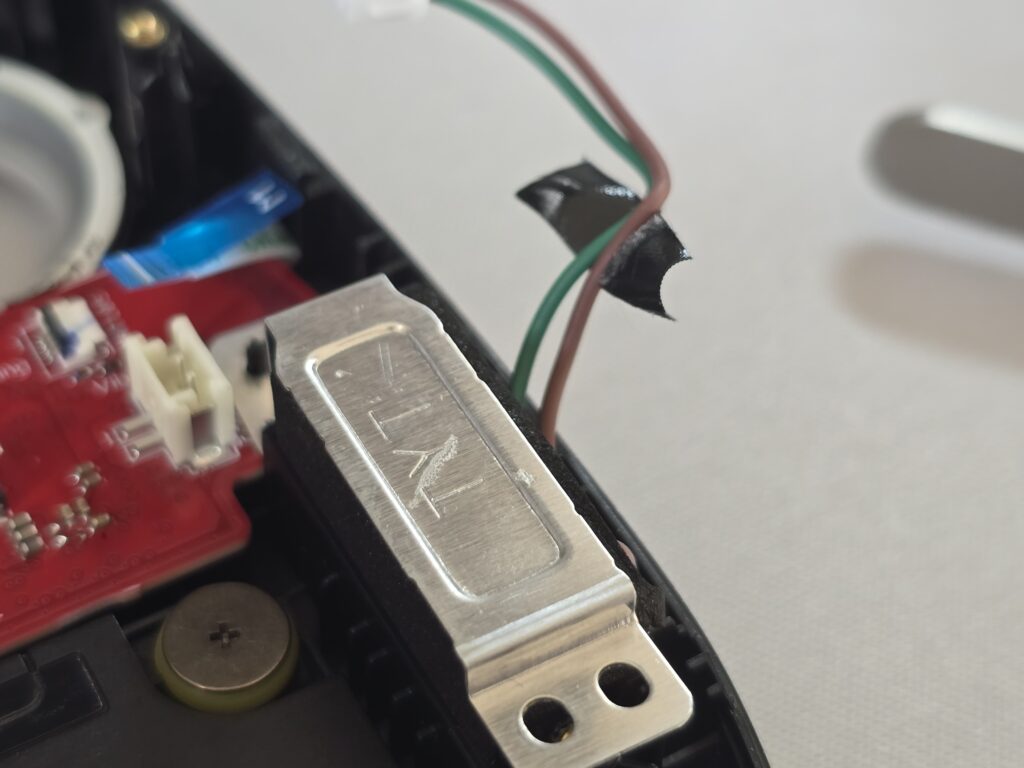
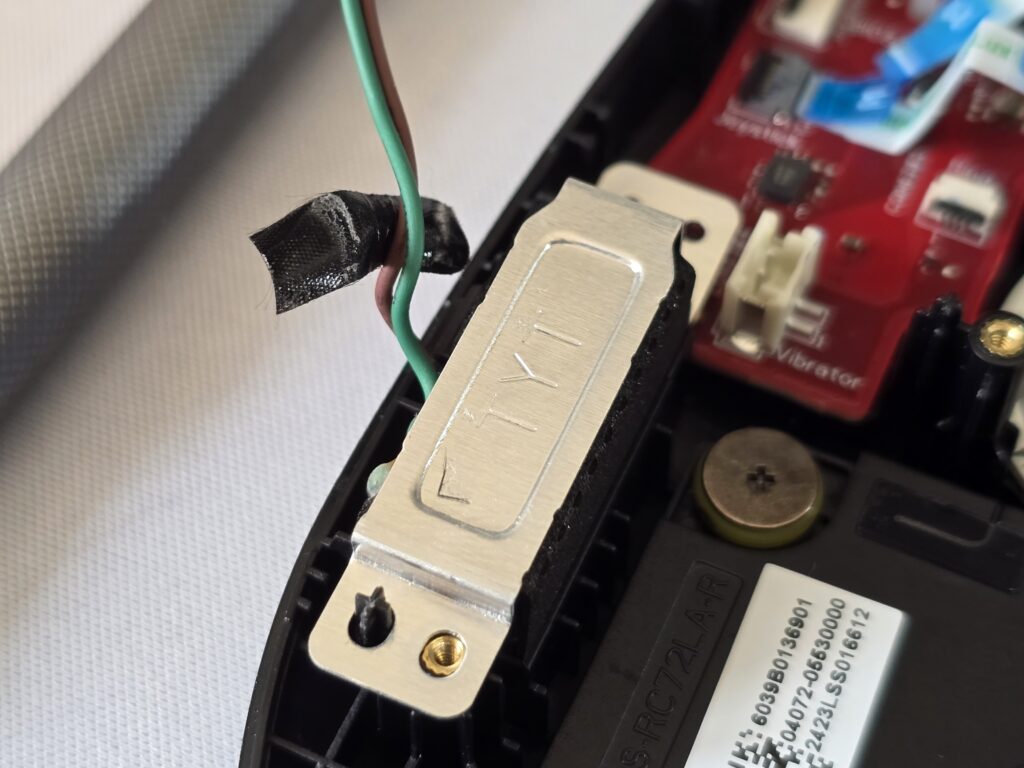
10. Remove the three screws that are holding in the triggers and set them aside.
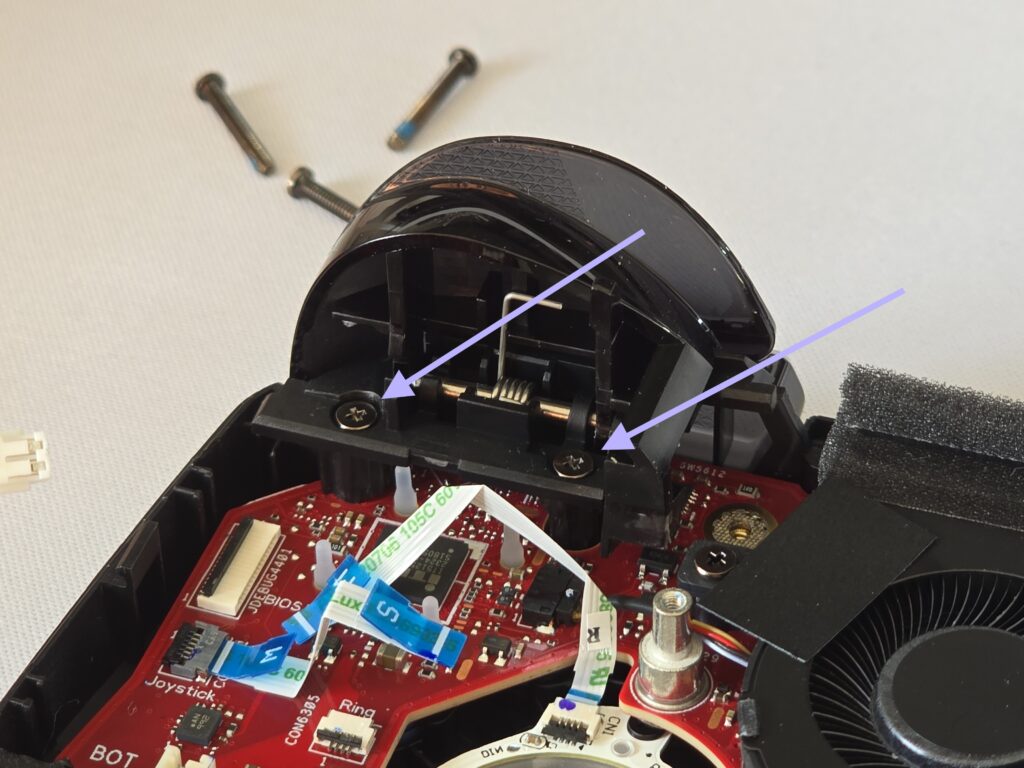
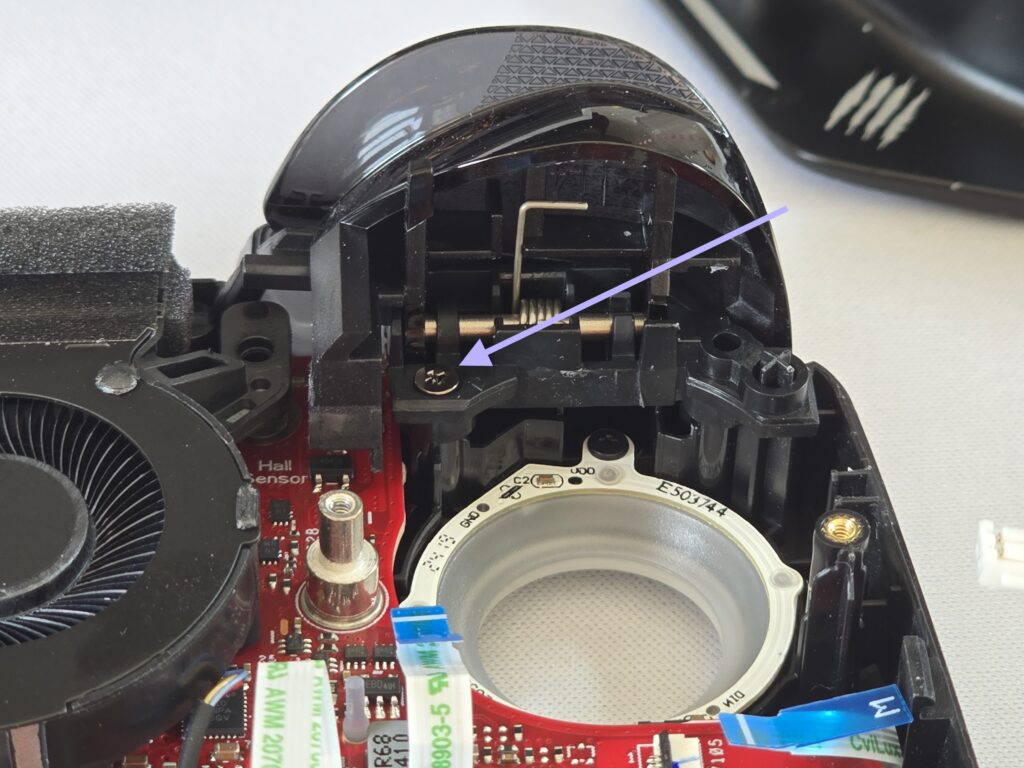
11. Unplug the speaker plug from the motherboard.
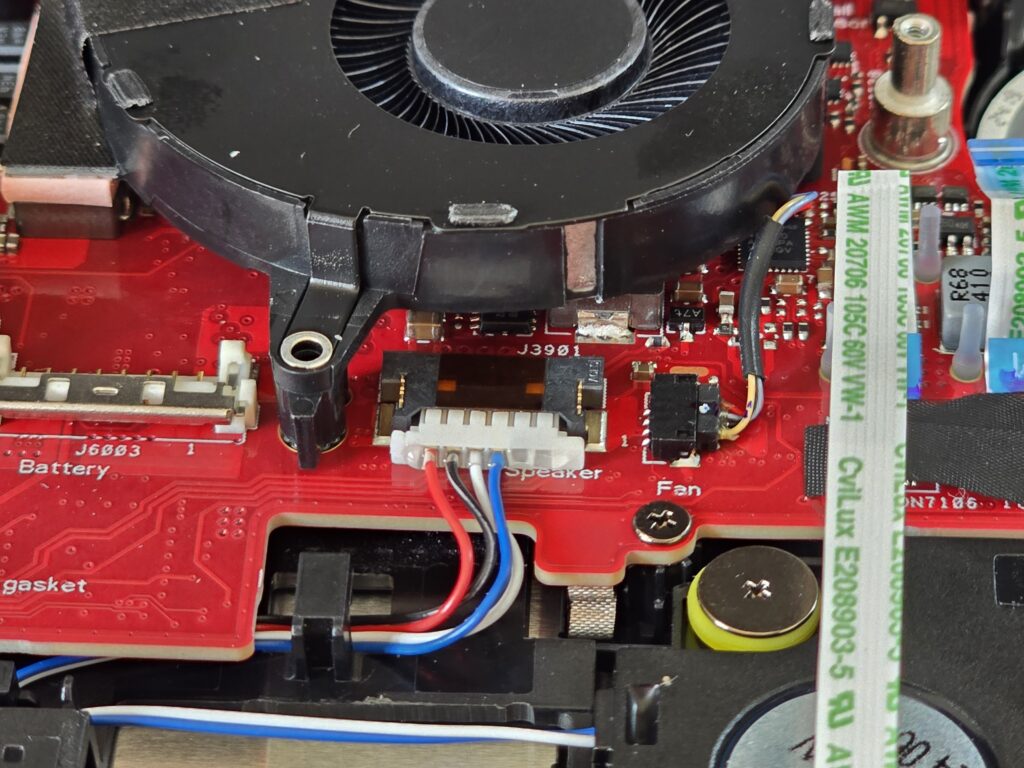
12. Unscrew the screw holding in the left fan and pull it upwards to unstick it from the tape.
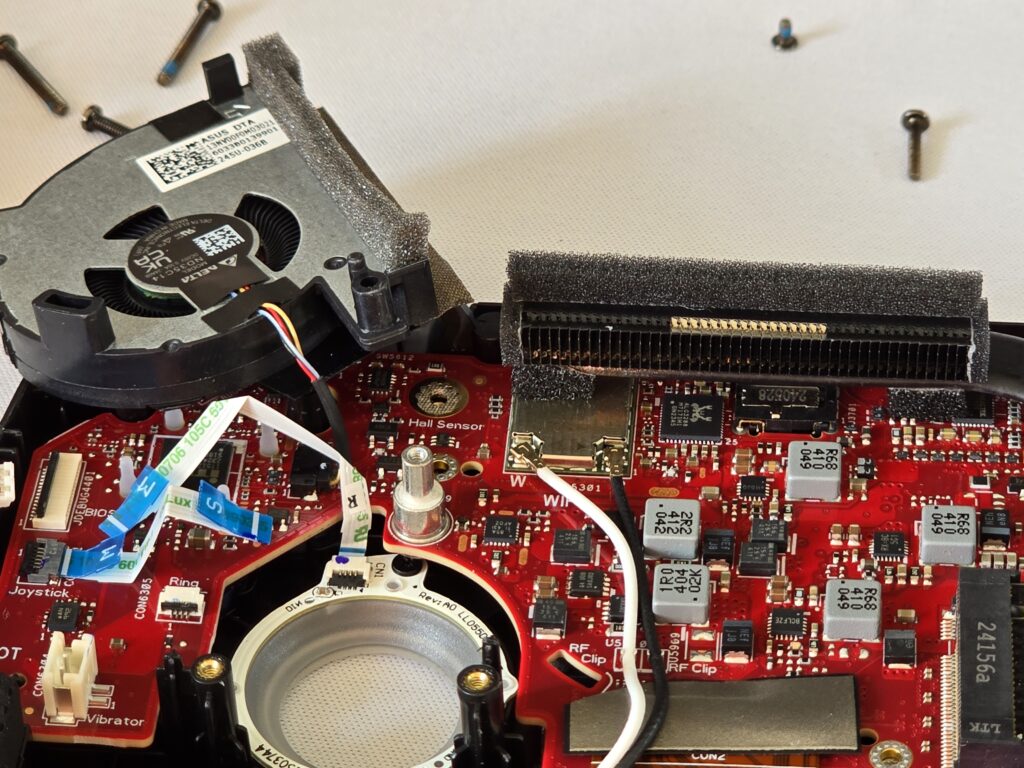
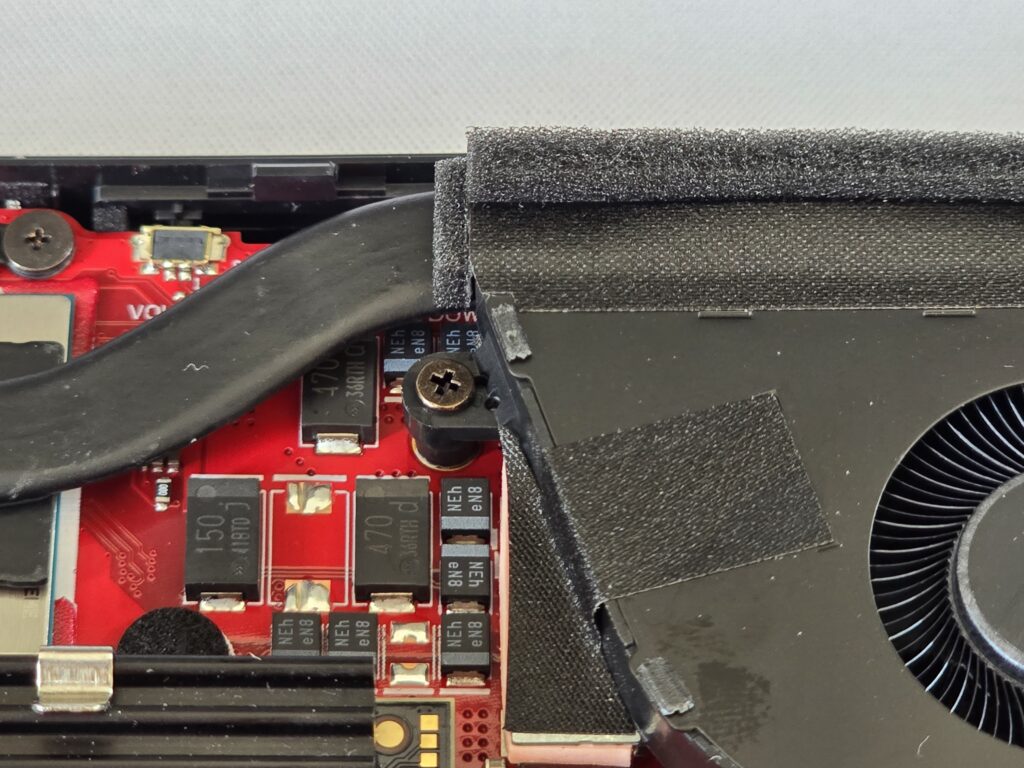
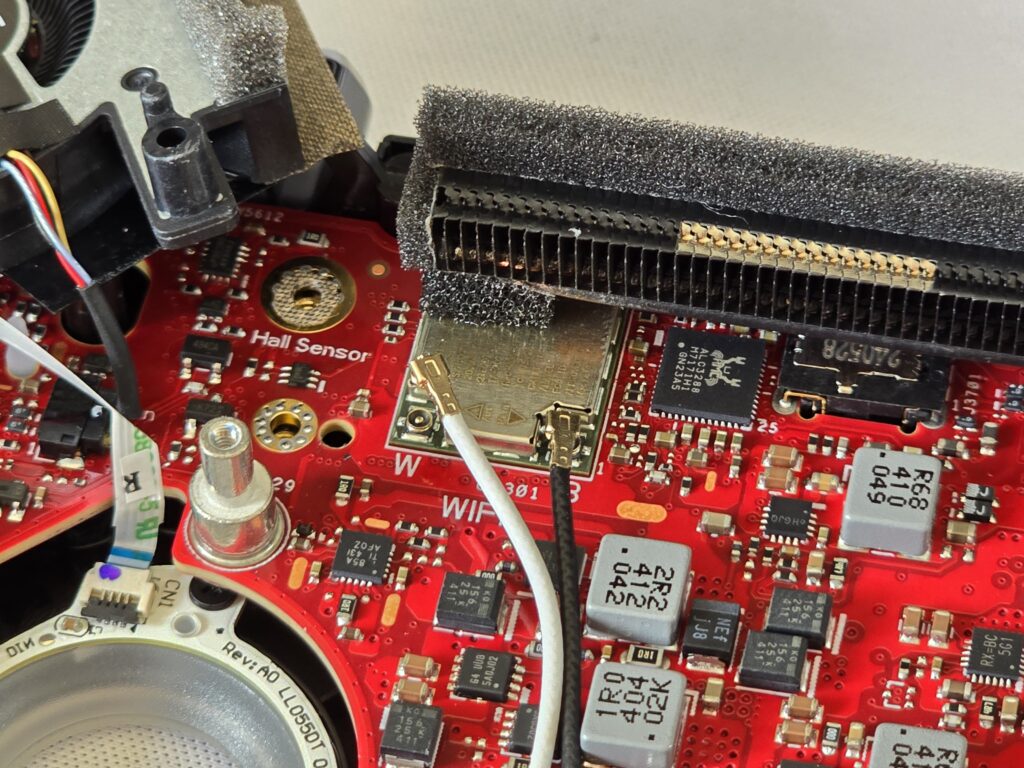
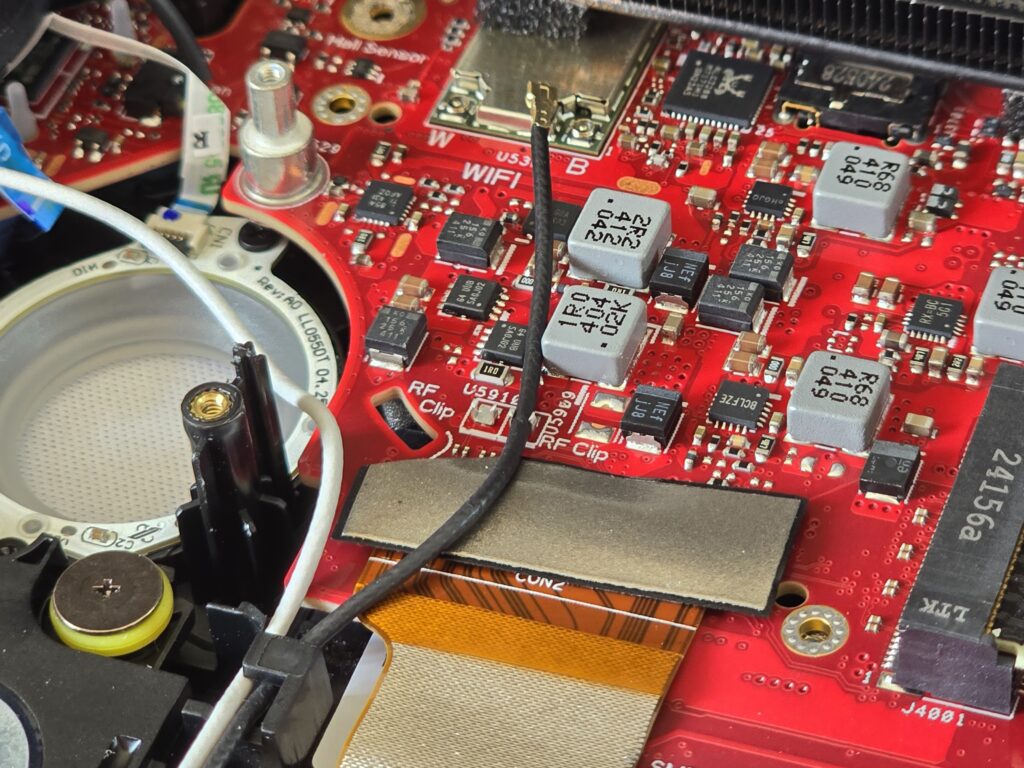
13. Unplug the two antenna wires on the wifi card and pop the wires out of the holders on the board. These are fragile connectors so be very careful!
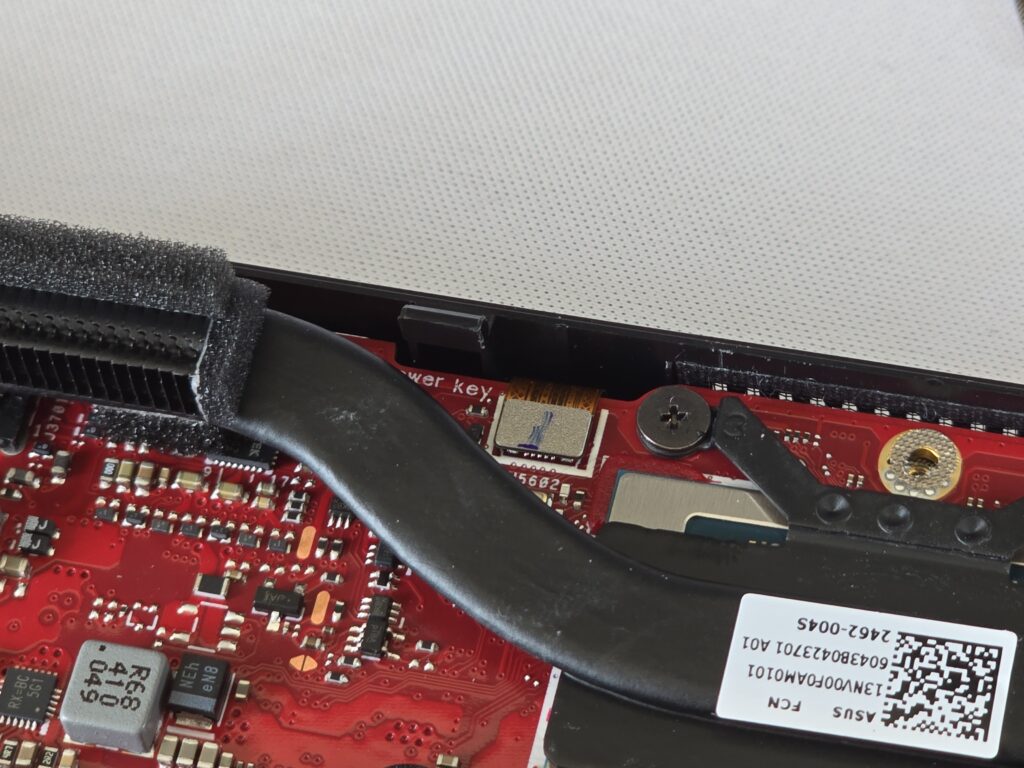
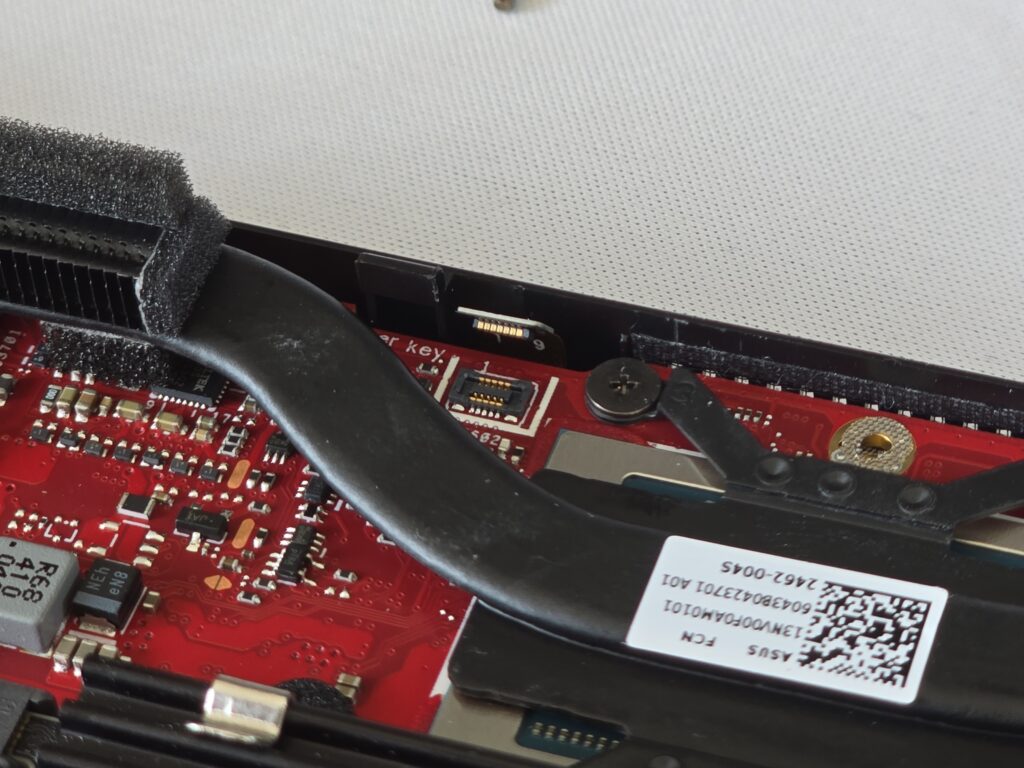
14. Unplug the power button connector. It lifts directly up.
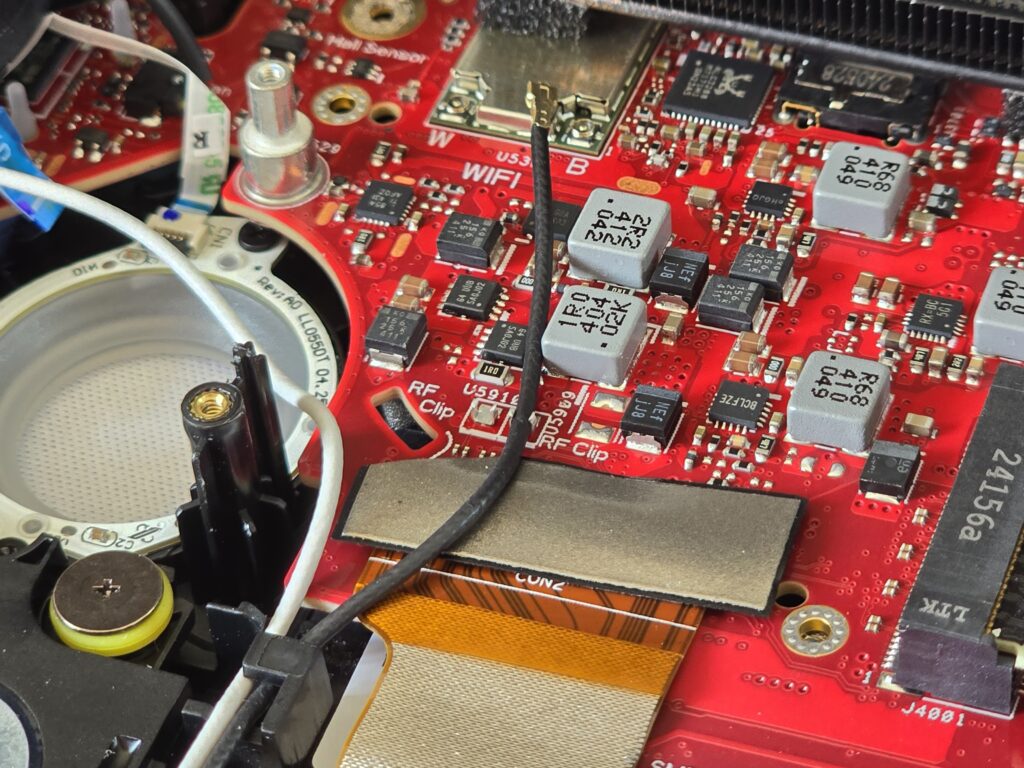
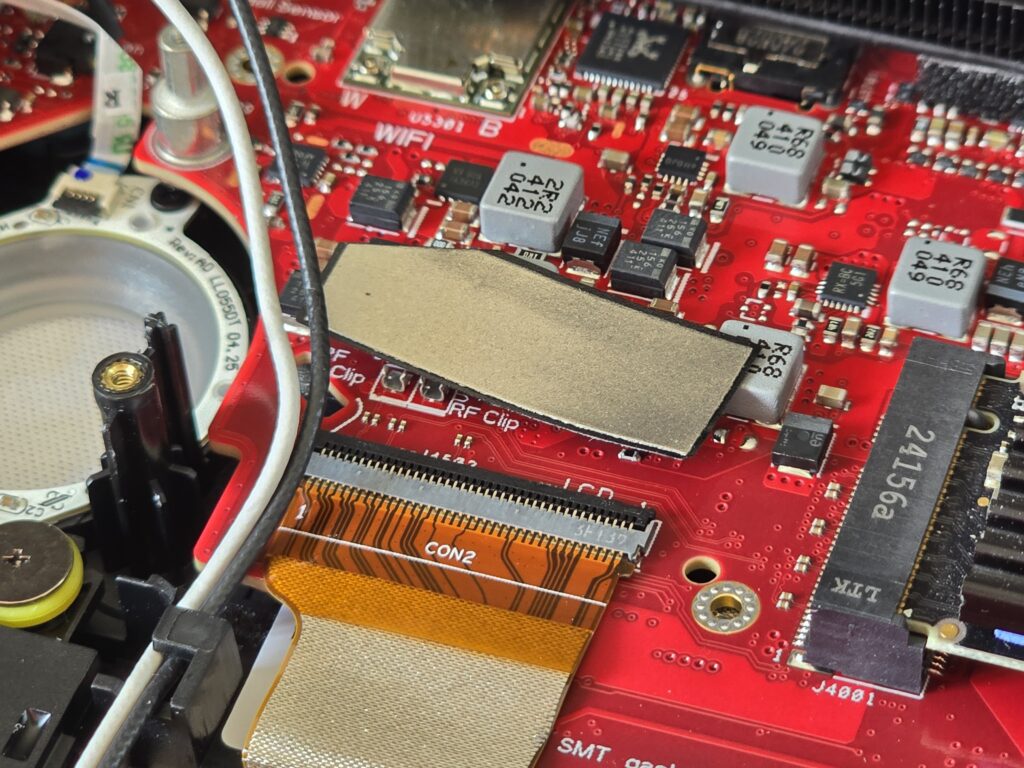
15. Remove the shielding take and unlatch and unplug the screen ribbon.
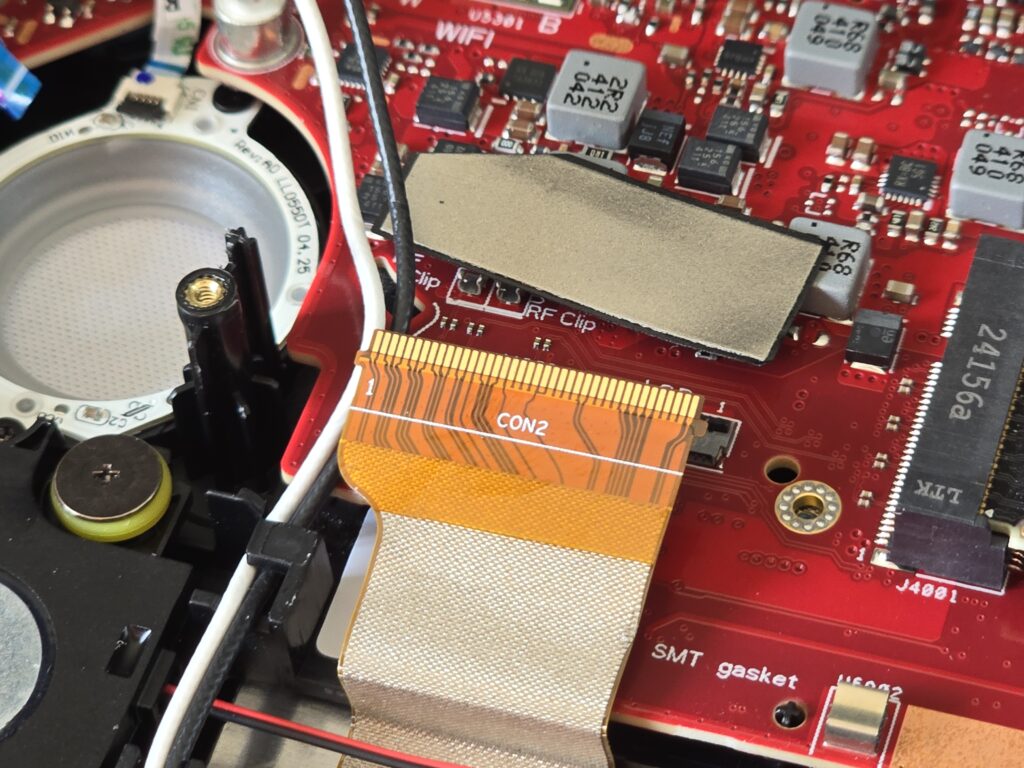
16. Remove the bumpers.
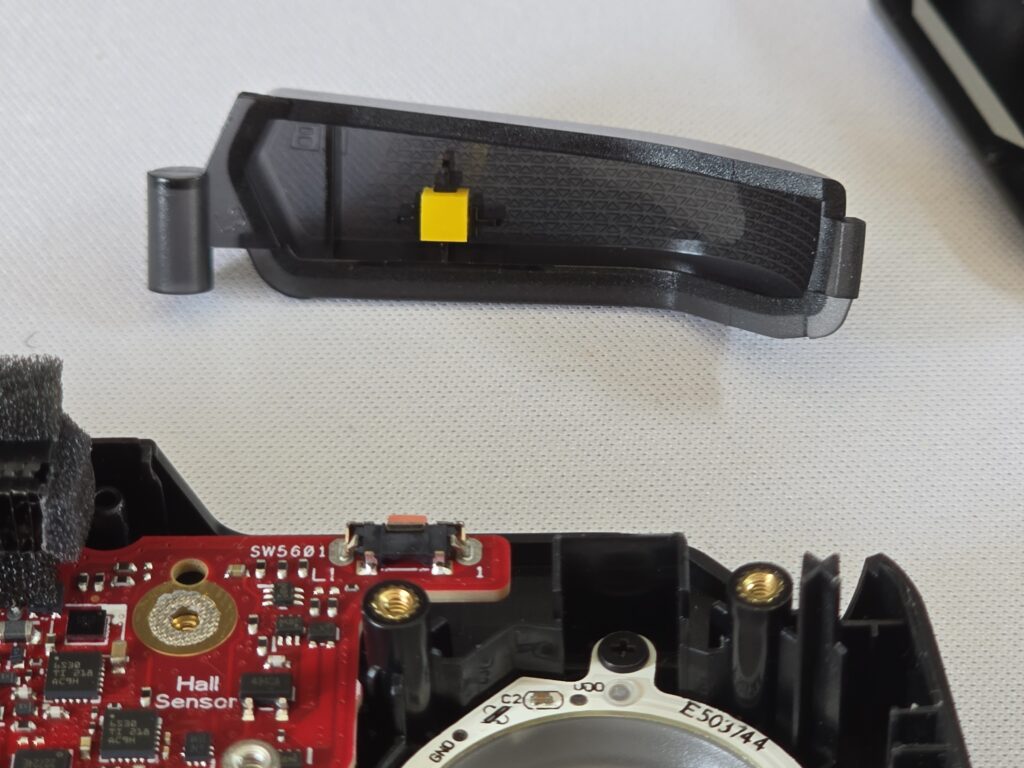
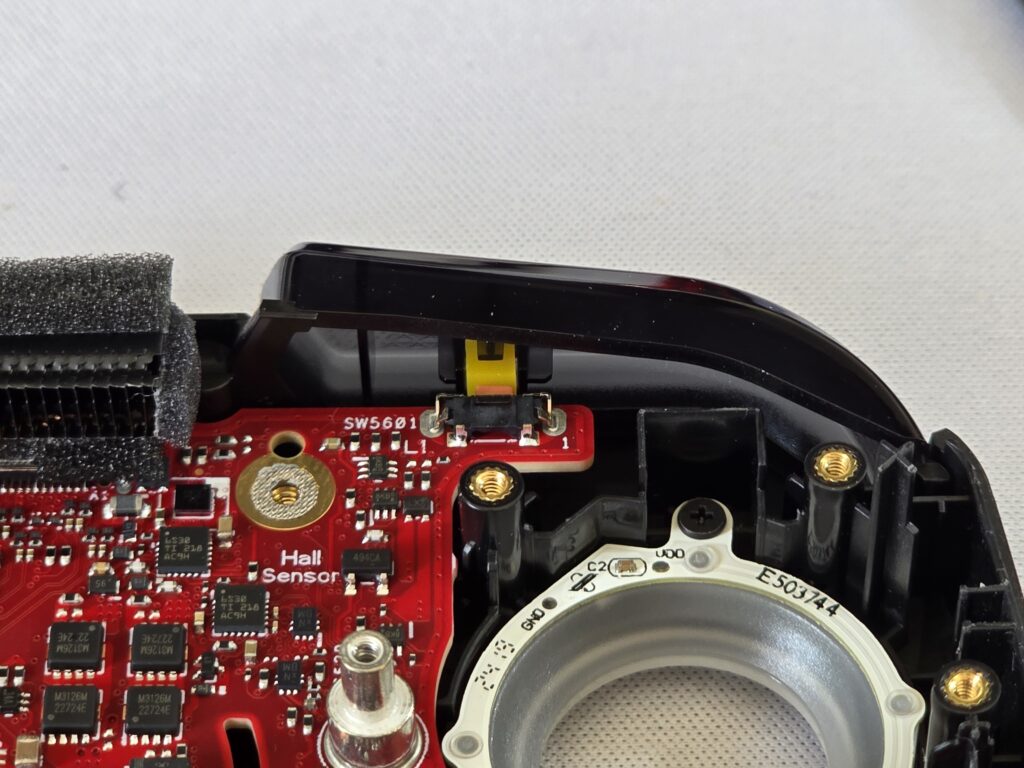
17. At this point you can either tilt the motherboard out from the bottom or remove the motherboard entirely.
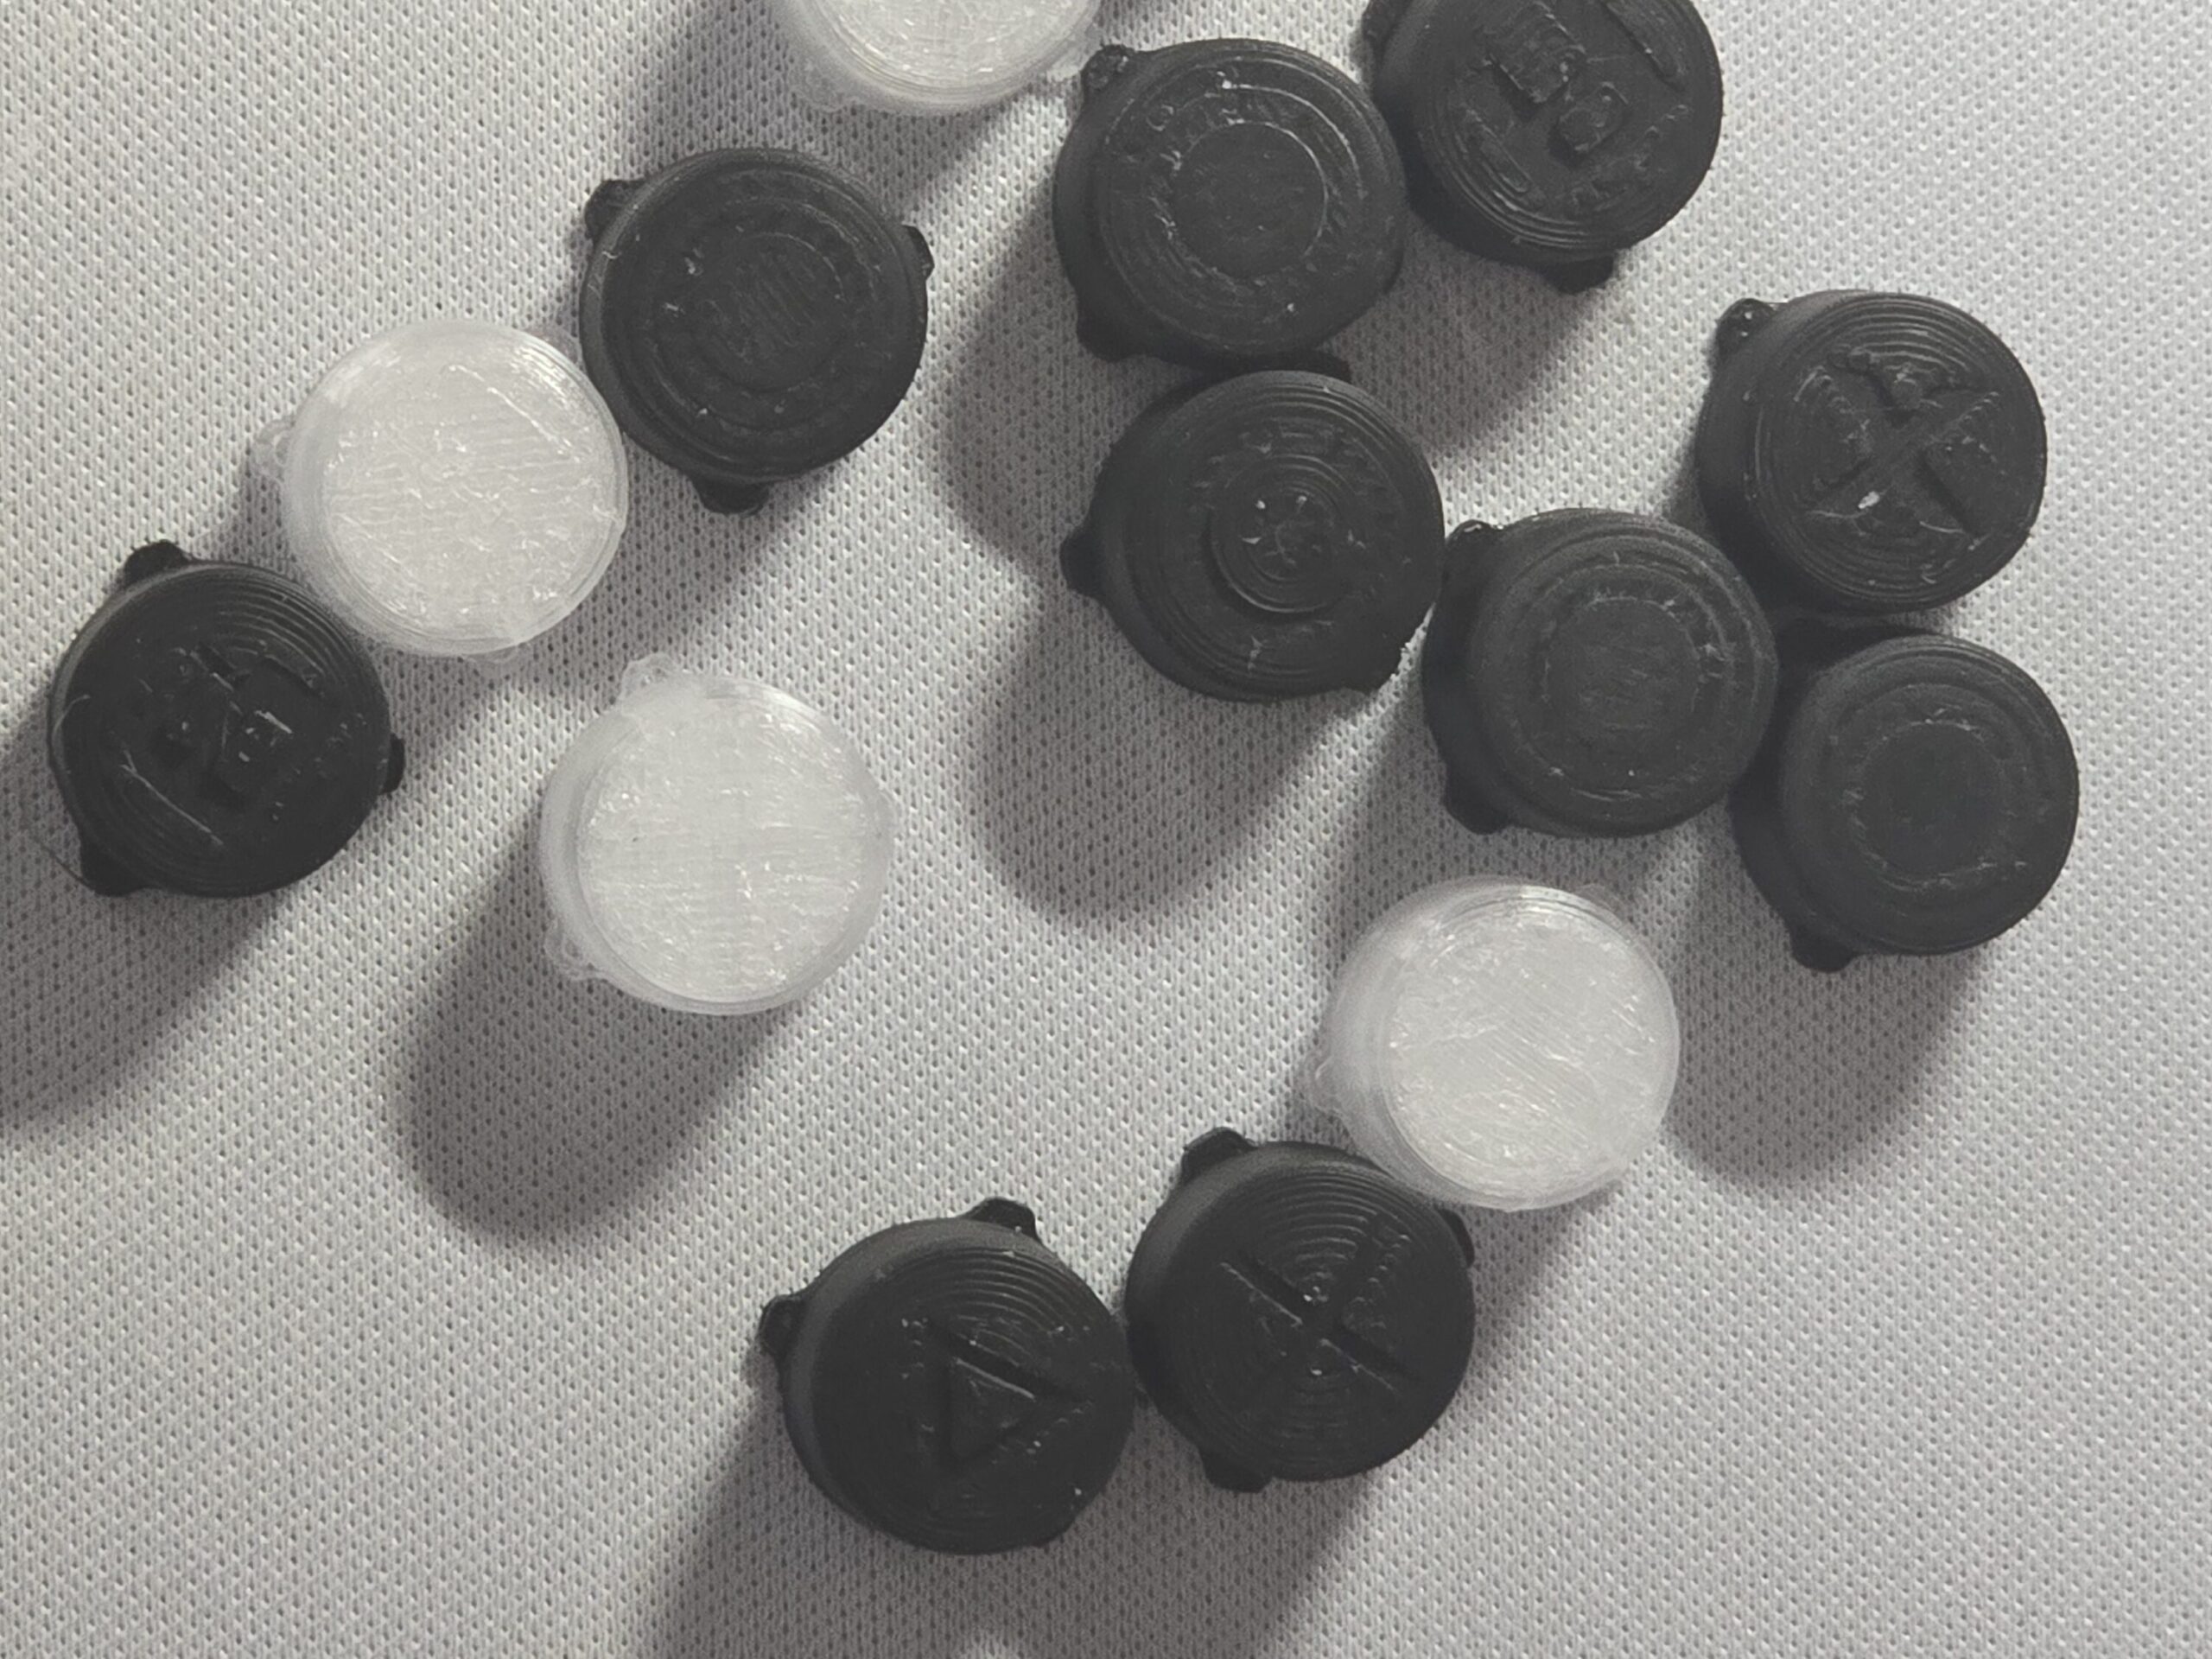
18. Swap out the stock buttons for the replacements making sure that the alignment tabs line up with the ones inside the Ally X.
19. Follow the steps in reverse to put your Ally X back together.
20. Your Ally X now has new buttons!
