
Steam Deck OLED Halleffect Mod
This is a guide and general overview of how to install and upgrade your Steam Deck OLED joysticks to Hall Effect.
Credit:
- OkestGamer: Video, overview, and testing
Materials needed
- Precision Screwdriver Set
- Plastic pry tool
Notes:
- BY FOLLOWING THIS GUIDE YOU TAKE RESPONSIBILITY FOR YOUR OWN ACTIONS
- This is for the Steam Deck OLED only!
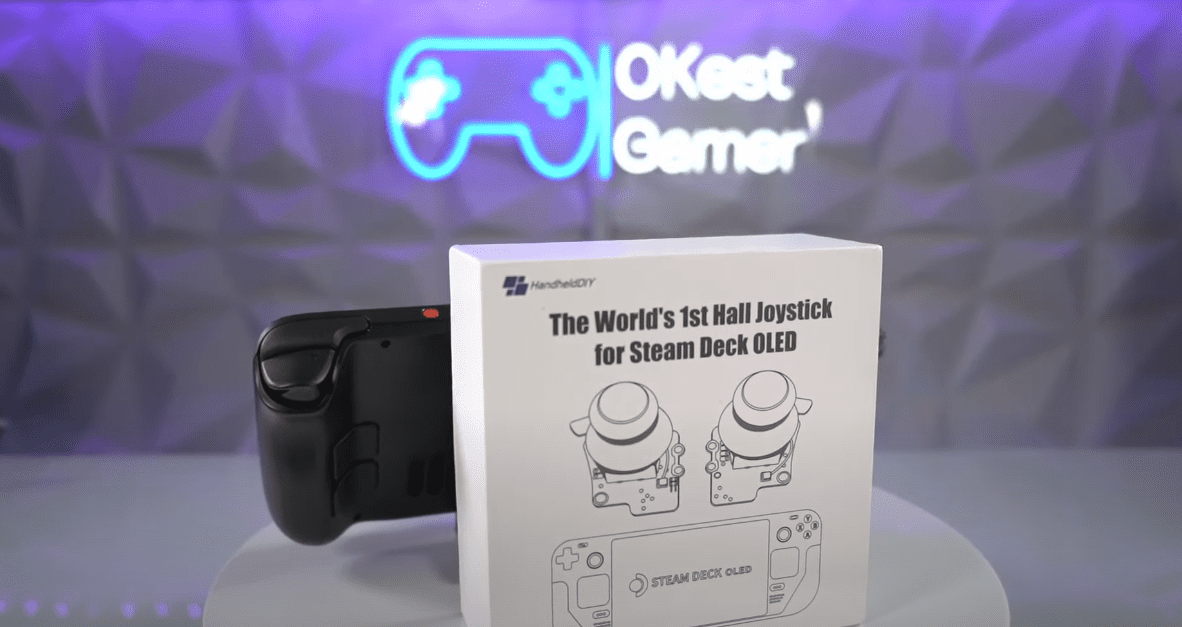
- While the box advertises its "The World's First Hall Joystick for Steam Deck OLED. It is in fact not the first. Guilikit also makes a Hall Effect joystick for the Steam Deck OLED and is already available for order.
Availability
- Shipping around the end of June
- IndieGoGo Launch Page Here
Instructions:
You can follow this awesome guide from OkestGamer on how to install the Hall Effect Joysticks. Feel free to comment and ask questions on his video (HERE)
Remove the back panel and unplug the battery
- Remove all 8 back panel screws.
- Remove the micro SD card.
- Unclip and remove the back panel.
- Remove 2 screws from the metal heat shield.
- Remove wire tape.
- Remove the shielding.
- Pull the battery connector to the right and unplug the battery.
Remove Joystick and install Hall Effect Joystick
- Lift up the tab and pull the joystick ribbon cable out.
- Remove all 3 screws.
- Remove the factory joystick from the shell.
- Take your new hall effect joystick that matches the corresponding side and set it in place.
- Line up screw holes and screw in all 3 screws that you removed earlier.
- Plug the ribbon cable back in.
- Repeat this process for the other side.
- DO NOT REASSEMBLE UNTIL YOU HAVE CALIBRATED THE JOYSTICKS
Calibrating the new joysticks
- Push the battery connector to the left and slide it back into place.
- Power on the Steam Deck
- Press the steam button to open the menu
- Open the "Settings" option
- Open the "Controller" option
- Open "Calibration and Advanced Settings"
- Select Joysticks, Then select which joystick
- Align the joystick so that it's in the center and press the top calibration button on the back of the joystick PCB, move the joystick around, and make sure that it snaps back in the center. Repeat if necessary until it's centered
- To calibrate the outer edge press the bottom button on the Joystick PCB, it should start flashing. Then rotate the joystick a few times so it can calibrate the outer edge.
- You can now set your dead zone to zero and ensure that everything is working correctly, recalibrate if it's drifting.
- Repeat this process for the other joystick.
Plugging in the battery and reinstalling the back panel
- Reinstall metal shielding.
- Place wire and tape back down.
- Screw in the 2 screws that were removed earlier.
- Put the back panel back in, and make sure the clips snap in.
- Screw all 8 screws back into the shell.