
Steam Deck AX210 Mod
This is a guide and general overview of how to install and upgrade your steam deck to a AX210 Wifi card.
Credit:
- Krutav Shah: Pictures, Testing, Instructions
Materials needed
- Precision Screwdriver Set
- Soldering Iron
- Solder
- Flux
- Hot air gun/reflow station
- Plastic pry tool
Notes:
- BY FOLLOWING THIS GUIDE YOU TAKE RESPONSIBILITY FOR YOUR OWN ACTIONS
- We strongly recommend the dehumidification process as it can make or break the job.
- This will void your warranty.
- This is an advanced mod, if you feel overwhelmed at any point reading this you should walk away.
- This guide is under construction, please keep this in mind as you read through it.
Instructions:
You can follow this awesome iFixit guide on how to disassemble the device down to the mainboard.
Remove the back panel and unplug the battery
- remove 8 screws holding the back panel onto the Steam Deck
- Gently use a plastic pry tool to separate the two halves of the Steam Deck
- Remove the 3 screws holding the silver shield that's covering the SSD and battery connector
- unplug batter connecter
Remove motherboard
- Unplug speaker cable
- Unplug fan headers
- Remove fan screws.
- Remove fans.
- Unplug 2 cables coming from the wireless card
- Remove both motherboard ribbon cables.
- Remove all 9 motherboard screws.
- Tilt and life motherboard out of shell.
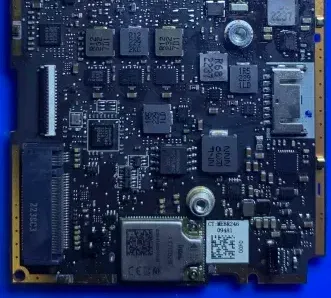
From here we can remove the existing wifi card.
Dehumidification Process
- 85-100C for 24 hours is a general recommendation, but that can vary from one setup to another.
- It’s also important to have desiccant packs to absorb moisture.
- If you have a PCB heater you might be able to get away with skipping this step.
