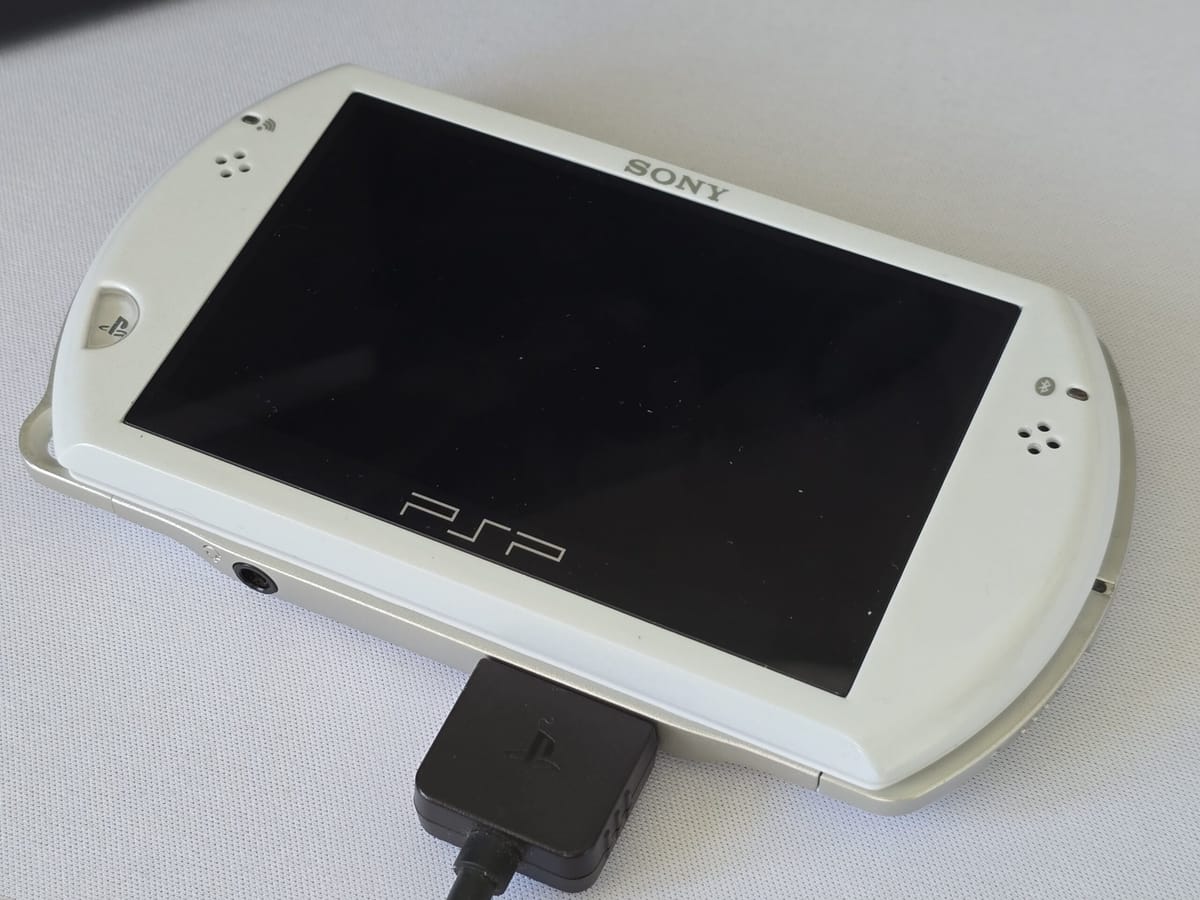
Sony PSP Go Battery Replacement Tutorial

Over time, the batteries in these retro handhelds do get tired. It can be a good idea to replace them if your device doesn't have the battery life that it used to.
This is a quick tutorial on how to replace your battery in your PSP Go.
Credit:
- YesItsKira
Materials Needed:
- Phillips head screwdriver.
- Replacement battery (can be found in many locations such as eBay or Aliexpress).
- Plastic pry/pick tool (optional).
Instructions:

2. Remove the two screws at the top. These two are shorter than the back screws so make sure to keep them separate.

3. The back shell of the Go can now be popped off and set aside.

4. Remove the warranty void sticker. It may leave a residue but that is ok.
5. The battery is not stuck to the chassis of the Go so it can be lifted out.

6. The battery connector needs to be lifted directly upwards. I small plastic pick can be used to pry it up easily.

7. Plug in the new battery making sure that the connector is the right way up.

8. Lay the battery into the chassis.

9. Press the new back shell into place and re-screw in the four back screws and two shorter top screws.
Your battery is now swapped! I recommend doing a charging cycle by charging your Go to 100% and then discharging it to 0%. This makes sure that the full capacity of the battery is utilized on future charges.
