
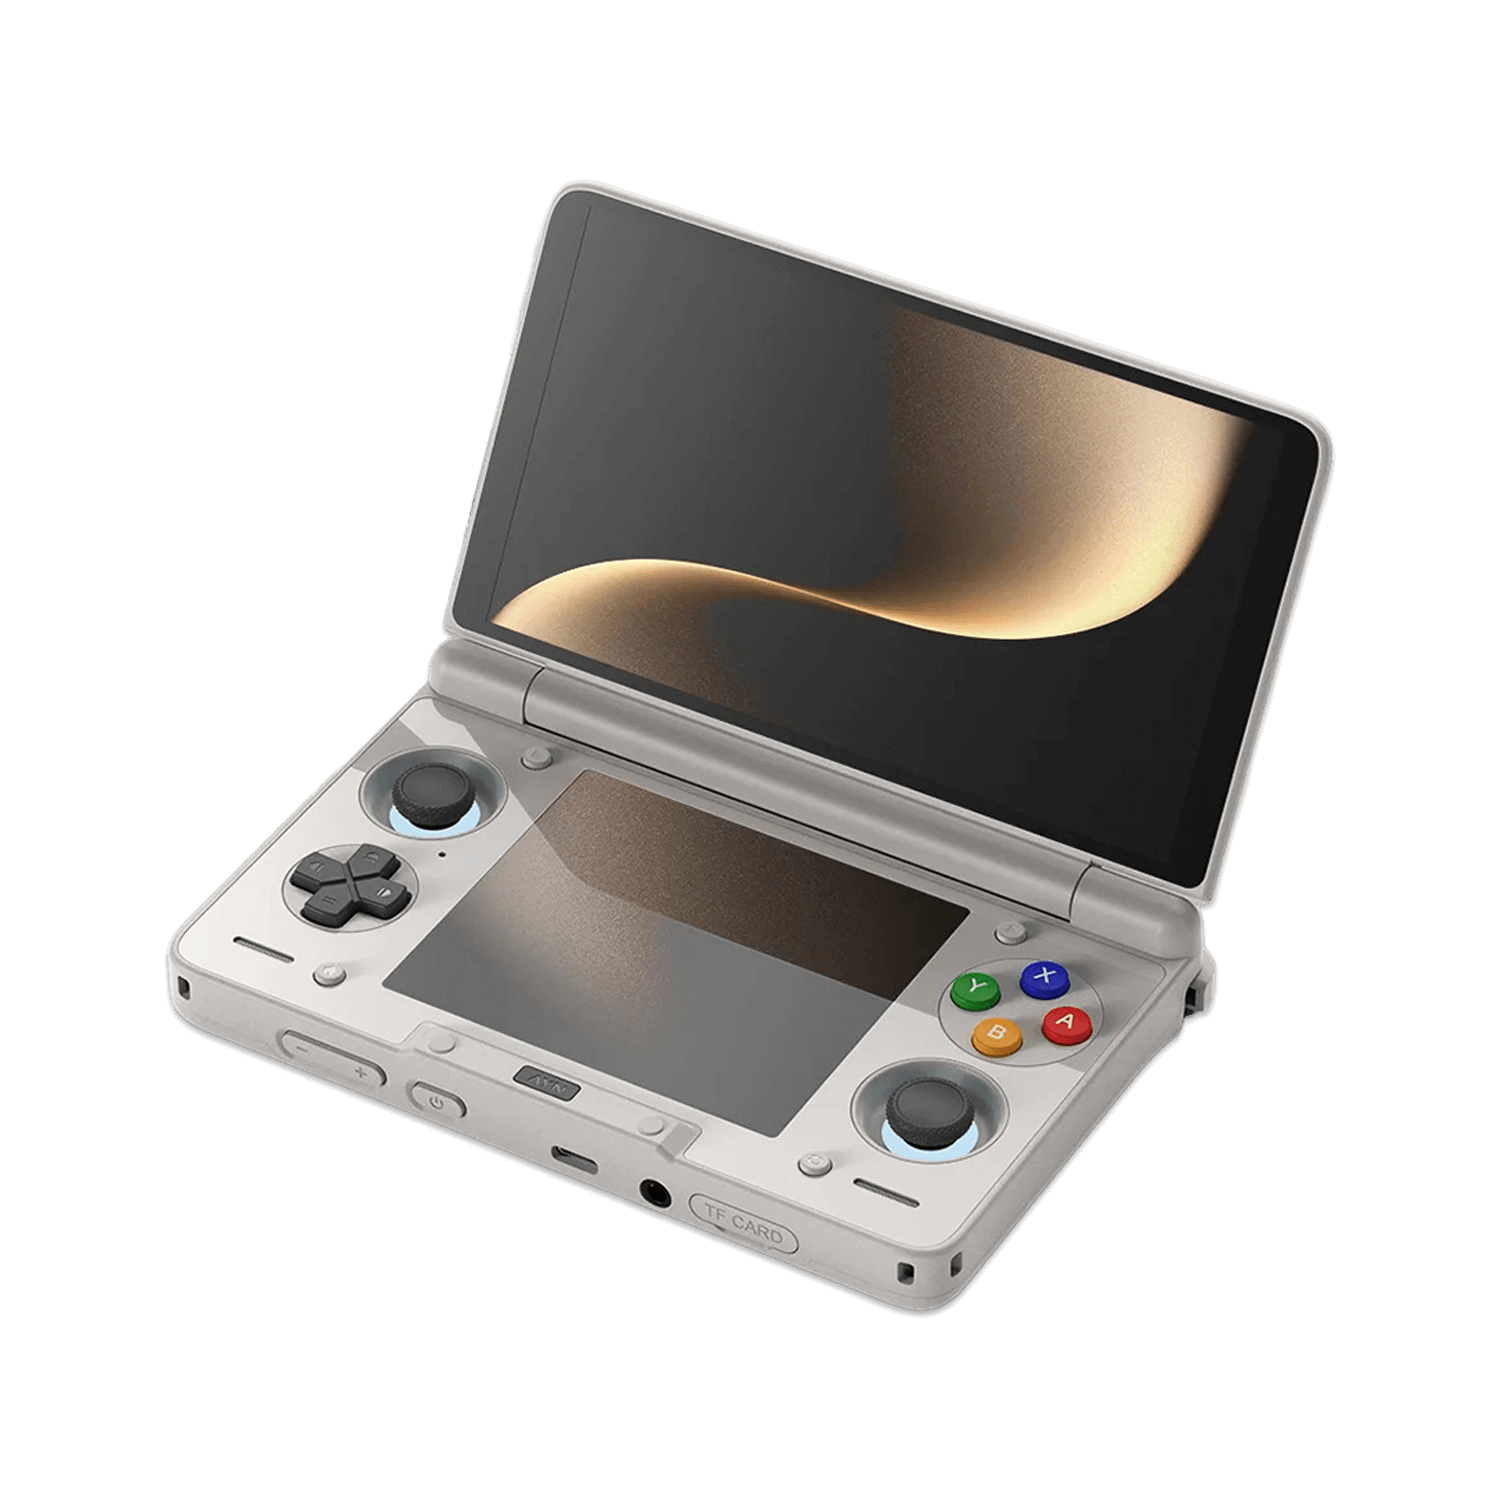
AYN Thor - Fan Replacement
Step-by-step guide to replacing the AYN Thor handheld’s cooling fan, with a YouTube Short walkthrough for visual reference.
Replacing the Internal Cooling Fan
This guide explains how to replace the cooling fan inside the AYN Thor handheld. Whether your fan has failed, become noisy, or you’re upgrading to a quieter model, the process is straightforward with basic tools and careful handling.
Watch the Video
For a quick visual walkthrough, check out this YouTube Short:
Watch the Thor Fan Replacement Guide on YouTube
Before You Begin
- Power off the AYN Thor completely.
- Unplug all cables and accessories.
- Work on a clean, static-free surface with good lighting.
- Use a small Phillips screwdriver and a plastic pry tool.
- If for some reason you're no longer under warranty and need to purchase a fan third party You can find it at this link below. https://www.cdrtd.com/products/fan-bt350505101-fpf001-dc5v-1-6w-new.html
Disassembly
- Remove the four Phillips screws from the bottom shell.
- Use a plastic pick or spudger to gently lift and remove the bottom cover.
- Locate the vibration motor bracket and remove the three screws securing it.
- Locate the fan near the cooling plate—remove the two fan screws holding it in place.
- Carefully unplug the fan cable from the motherboard.
- Lift the fan straight up and out of the chassis.
Installing the New Fan
- Align the new fan with the screw holes and connector facing the same direction as the original.
- Plug the fan cable securely into the board header.
- Reinstall the two fan screws to secure it in place.
- Reattach the bottom shell, pressing evenly around the edges to ensure it snaps into place.
- Reinstall the four bottom screws.
Testing
Hold the power button for a few seconds to start the device. The fan should spin briefly during boot. If it doesn’t, power down immediately and recheck your connection.
Replacing the fan on the AYN Thor takes only a few minutes and can restore quiet, efficient cooling performance to your dual-screen handheld.